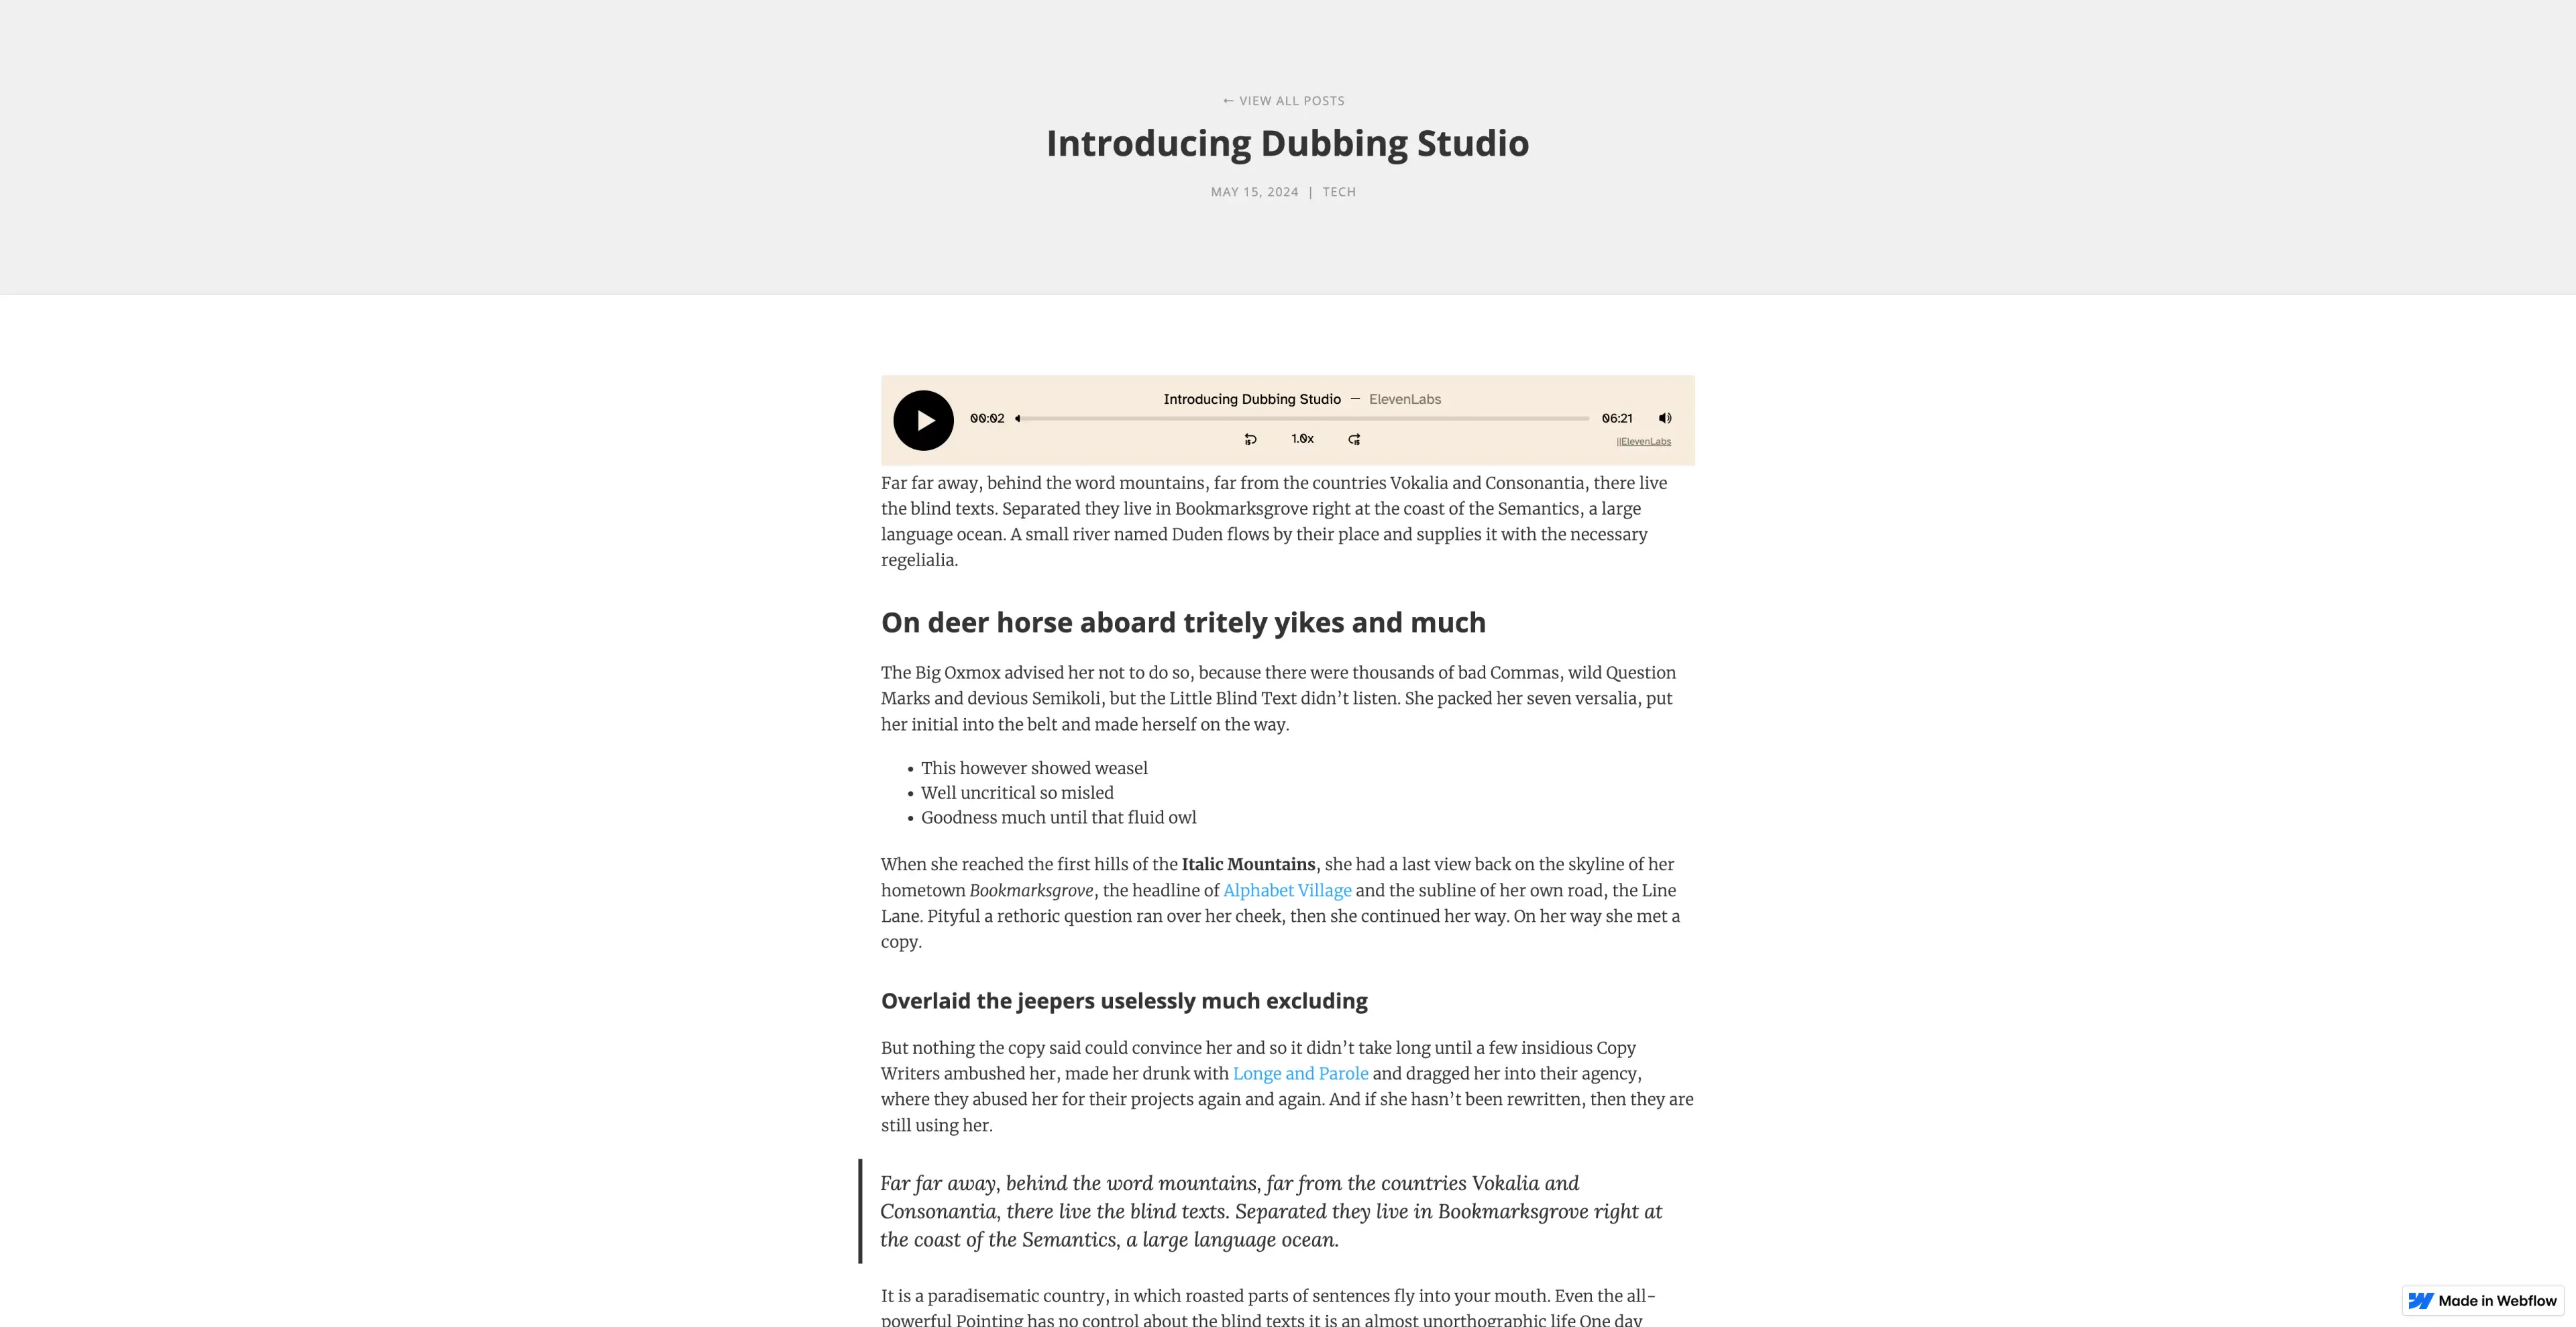
Audio Native with Webflow
Integrate Audio Native into your Webflow sites.
Add HTML to your blog post
Navigate to your Webflow blog, sign in and open the editor for the blog post you wish to narrate.
Add the embed code to your blog post
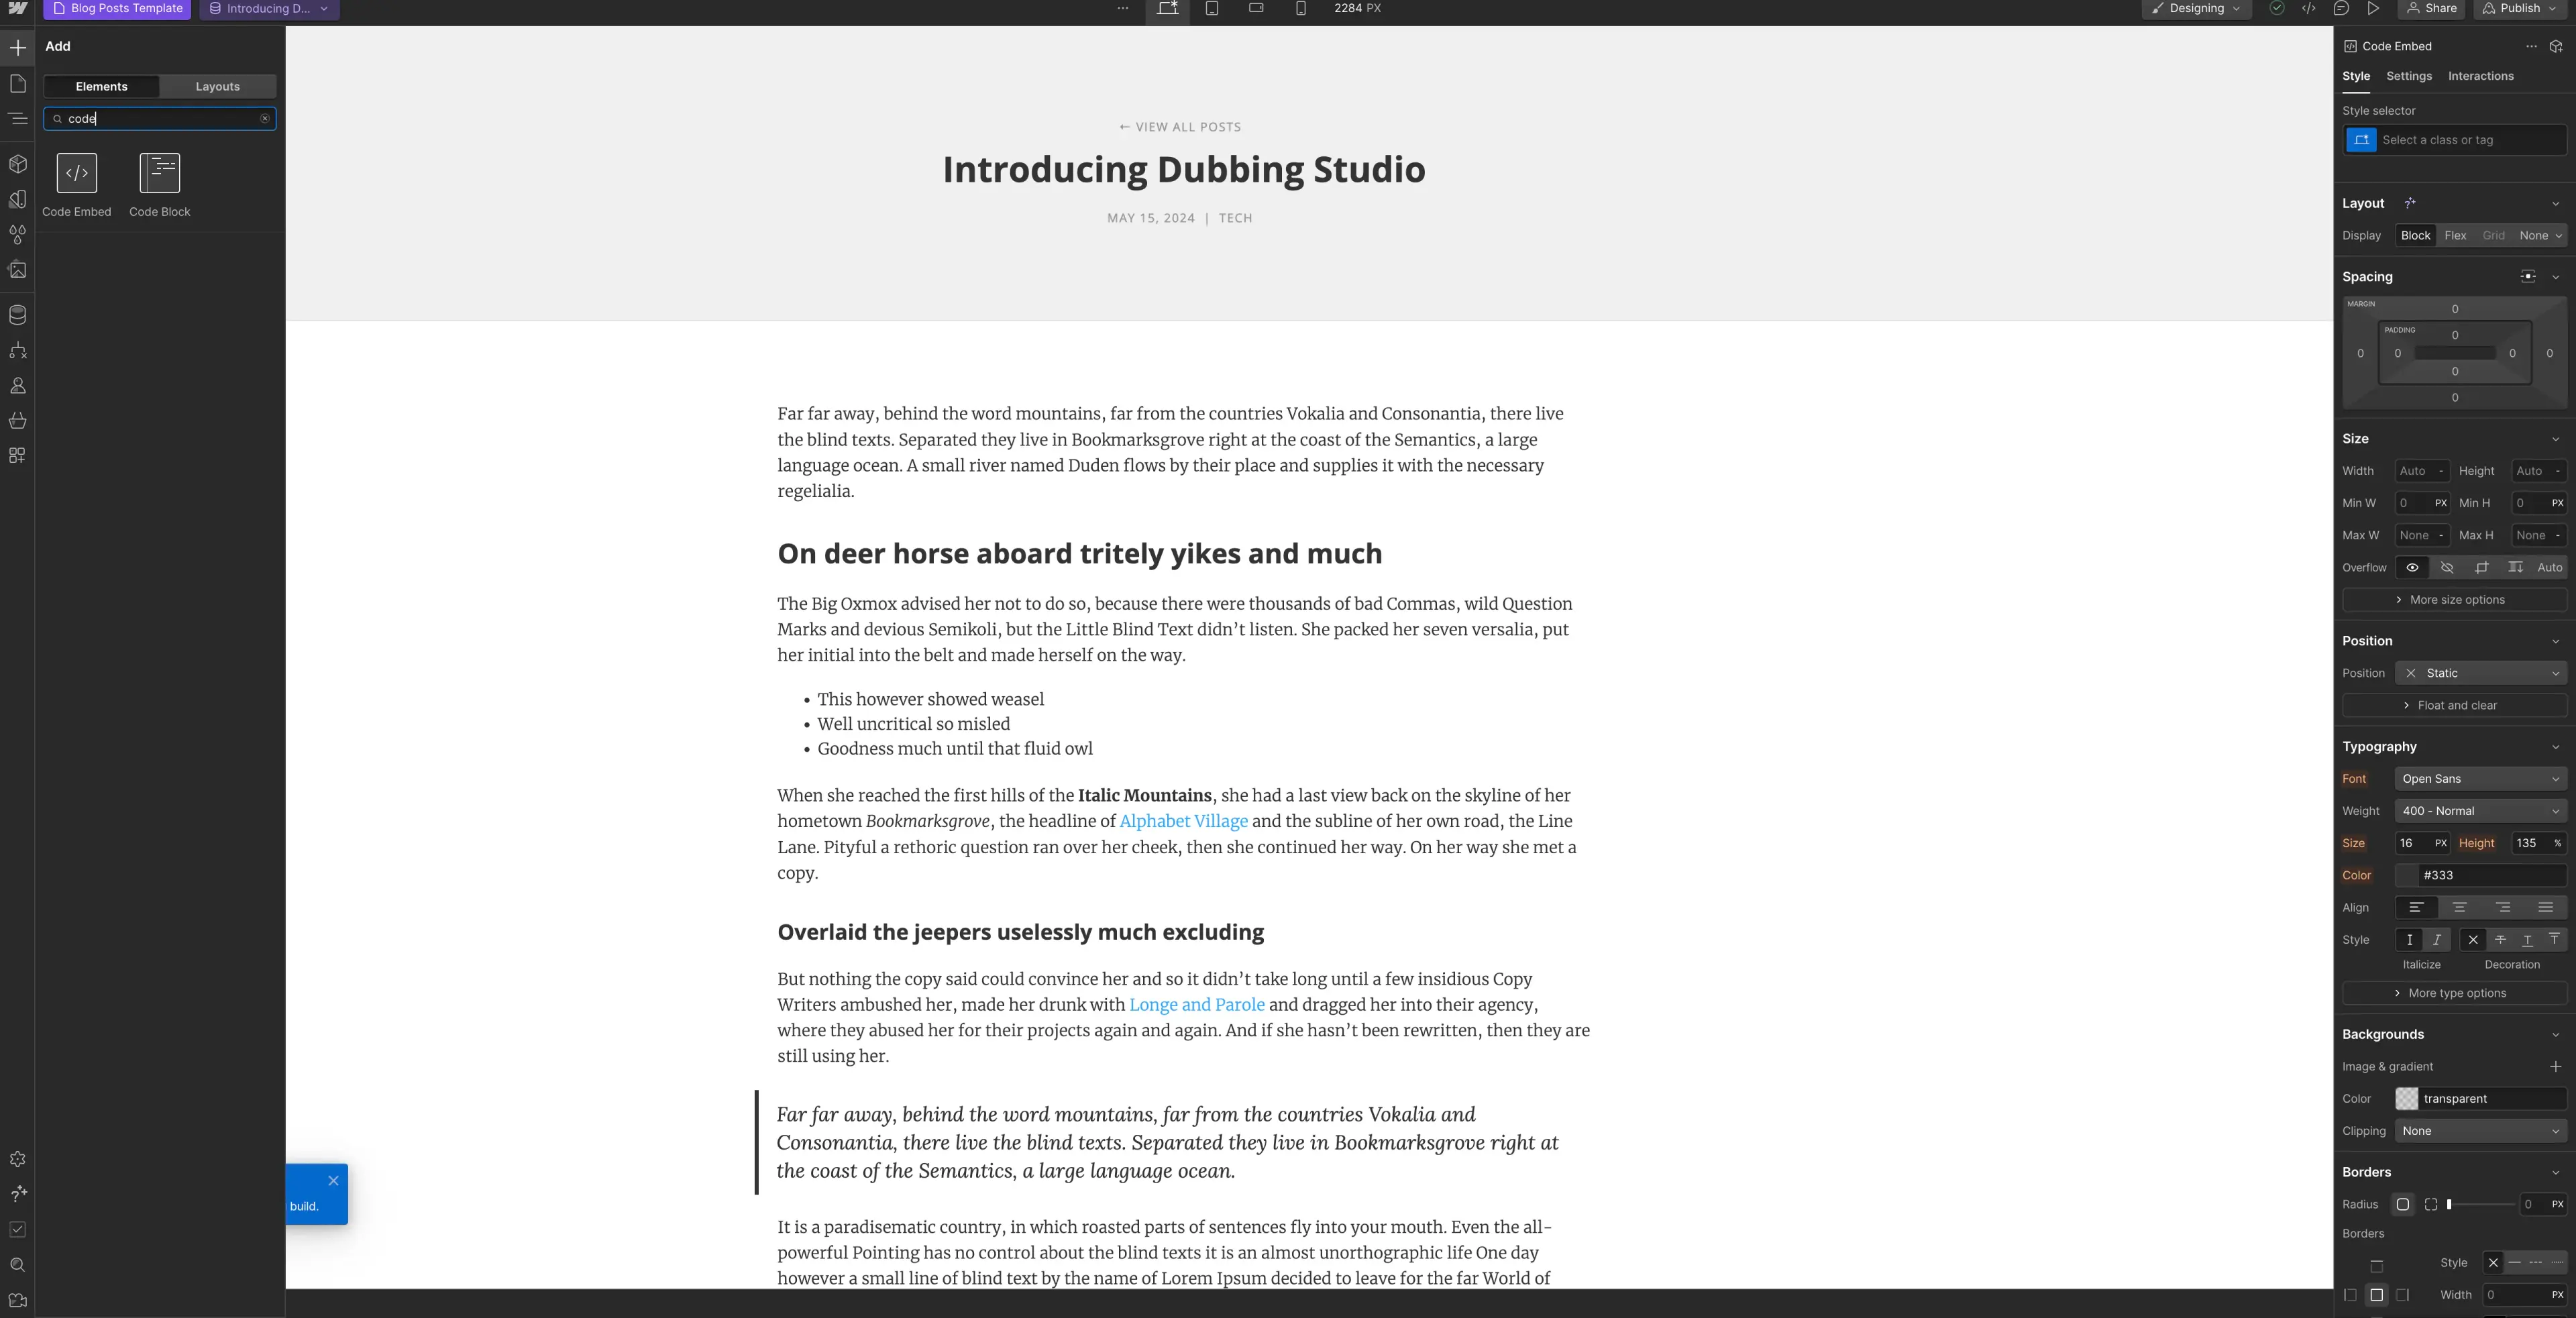
Click the ”+” symbol in the top left and select “Code Embed” from the Elements menu.
Paste the Audio Native embed code into the HTML box and click “Save & Close”.
Embed code snippet <div id="elevenlabs-audionative-widget" data-height="90" data-width="100%" data-frameborder="no" data-scrolling="no" data-publicuserid="public-user-id" data-playerurl="https://elevenlabs.io/player/index.html" data-projectid="project-id" > Loading the <a href="https://elevenlabs.io/text-to-speech" target="_blank" rel="noopener">Elevenlabs Text to Speech</a> AudioNative Player... </div> <script src="https://elevenlabs.io/player/audioNativeHelper.js" type="text/javascript"></script>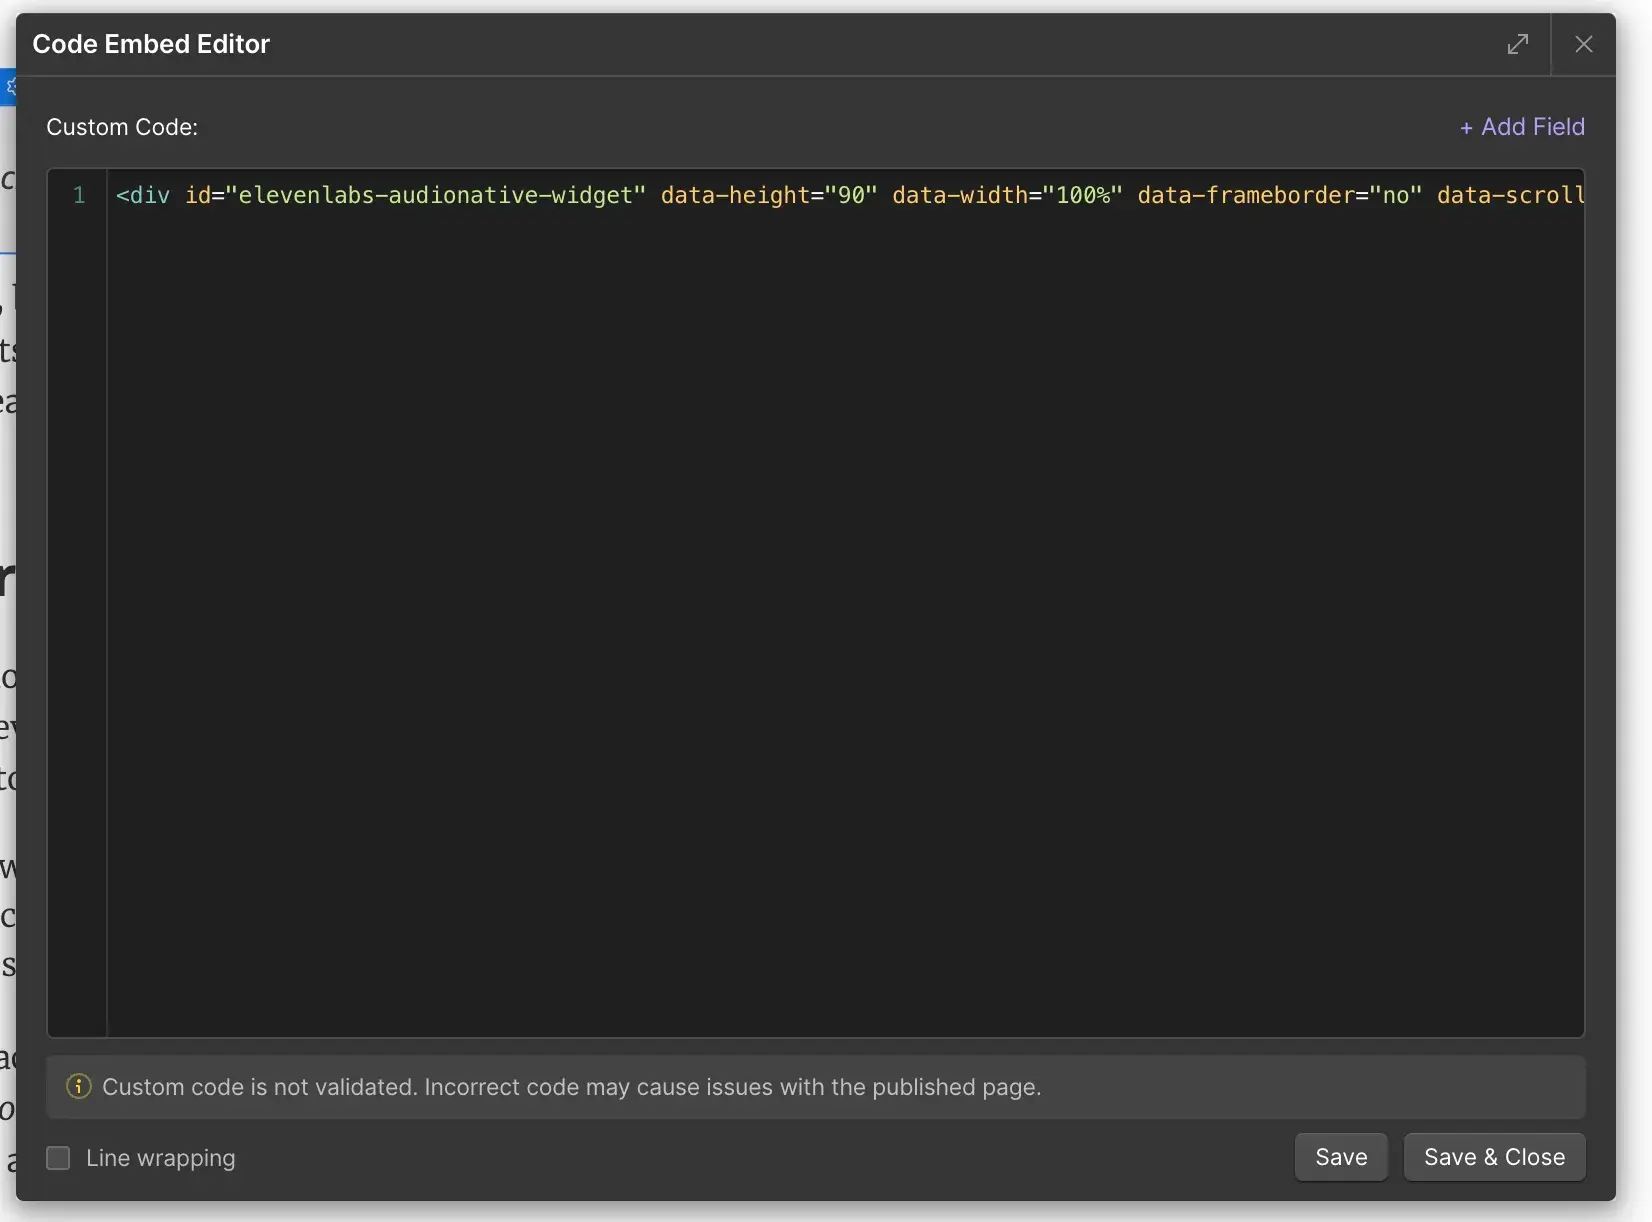
Re-position the code embed
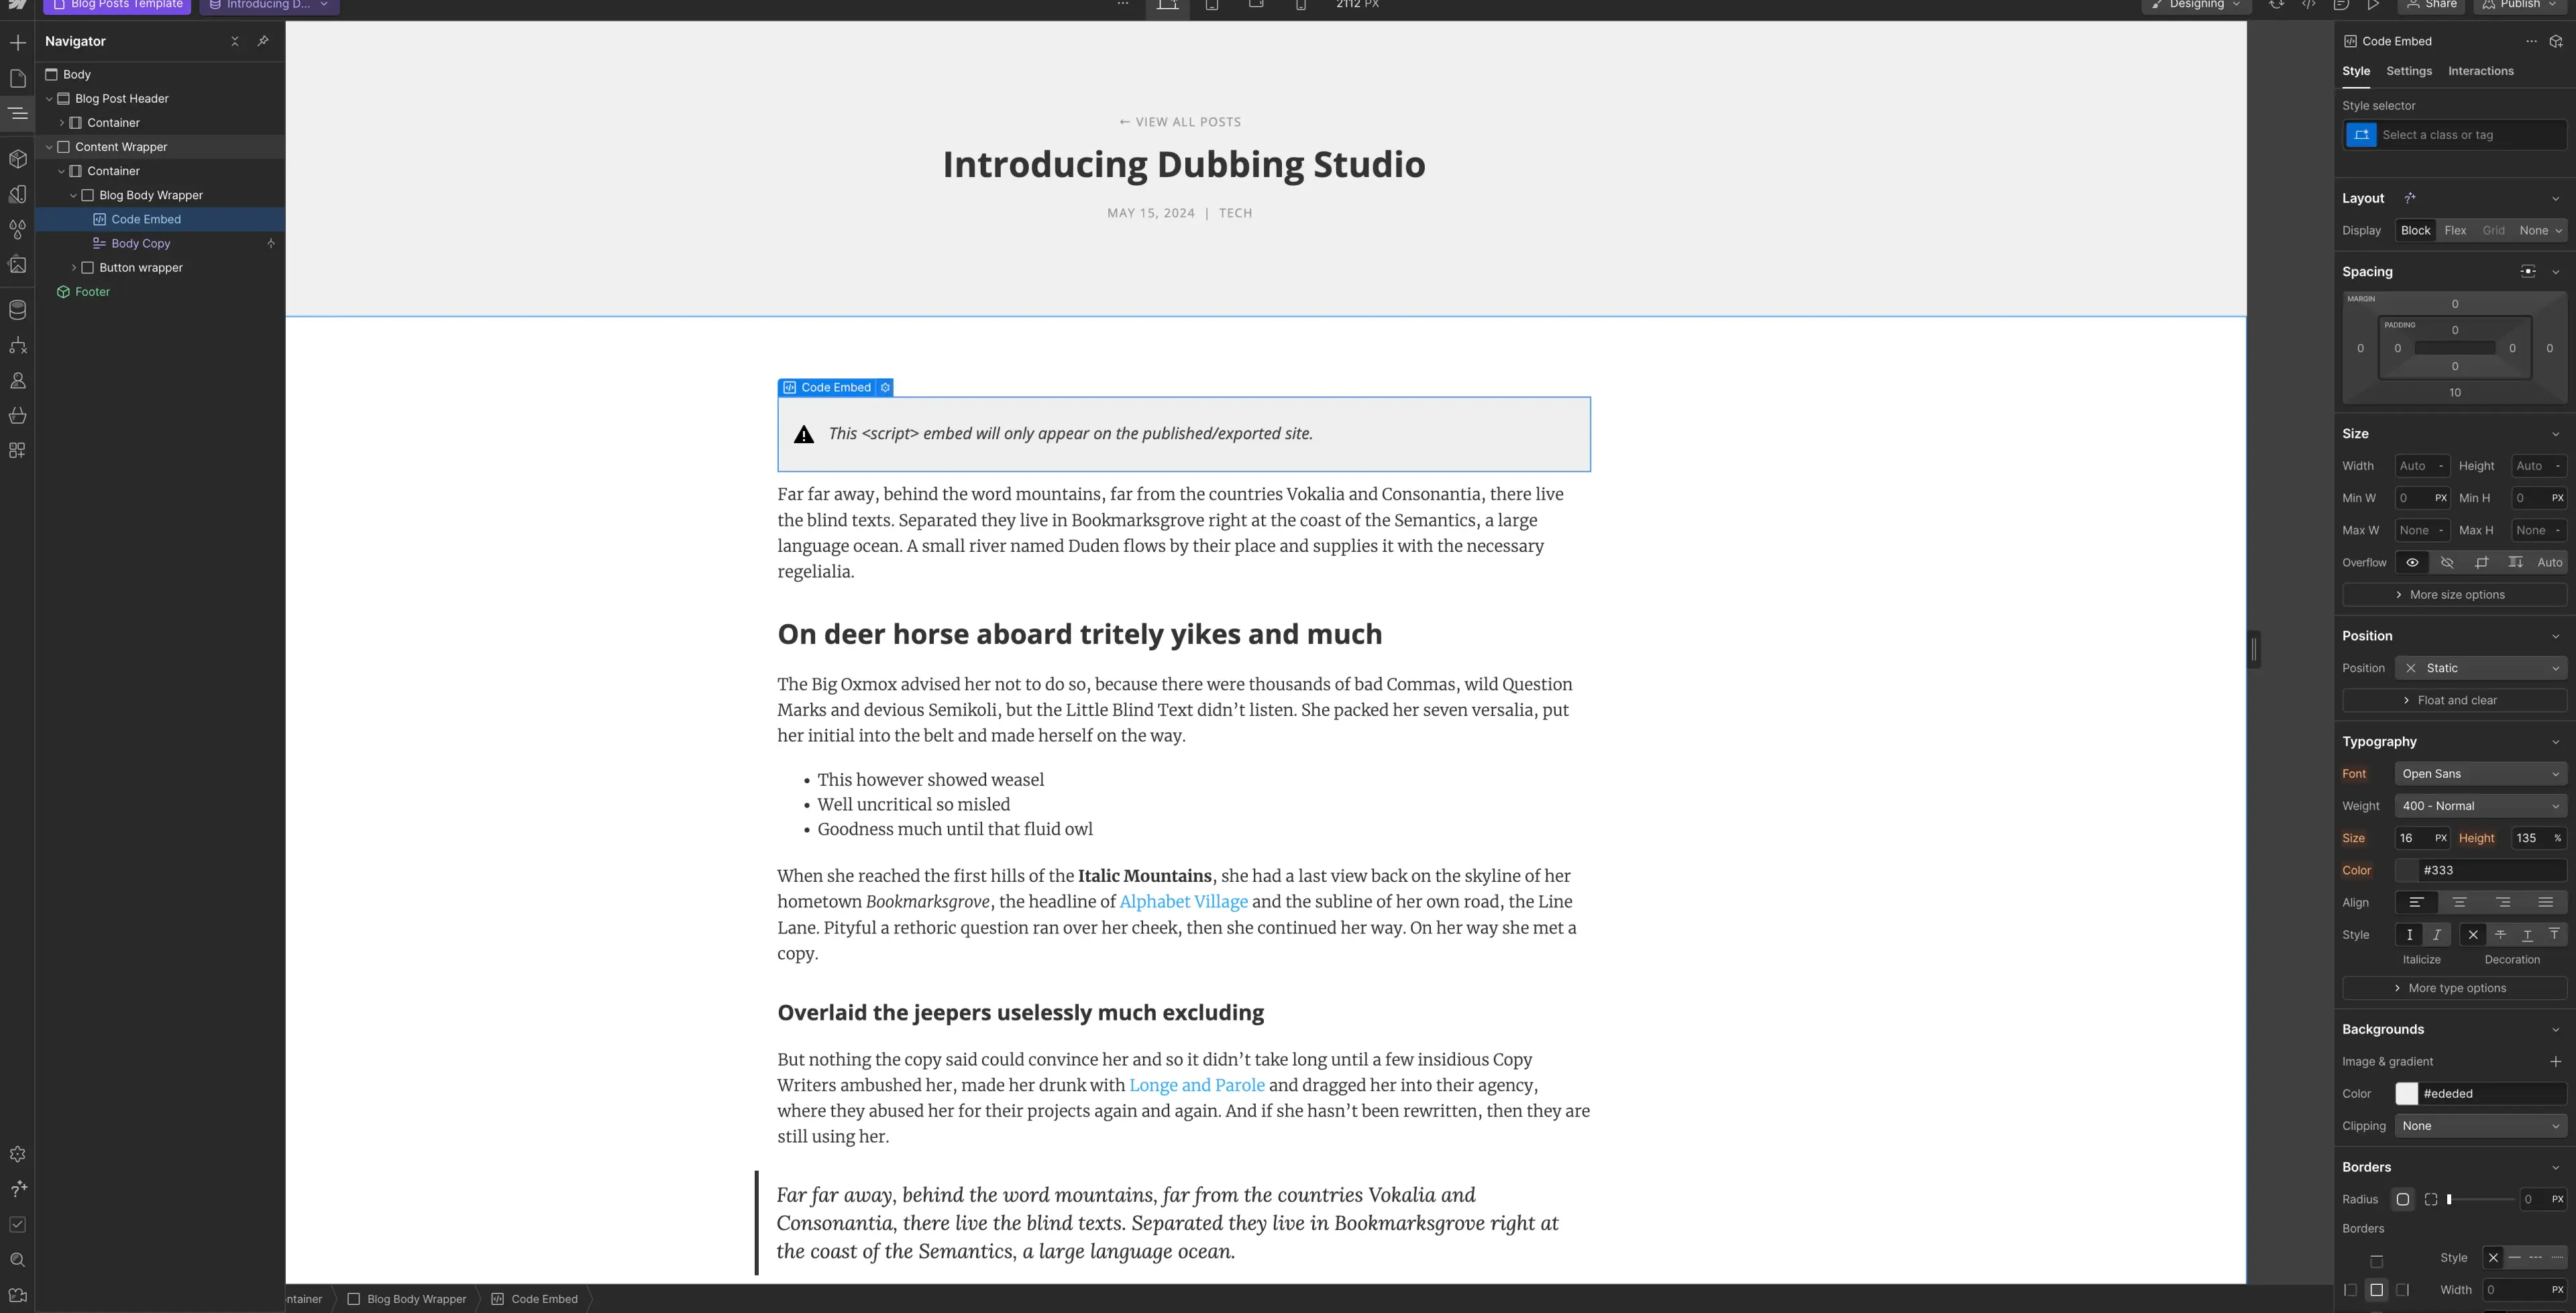
In the Navigator, place the code embed where you want it to appear on the page.
Publish your changes
Finally, publish your changes and navigate to the live version of the blog post. You should see a message to let you know that the Audio Native project is being created. After a few minutes the text in your blog will be converted to an audio article and the embedded audio player will appear.