Webhook tools
Tools enable your assistant to connect to external data and systems. You can define a set of tools that the assistant has access to, and the assistant will use them where appropriate based on the conversation.
Overview
Section titled “Overview”Many applications require assistants to call external APIs to get real-time information. Tools give your assistant the ability to make external function calls to third party apps so you can get real-time information.
Here are a few examples where tools can be useful:
- Fetching data: enable an assistant to retrieve real-time data from any REST-enabled database or 3rd party integration before responding to the user.
- Taking action: allow an assistant to trigger authenticated actions based on the conversation, like scheduling meetings or initiating order returns.
Tool configuration
Section titled “Tool configuration”ElevenLabs agents can be equipped with tools to interact with external APIs. Unlike traditional requests, the assistant generates query, body, and path parameters dynamically based on the conversation and parameter descriptions you provide.
All tool configurations and parameter descriptions help the assistant determine when and how to use these tools. To orchestrate tool usage effectively, update the assistant’s system prompt to specify the sequence and logic for making these calls. This includes:
- Which tool to use and under what conditions.
- What parameters the tool needs to function properly.
- How to handle the responses.
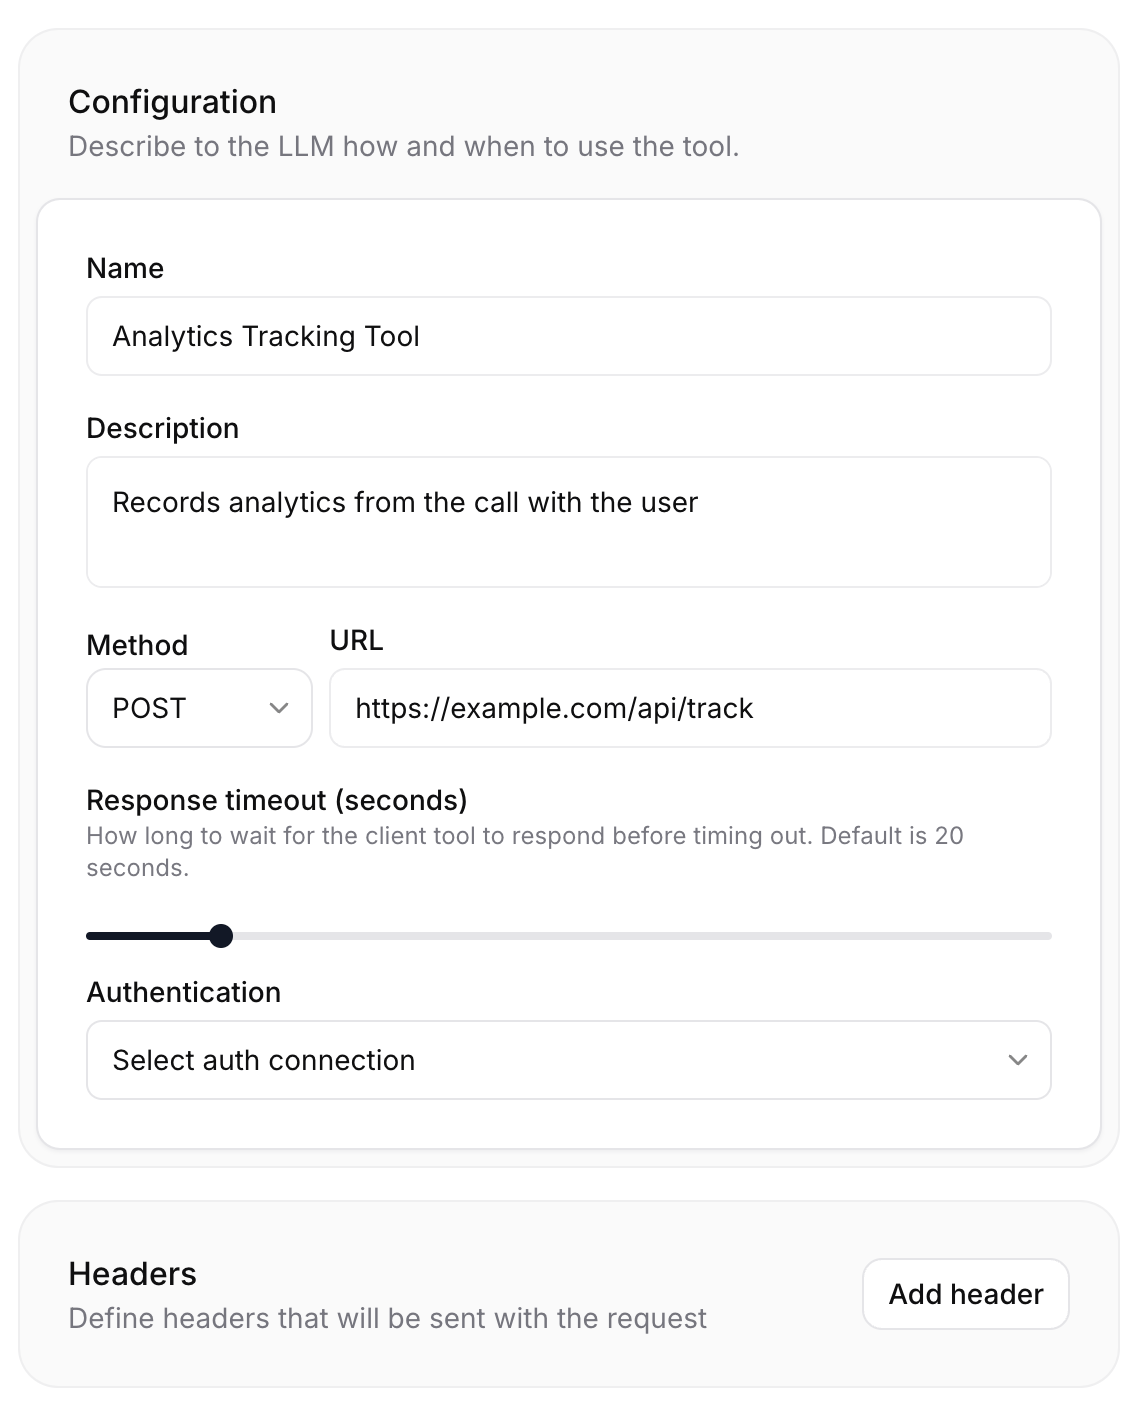
Configuration
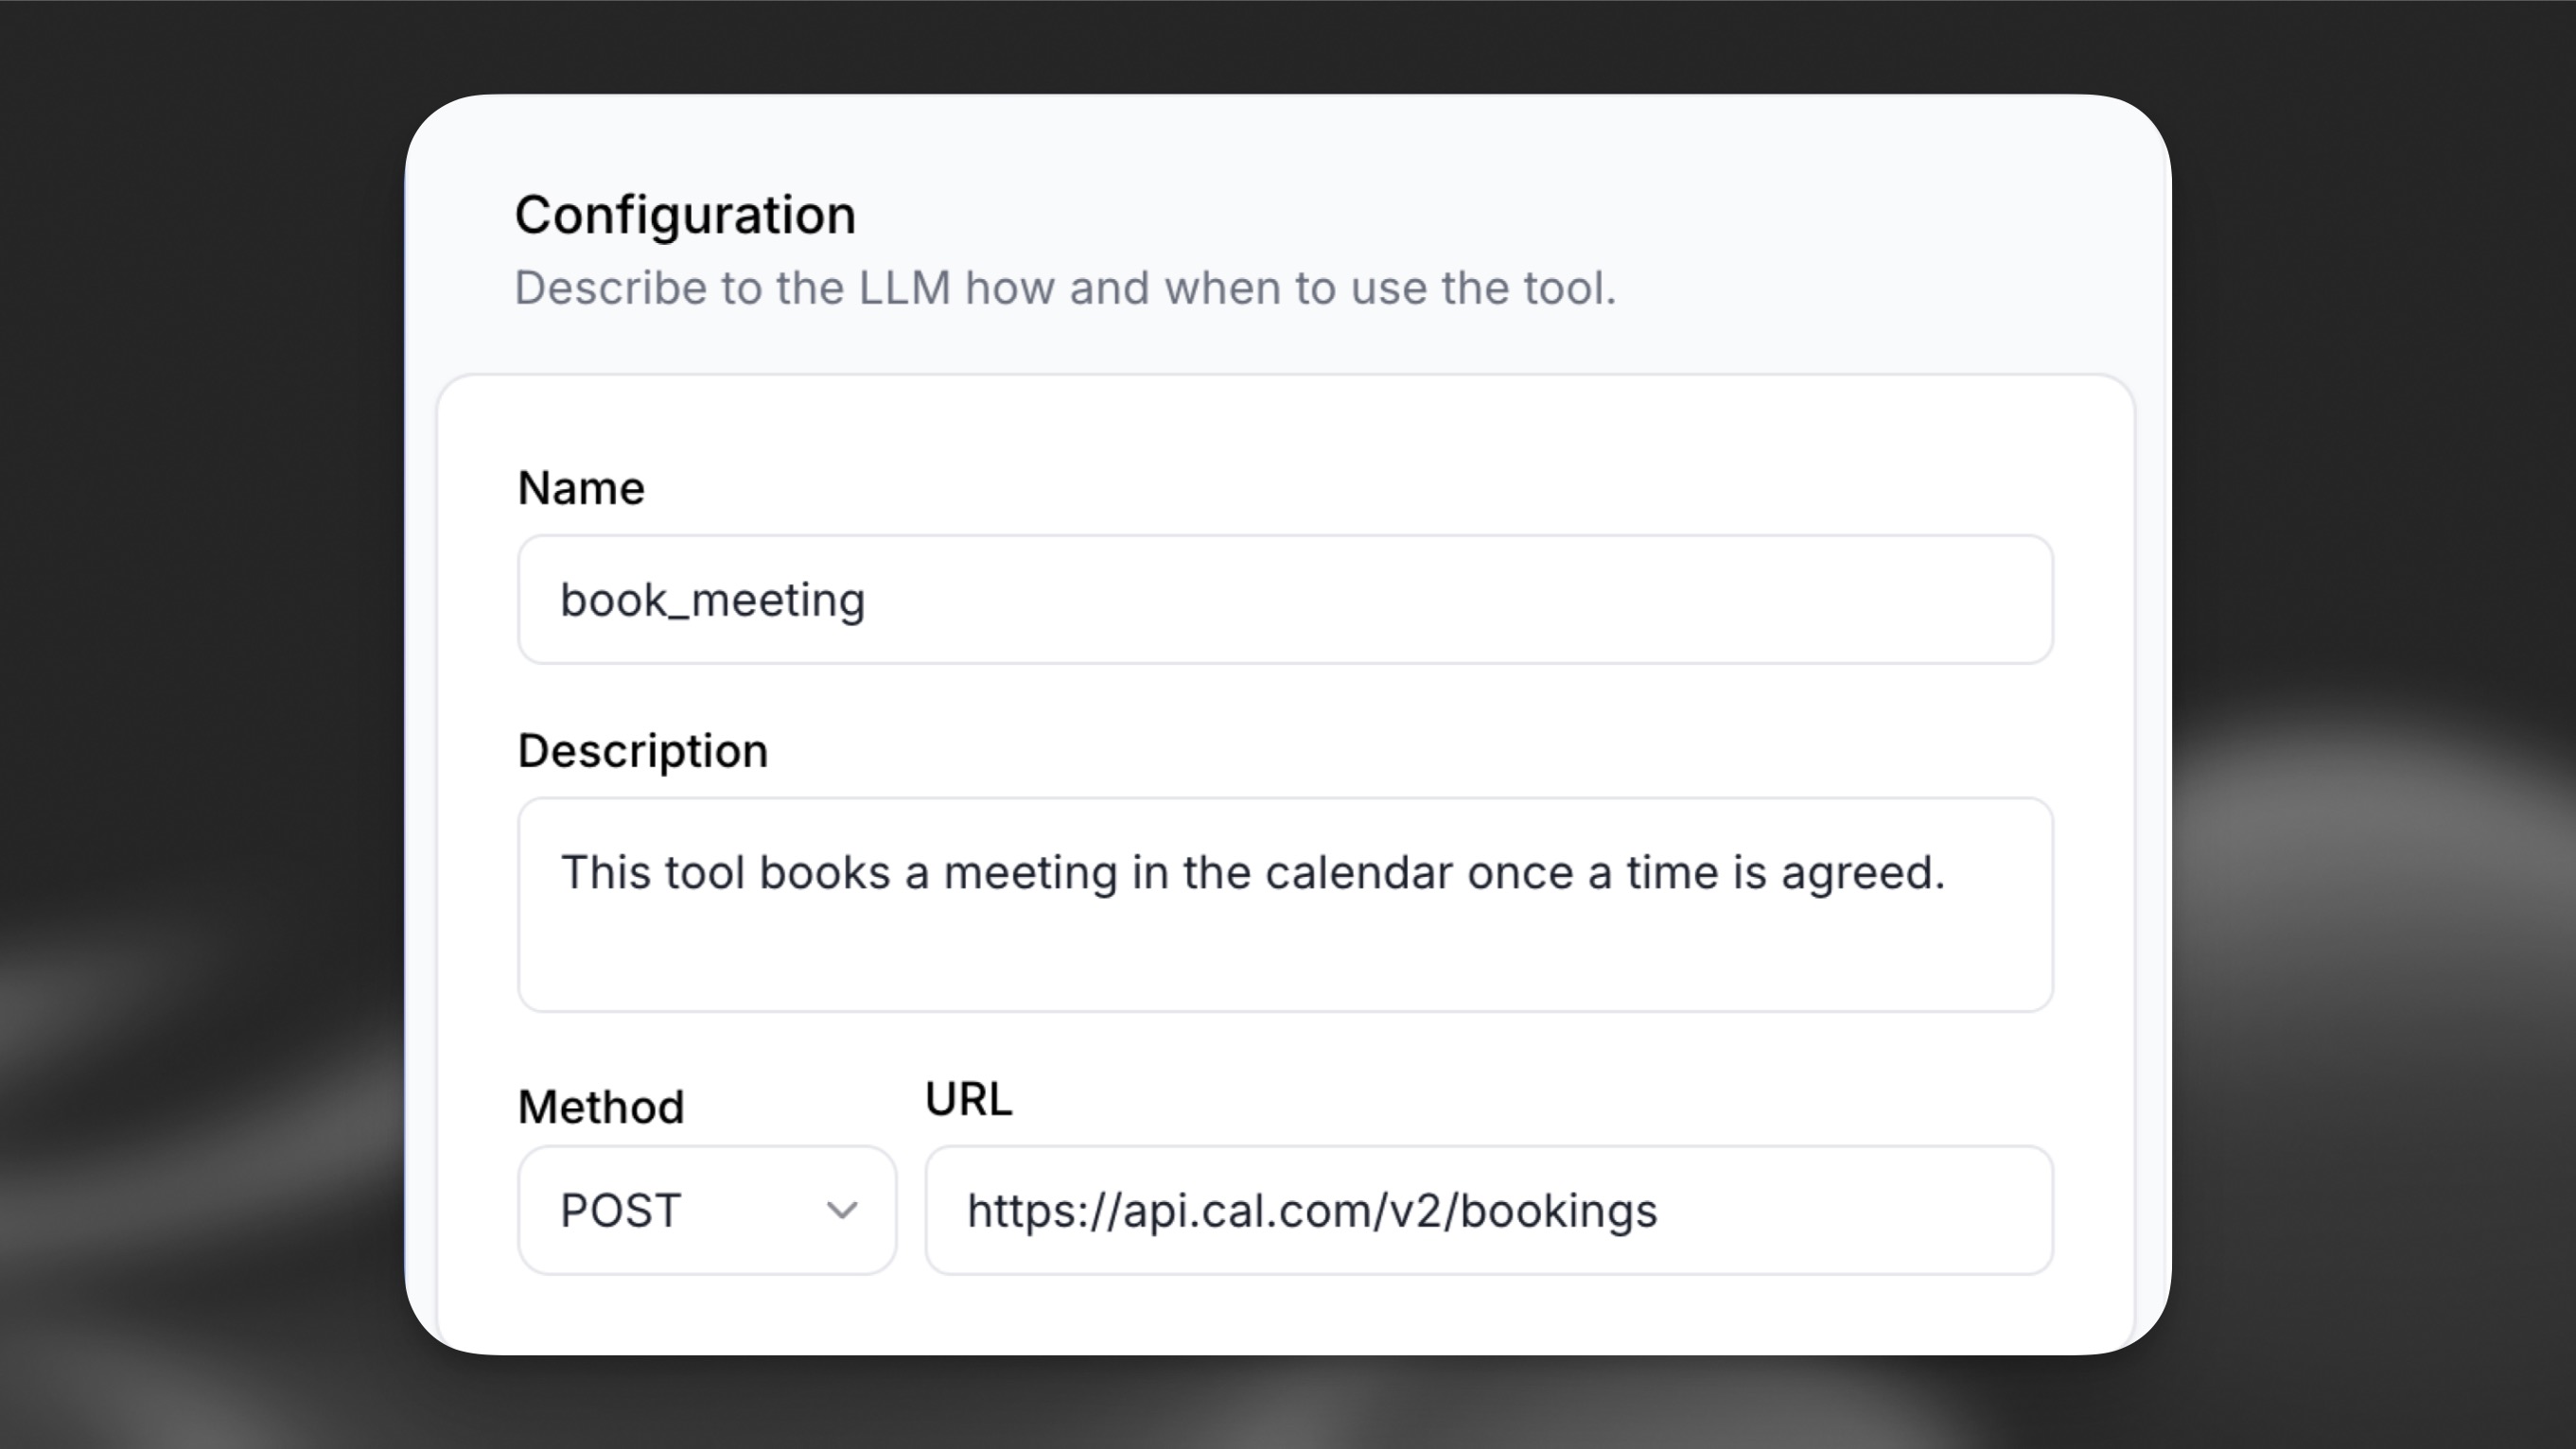
Section titled “Configuration”Define a high-level Name and Description to describe the tool's purpose. This helps the LLM understand the tool and know when to call it.
Authentication
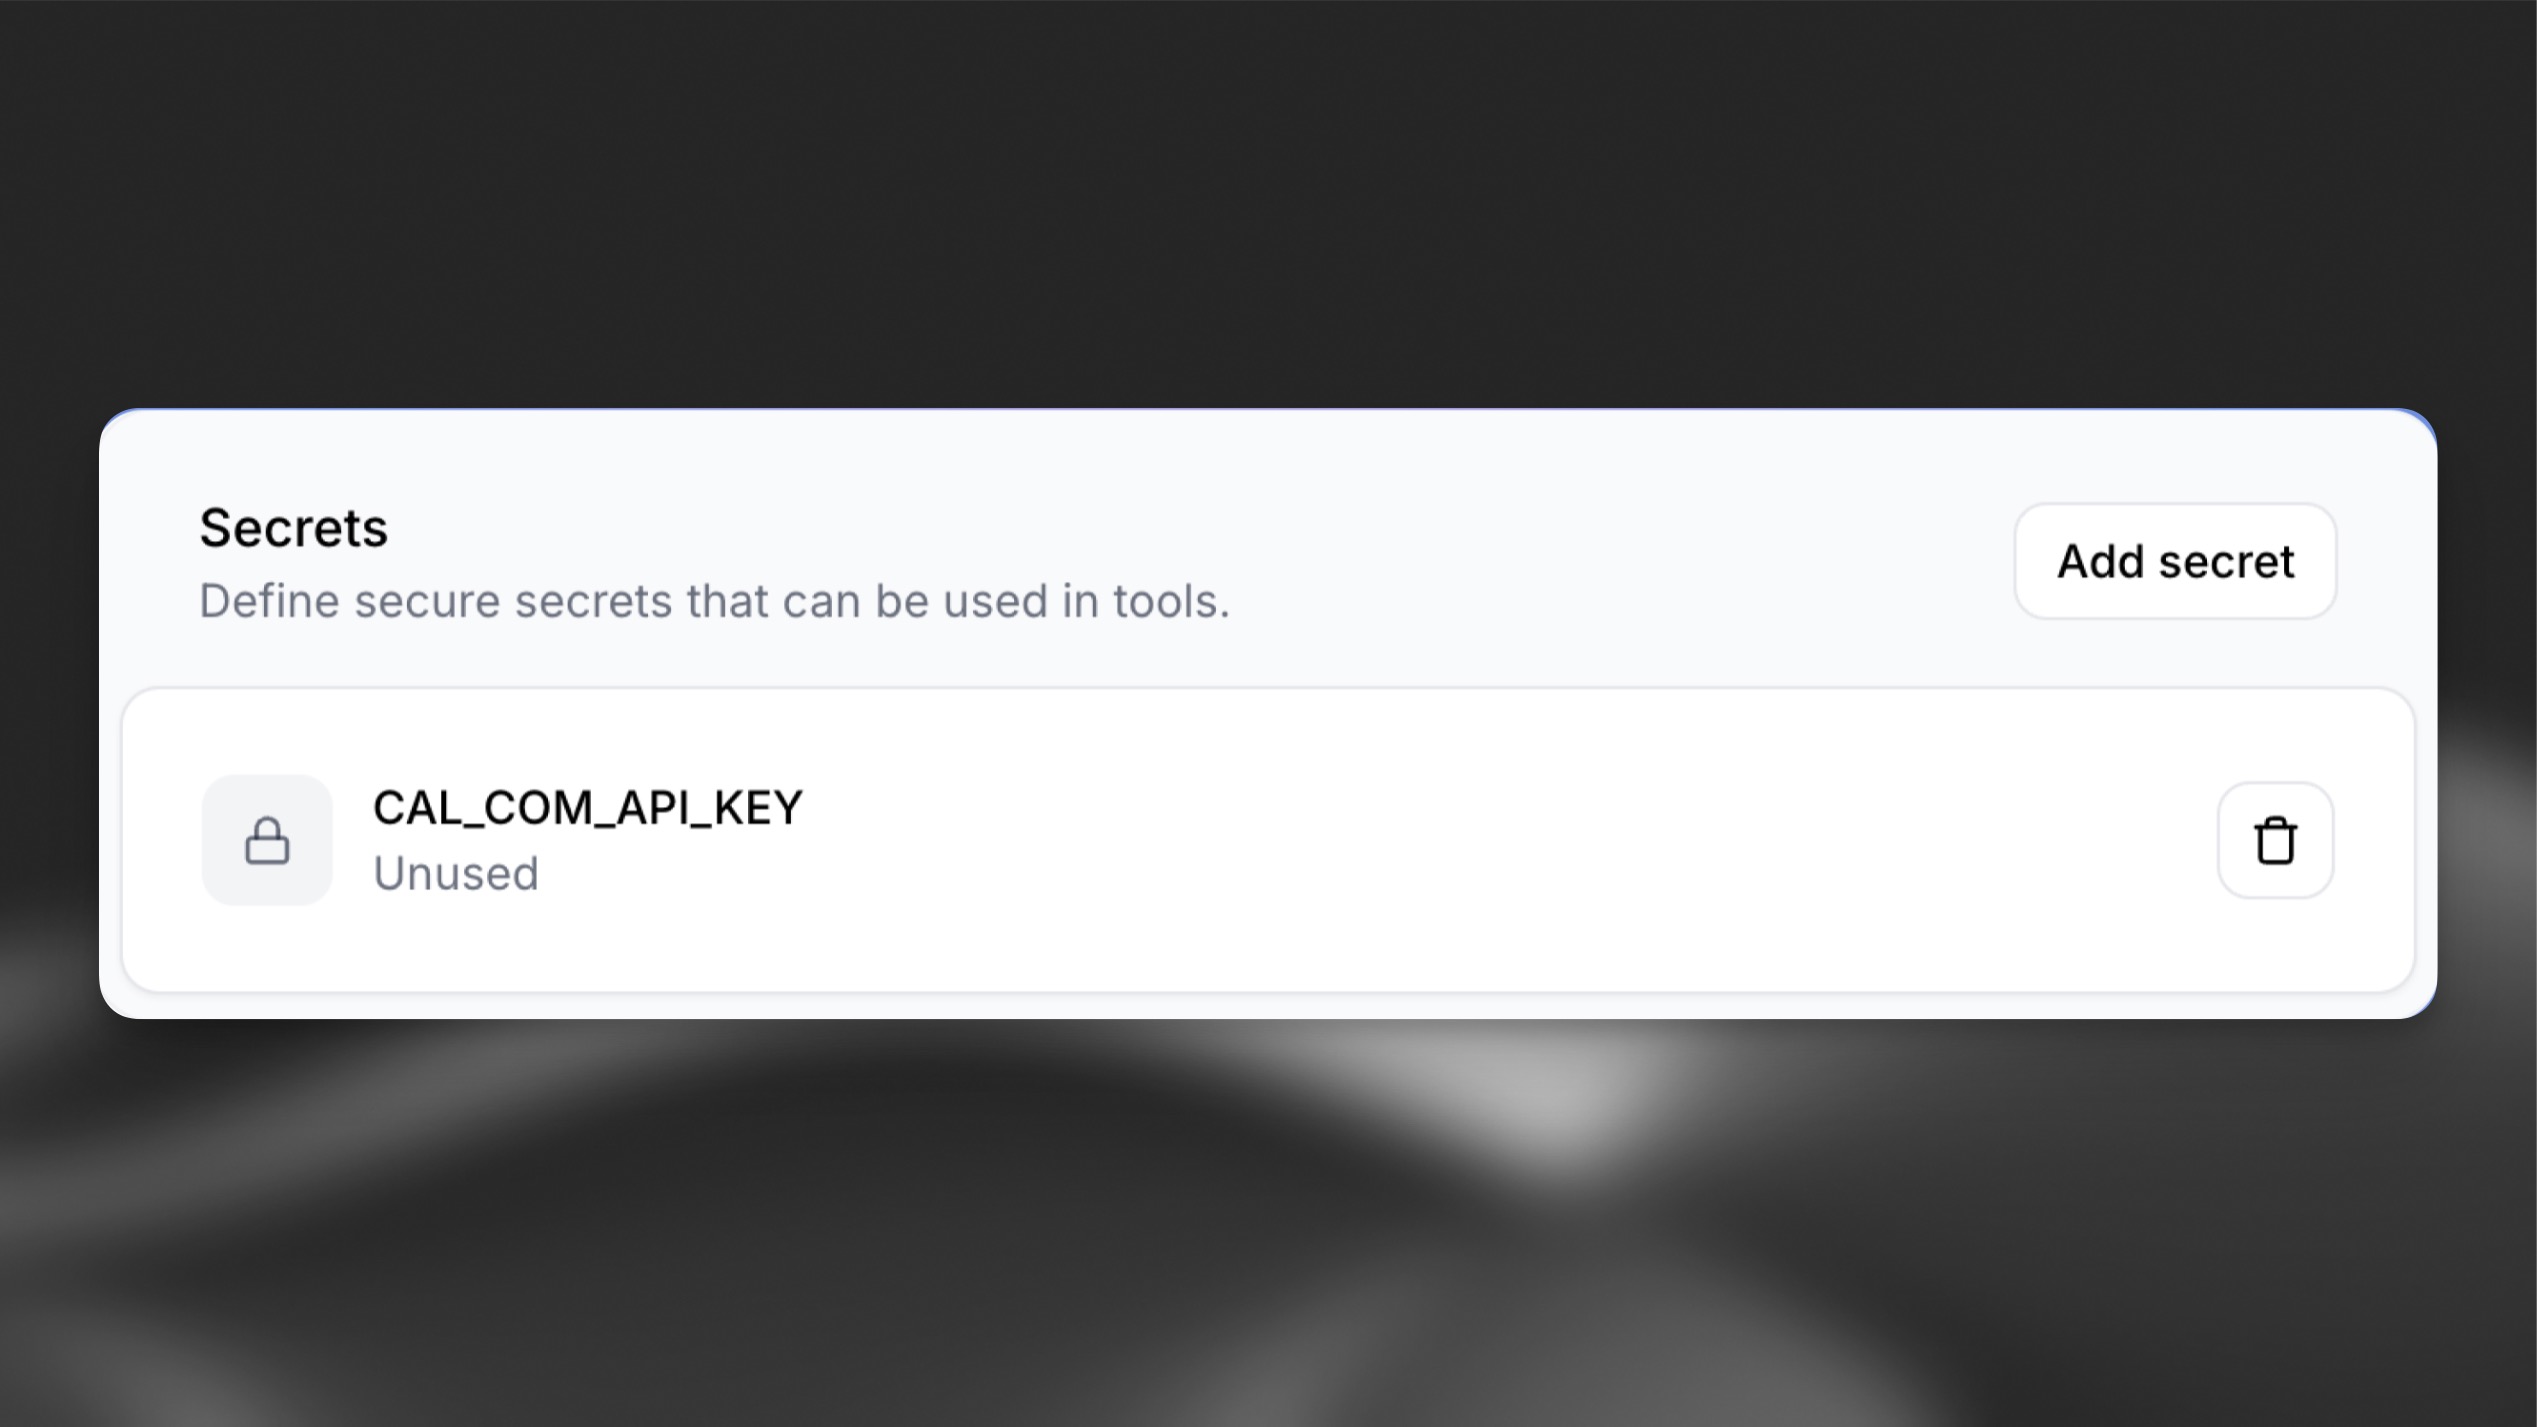
Section titled “Authentication”Configure authentication by adding custom headers or using out-of-the-box authentication methods through auth connections.
Headers
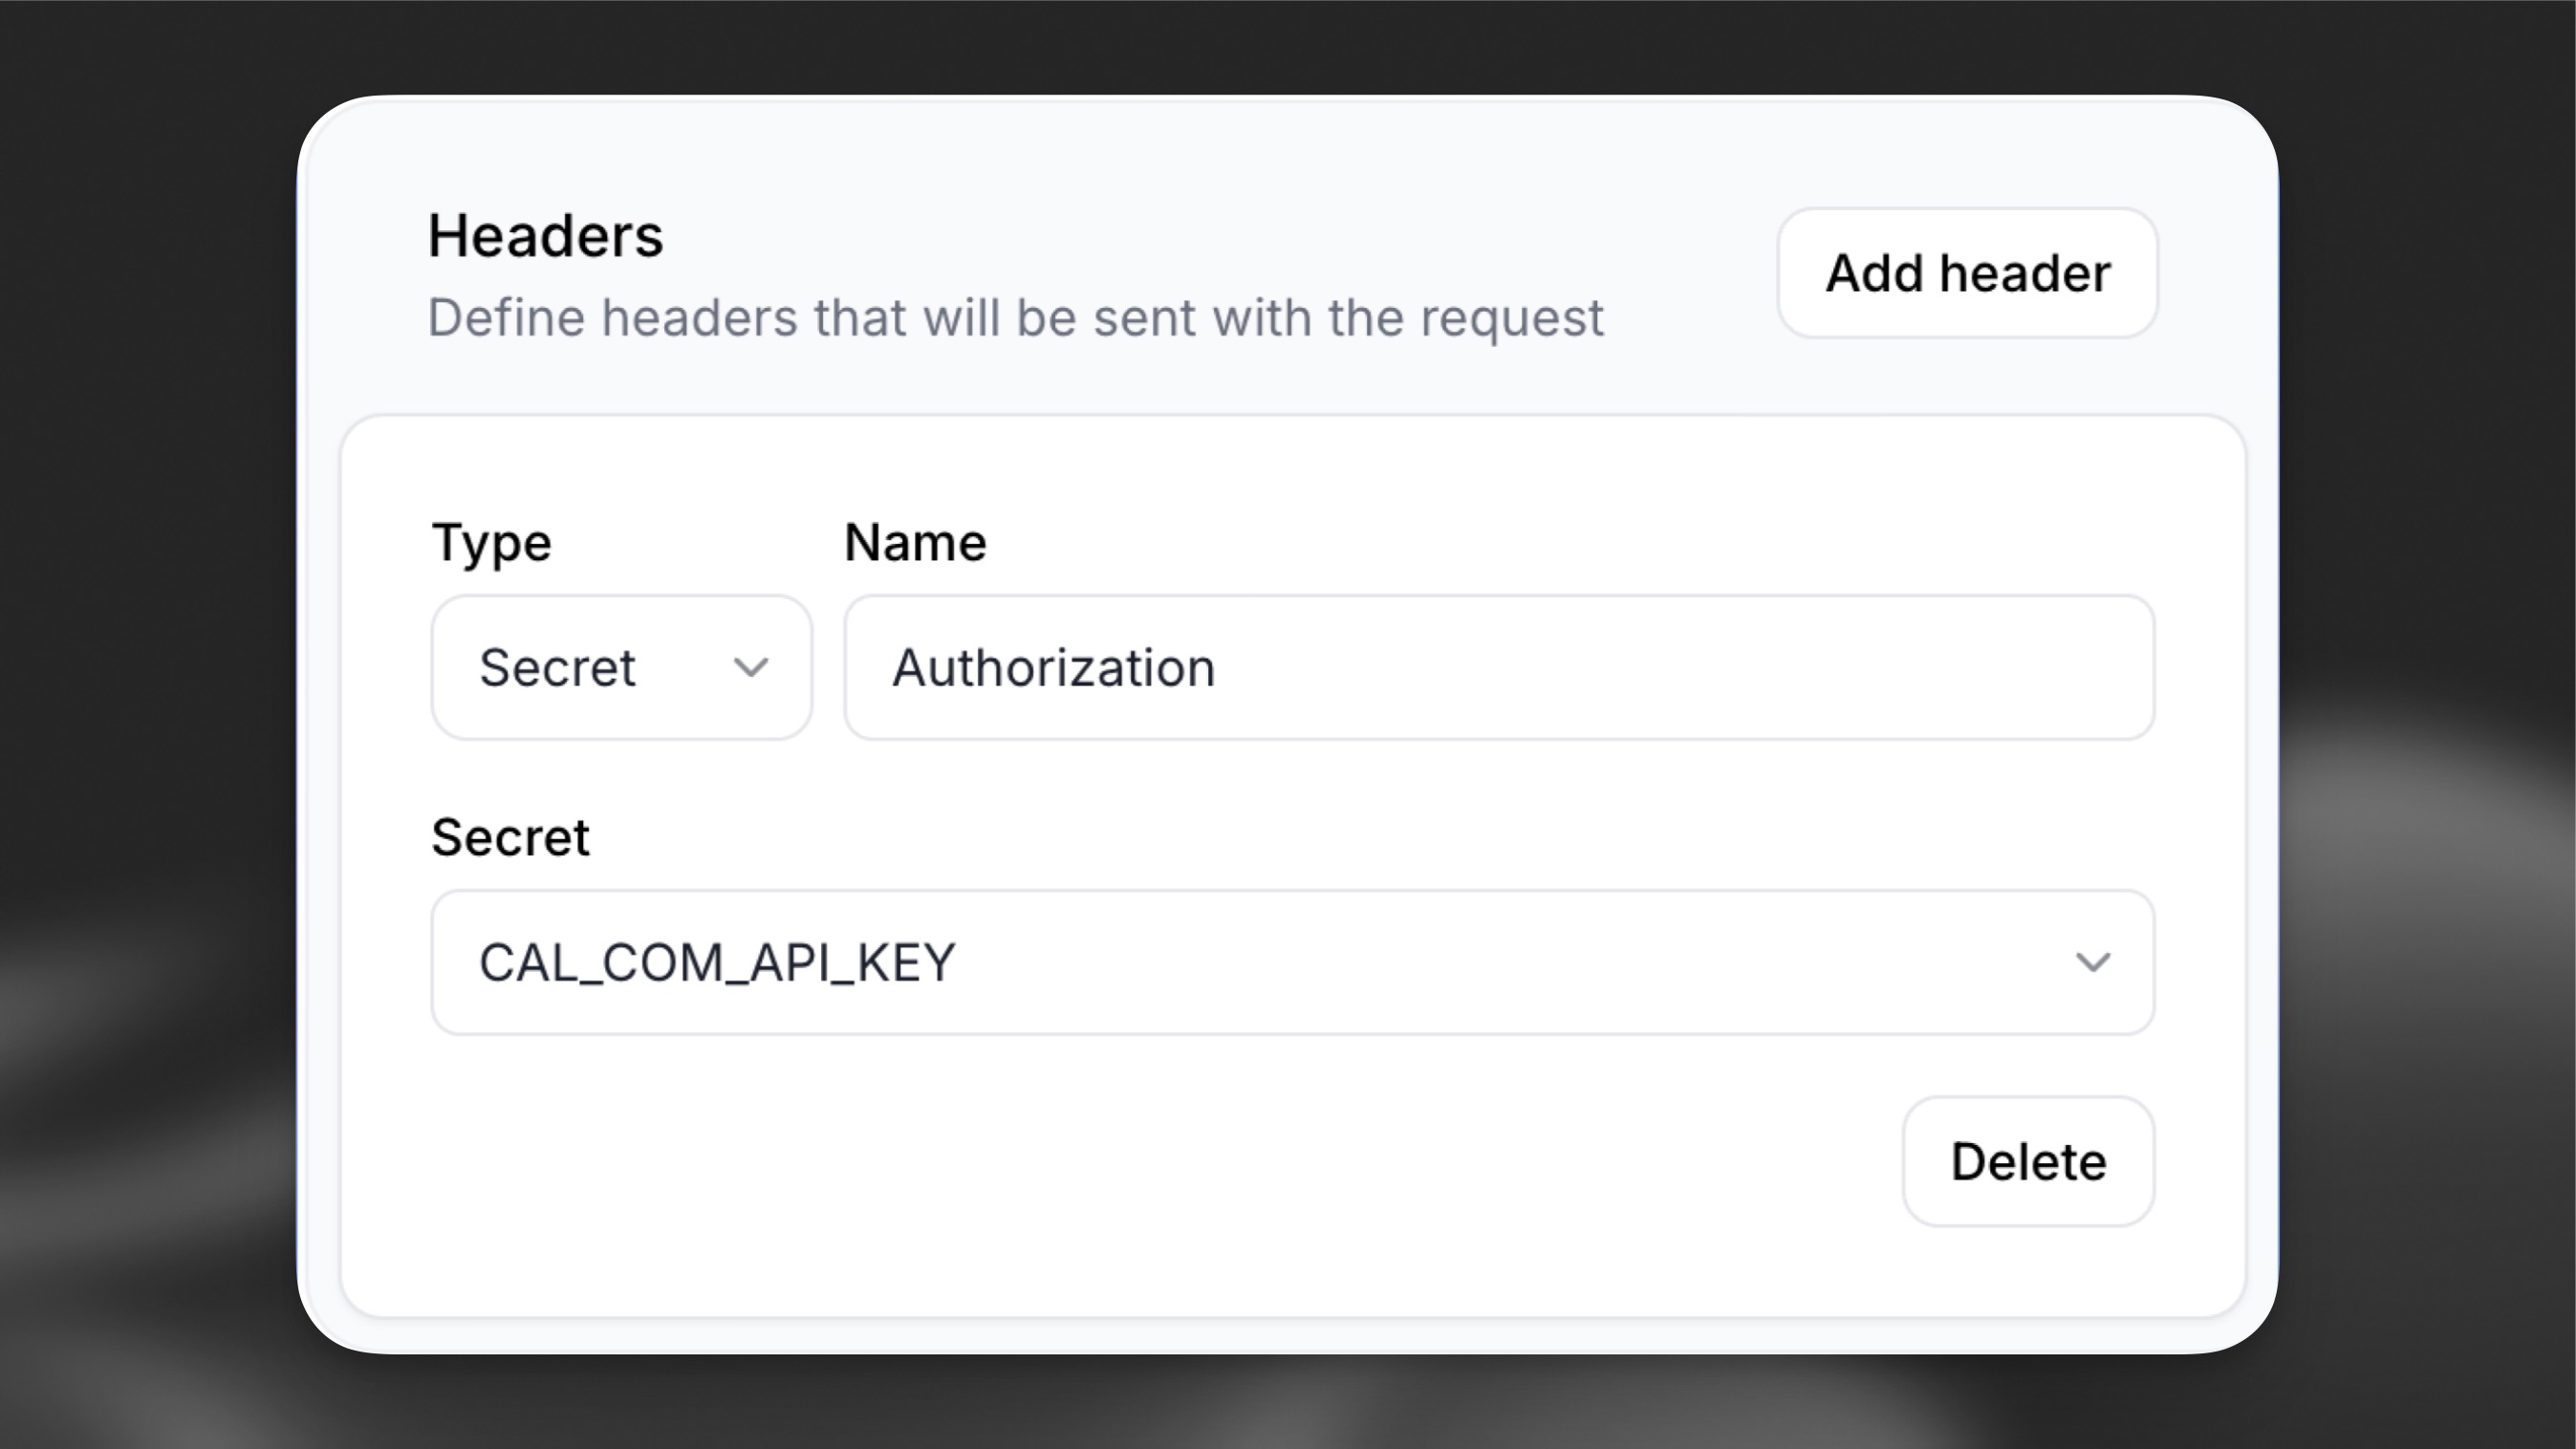
Section titled “Headers”Specify any headers that need to be included in the request.
Path parameters
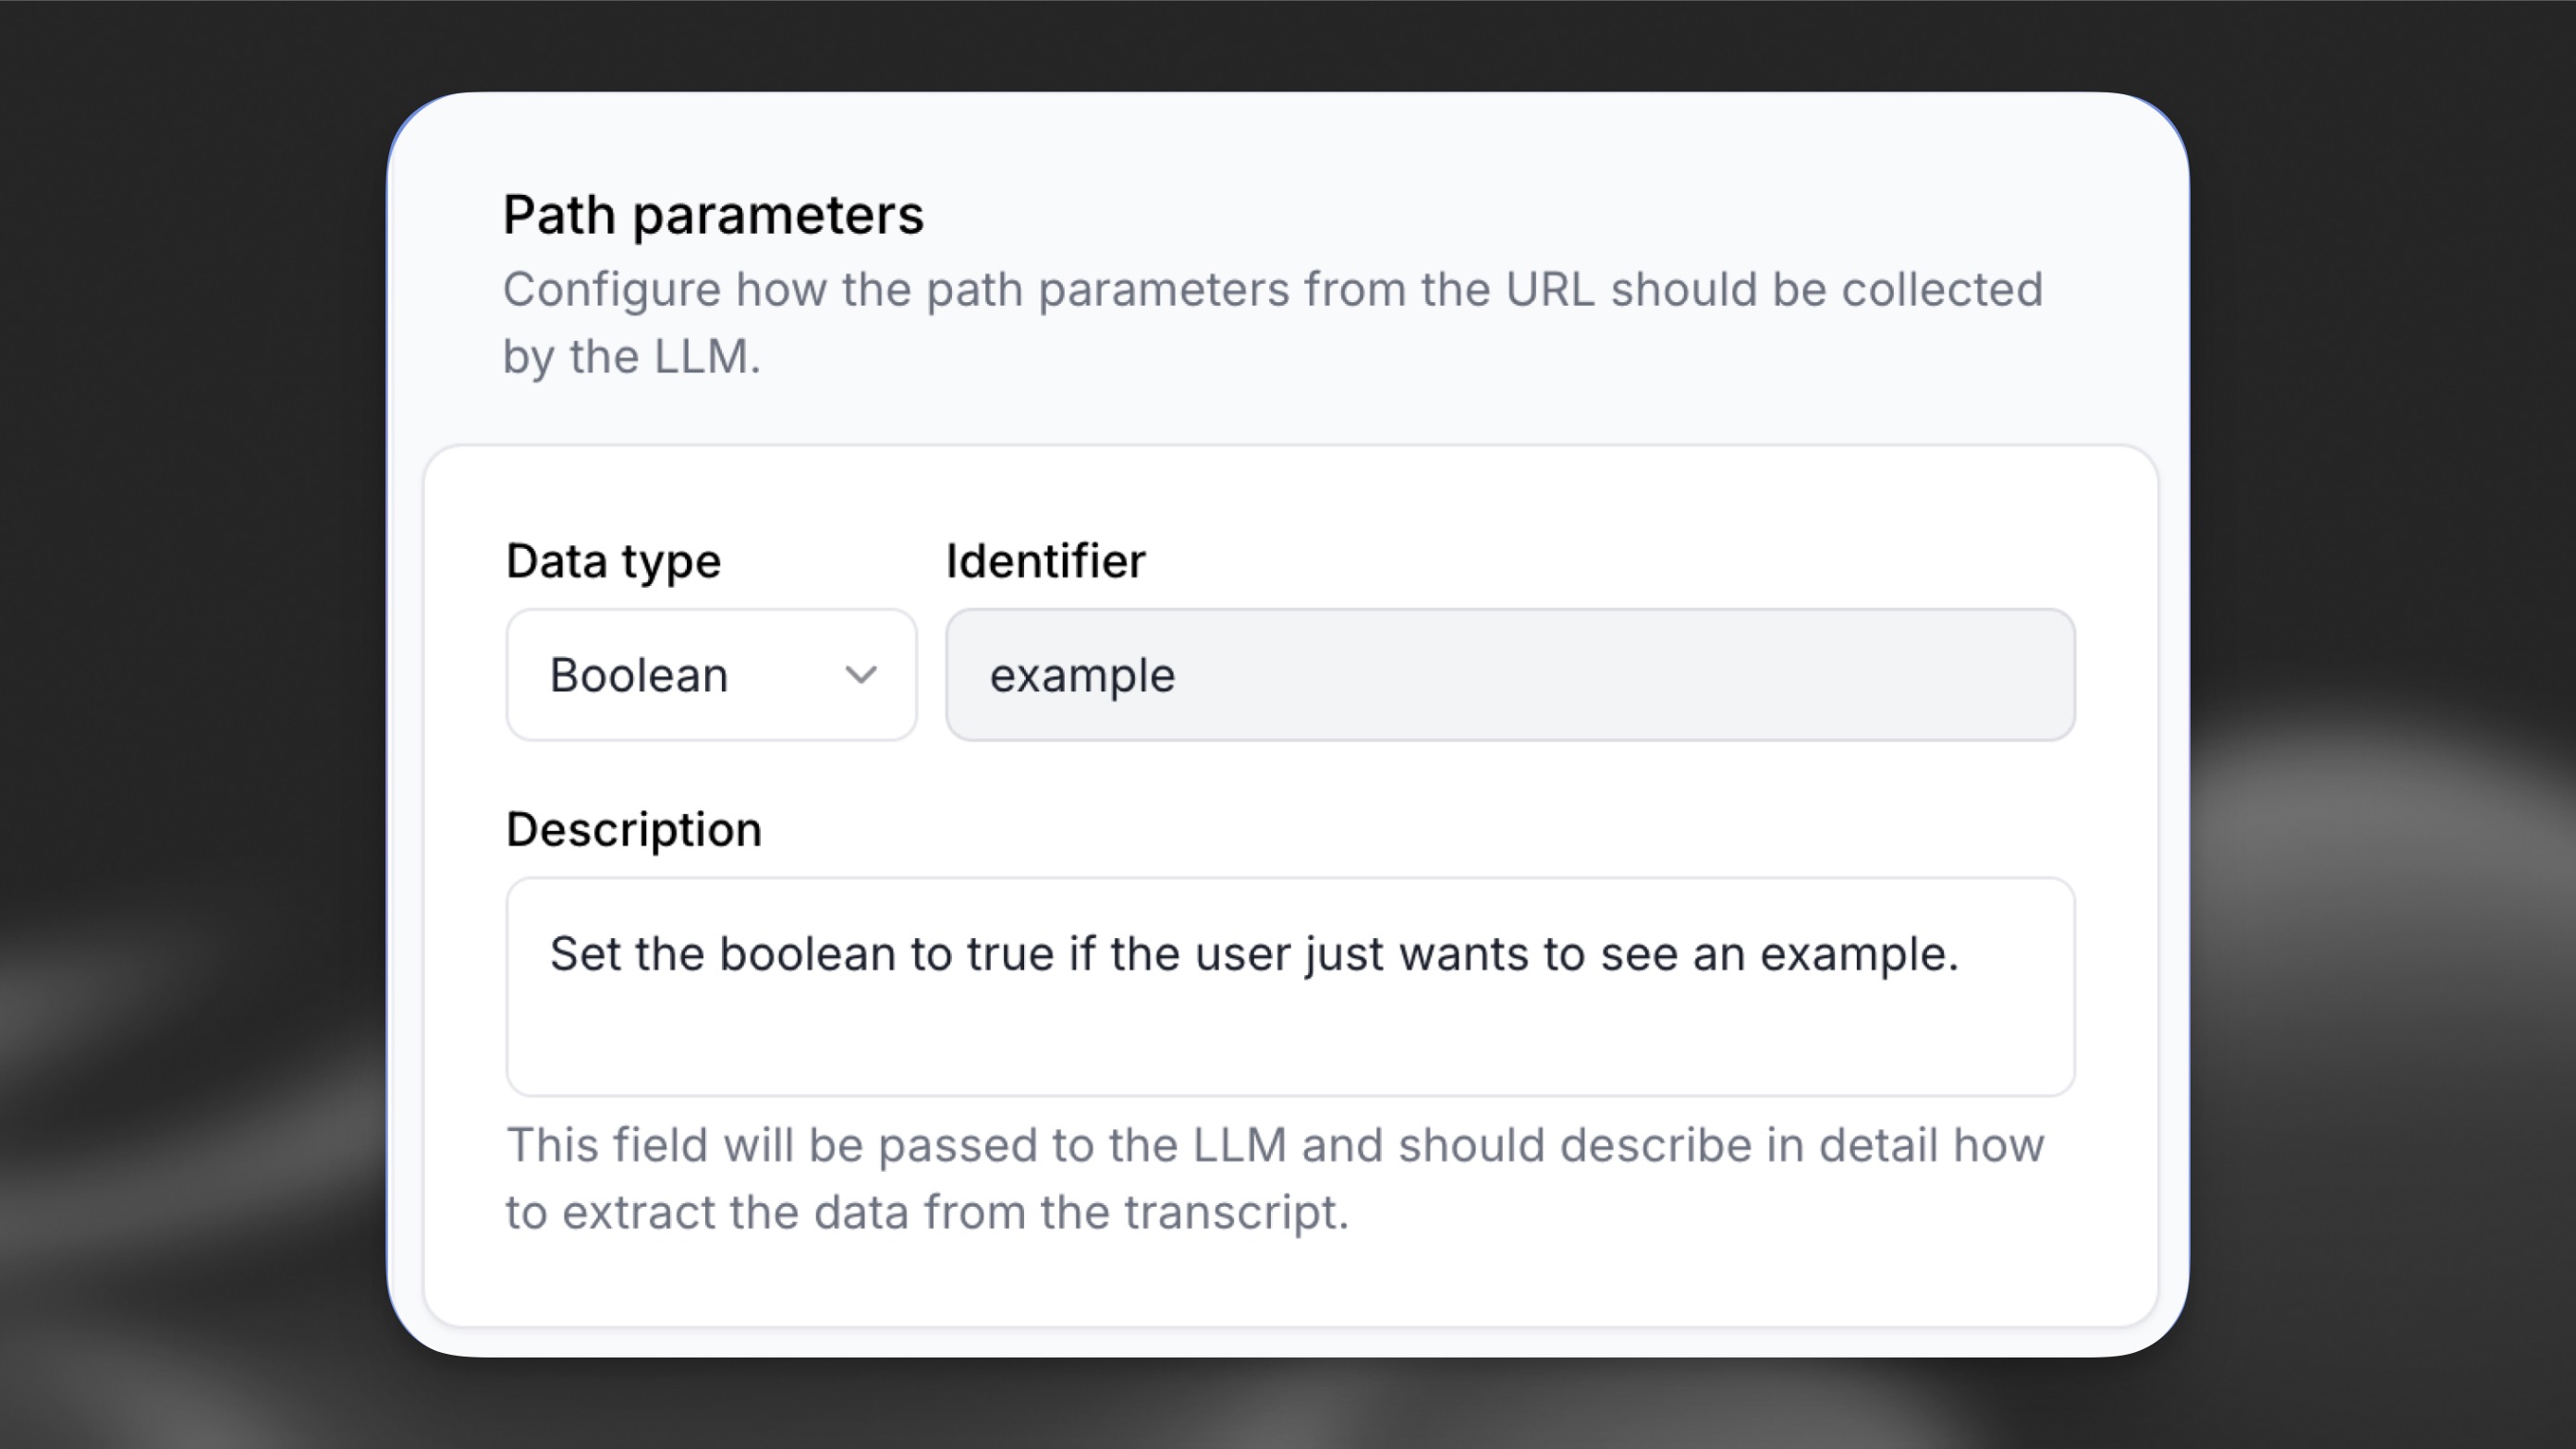
Section titled “Path parameters”Include variables in the URL path by wrapping them in curly braces {}:
- Example:
/api/resource/{id}whereidis a path parameter.
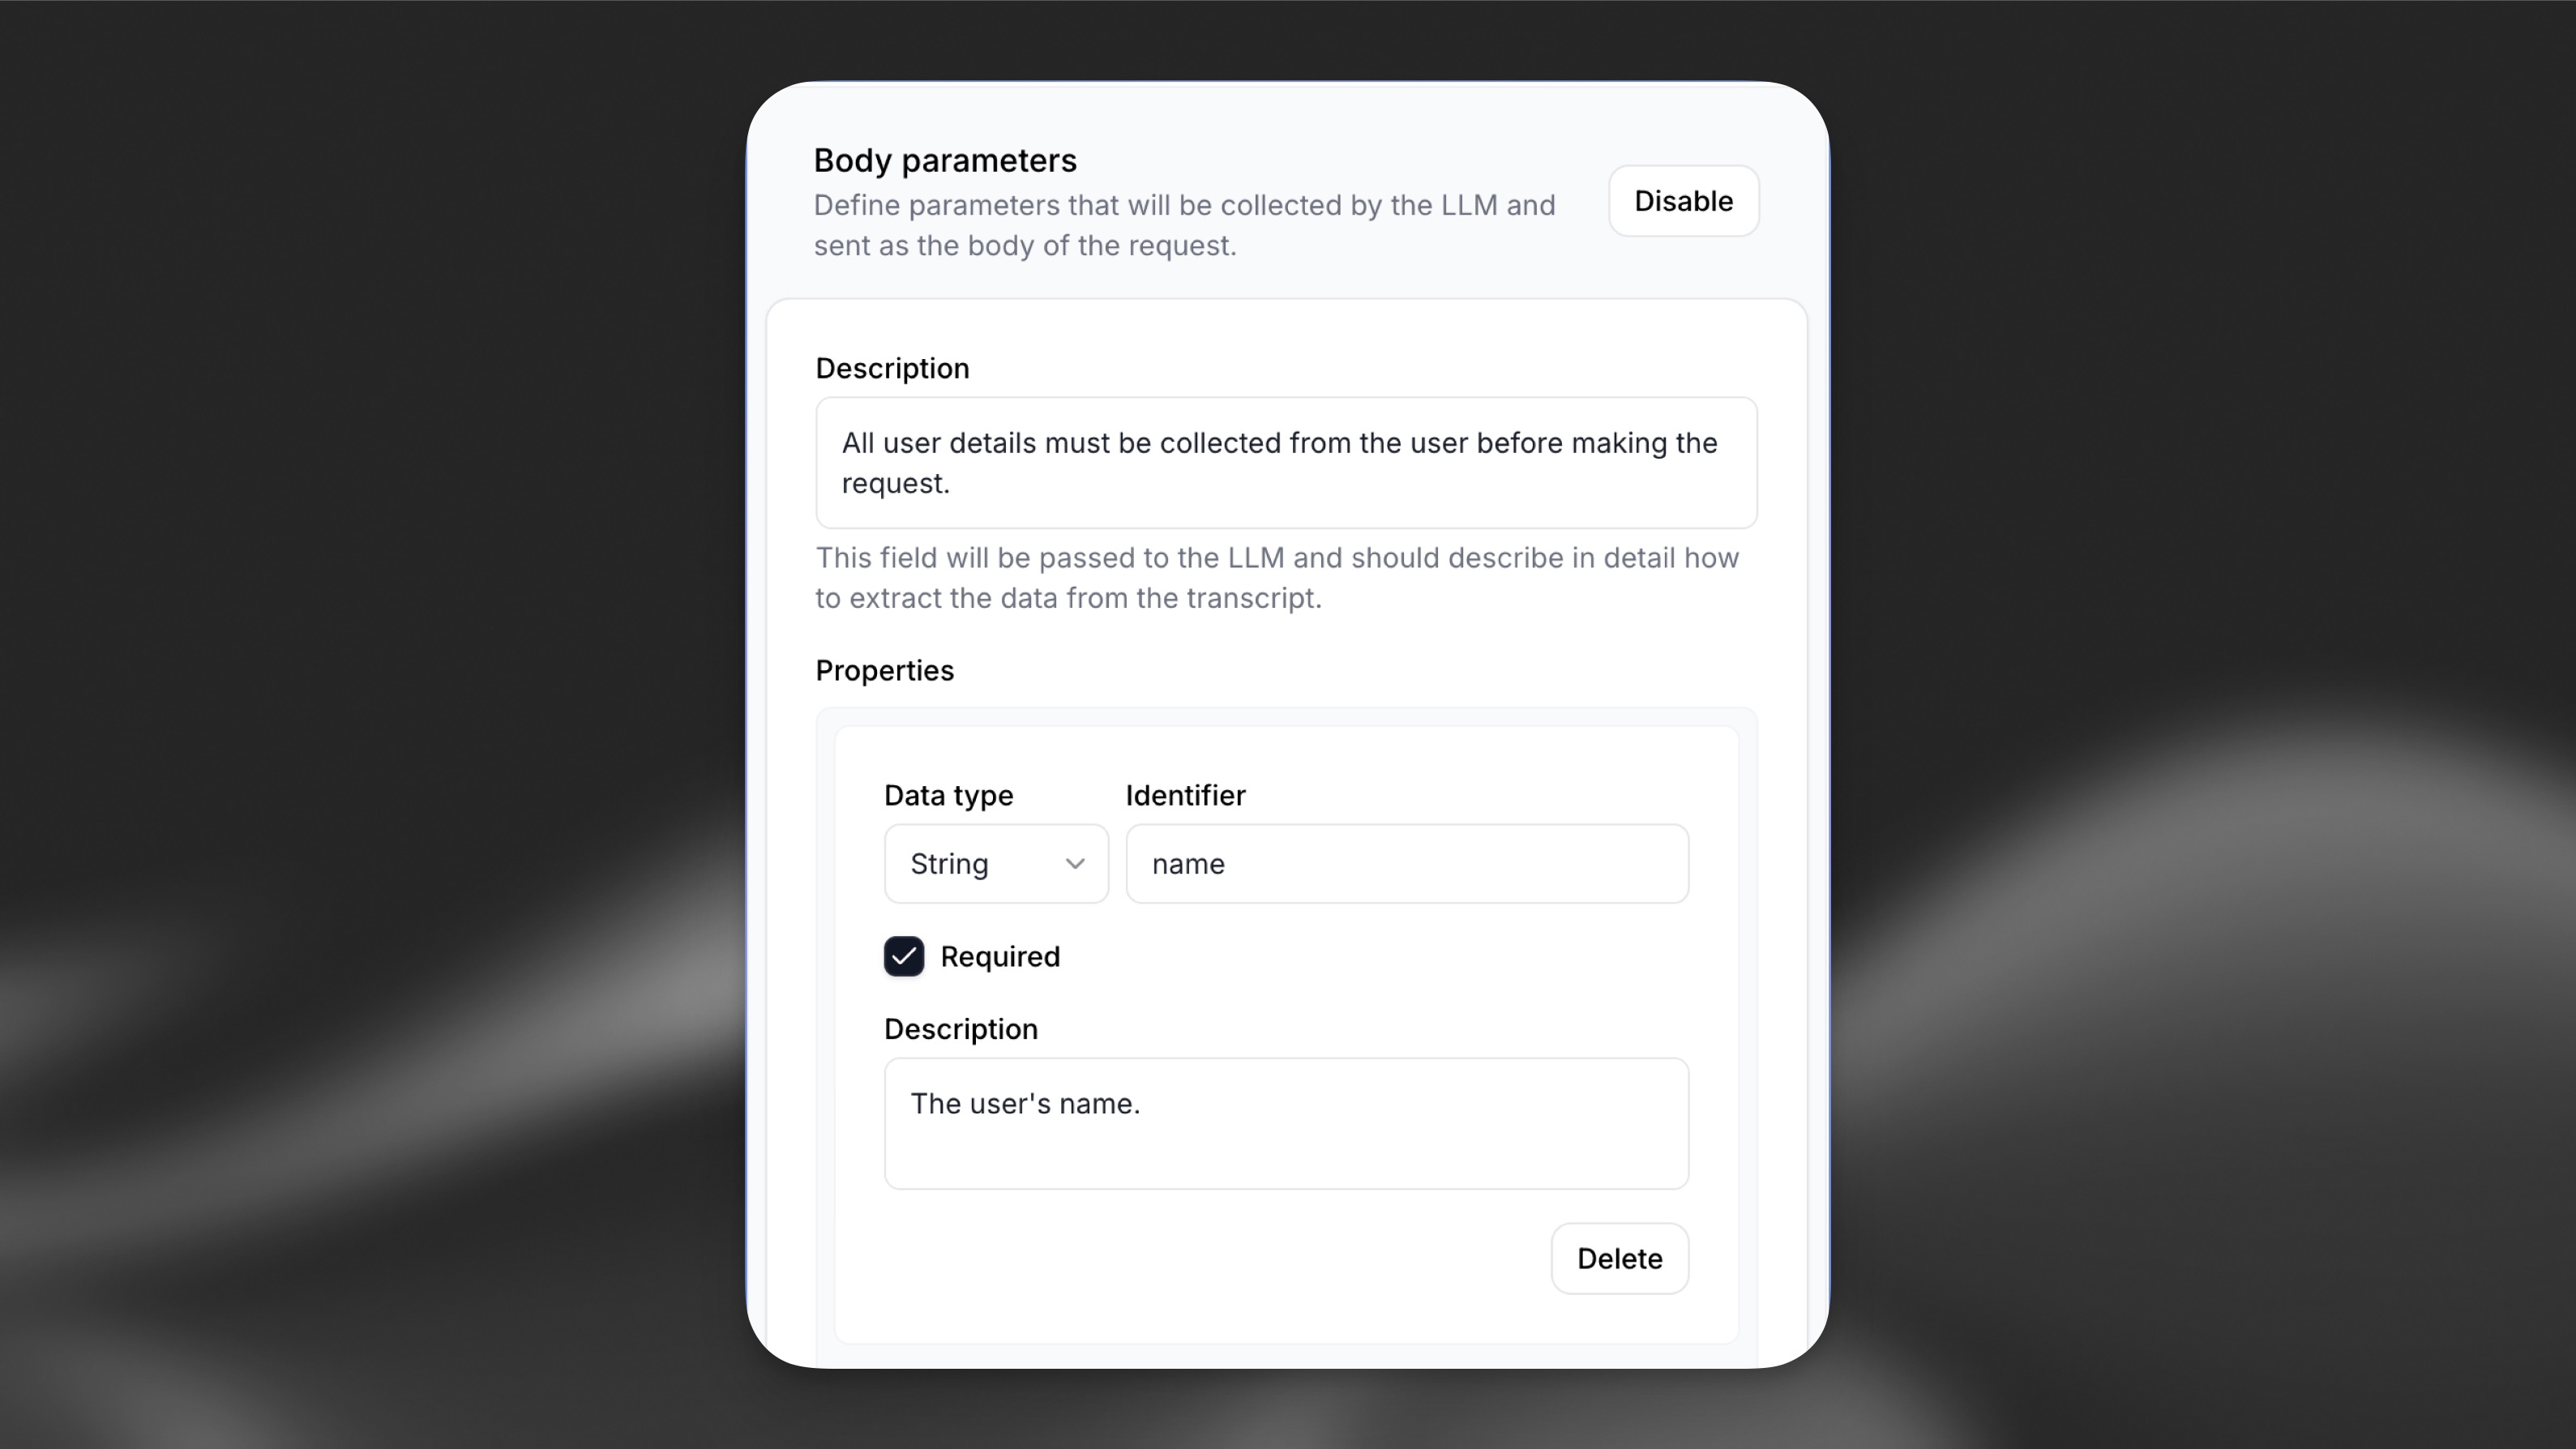
Body parameters
Section titled “Body parameters”Specify any body parameters to be included in the request.
Content Type
Section titled “Content Type”Configure the format for request body encoding:
- JSON (default): Sends body parameters as
application/json - URL-encoded: Sends body parameters as
application/x-www-form-urlencoded
URL-encoded format is useful when integrating with APIs that require form data submission, such as:
- Legacy systems that only accept form-encoded requests
- OAuth token endpoints
- Payment processing APIs
- Third-party integrations with specific content-type requirements
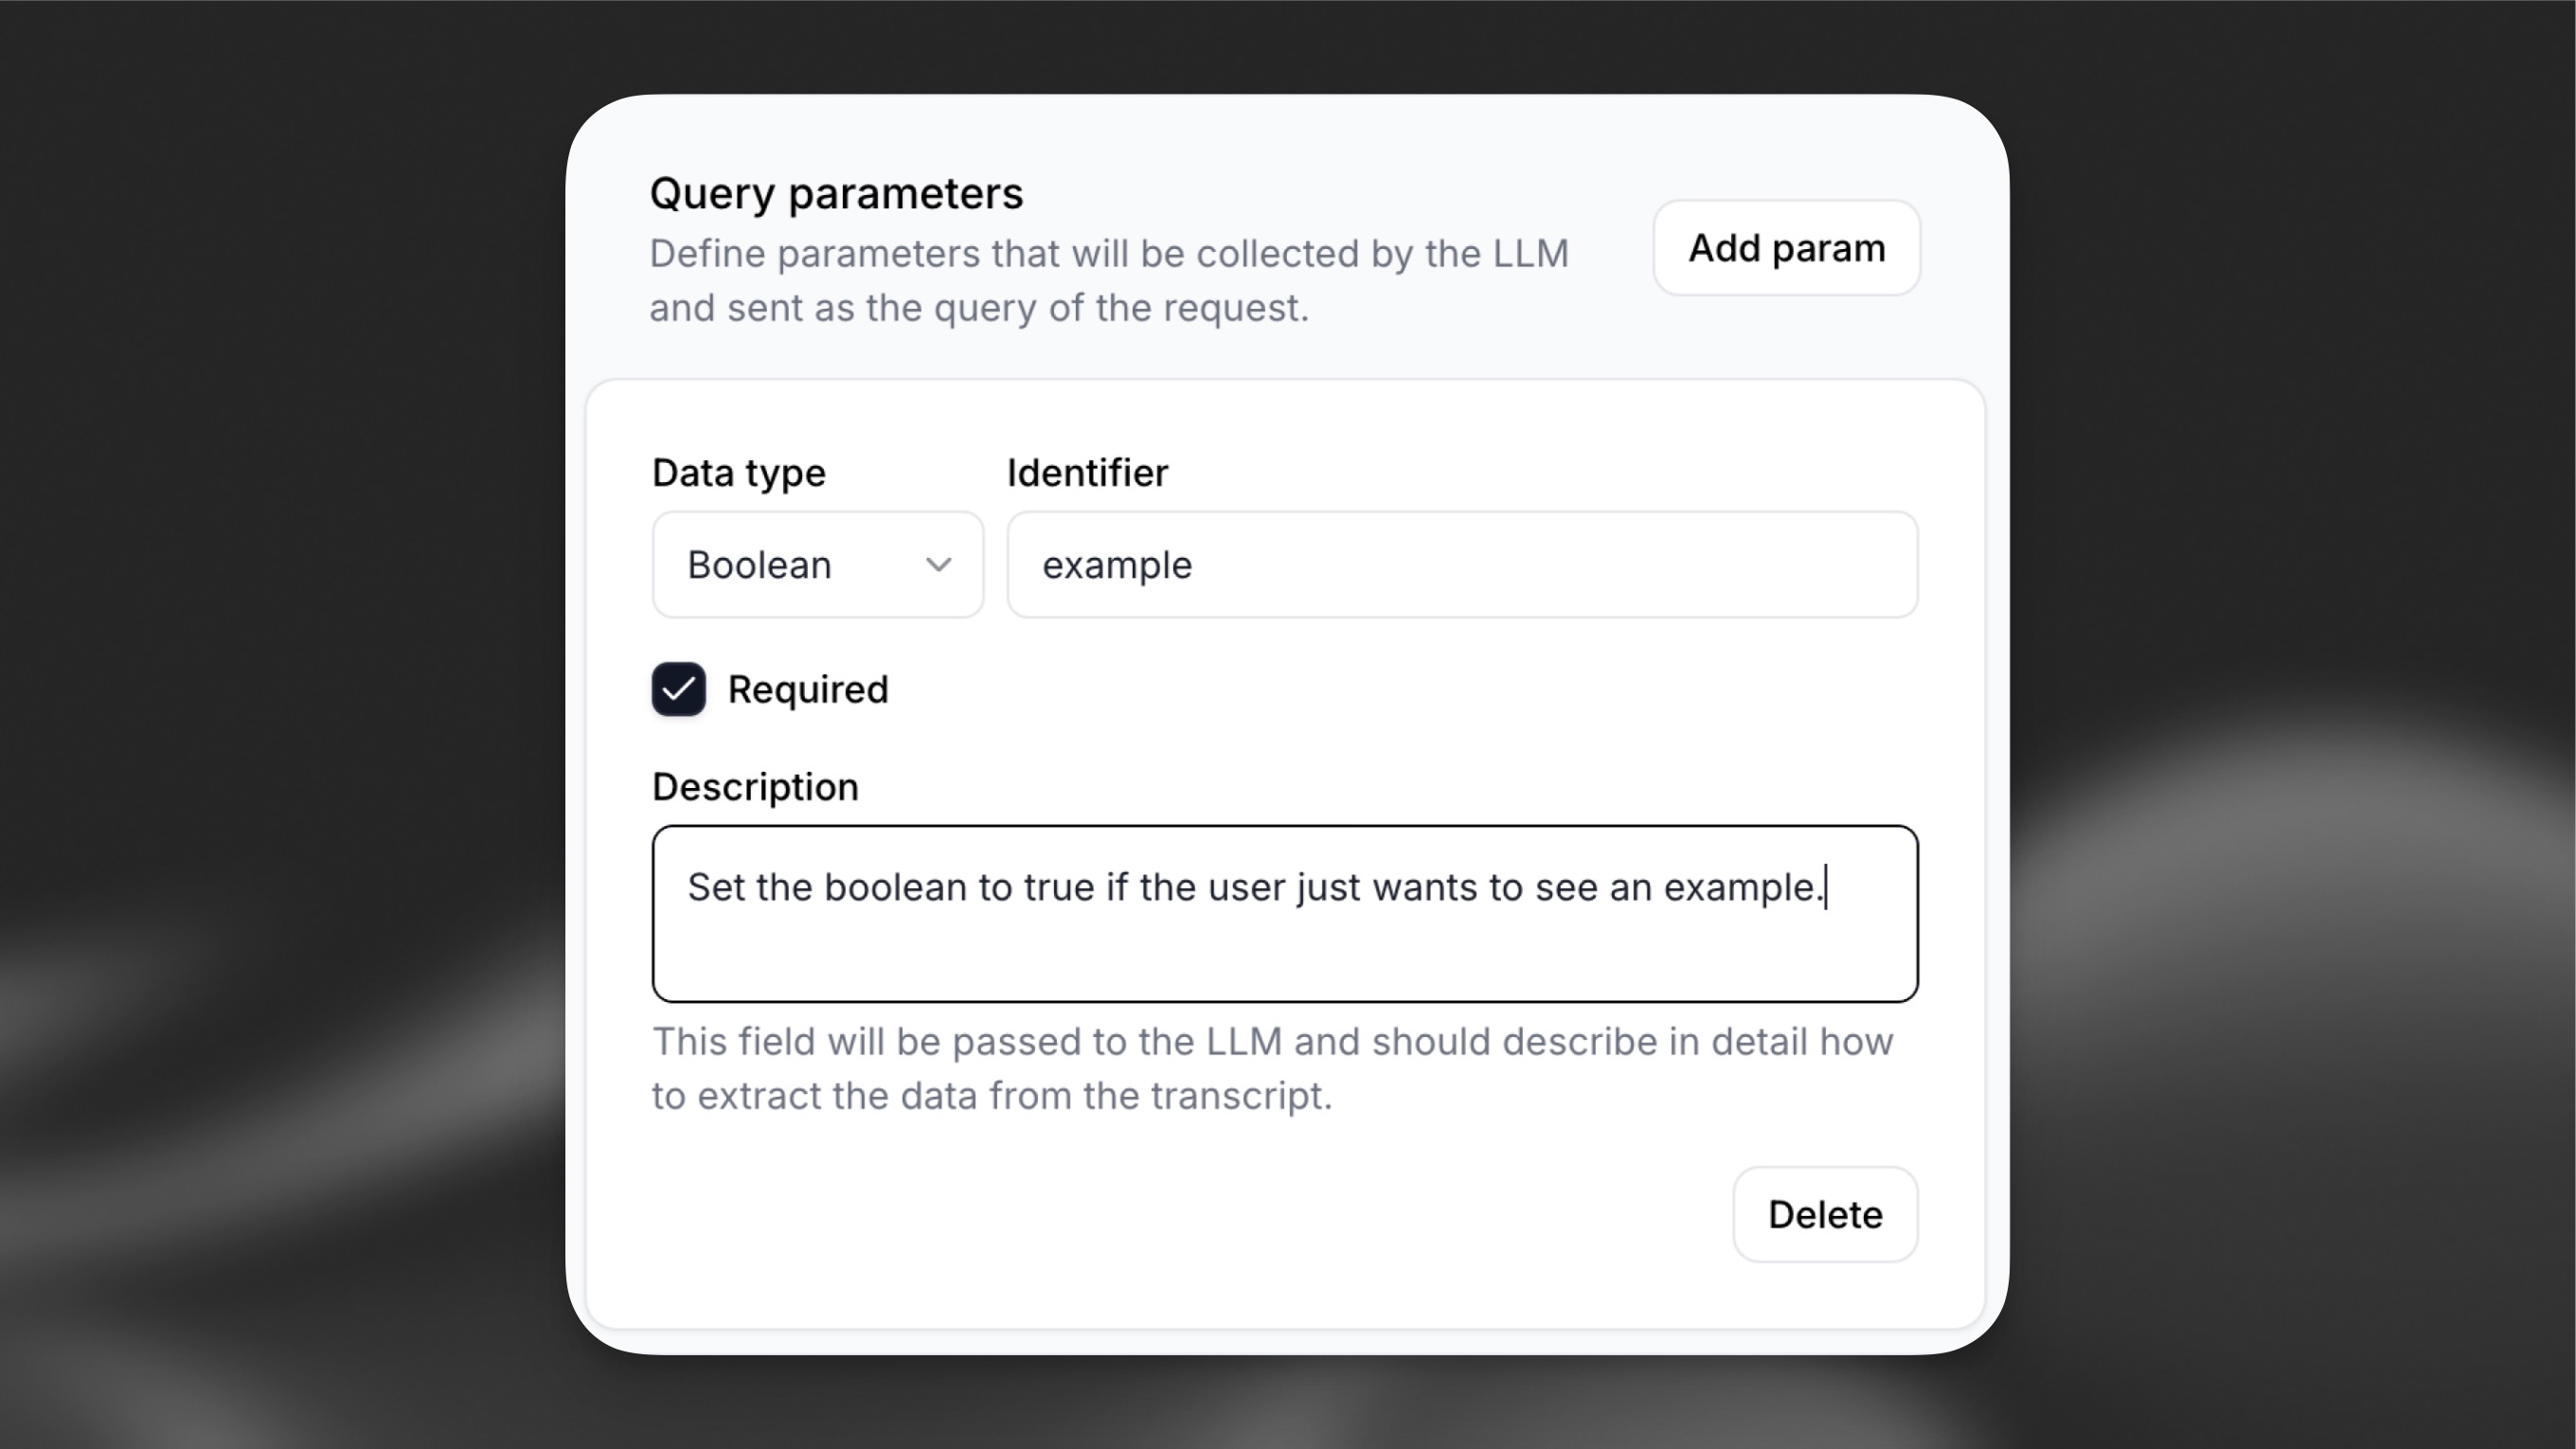
Query parameters
Section titled “Query parameters”Specify any query parameters to be included in the request.
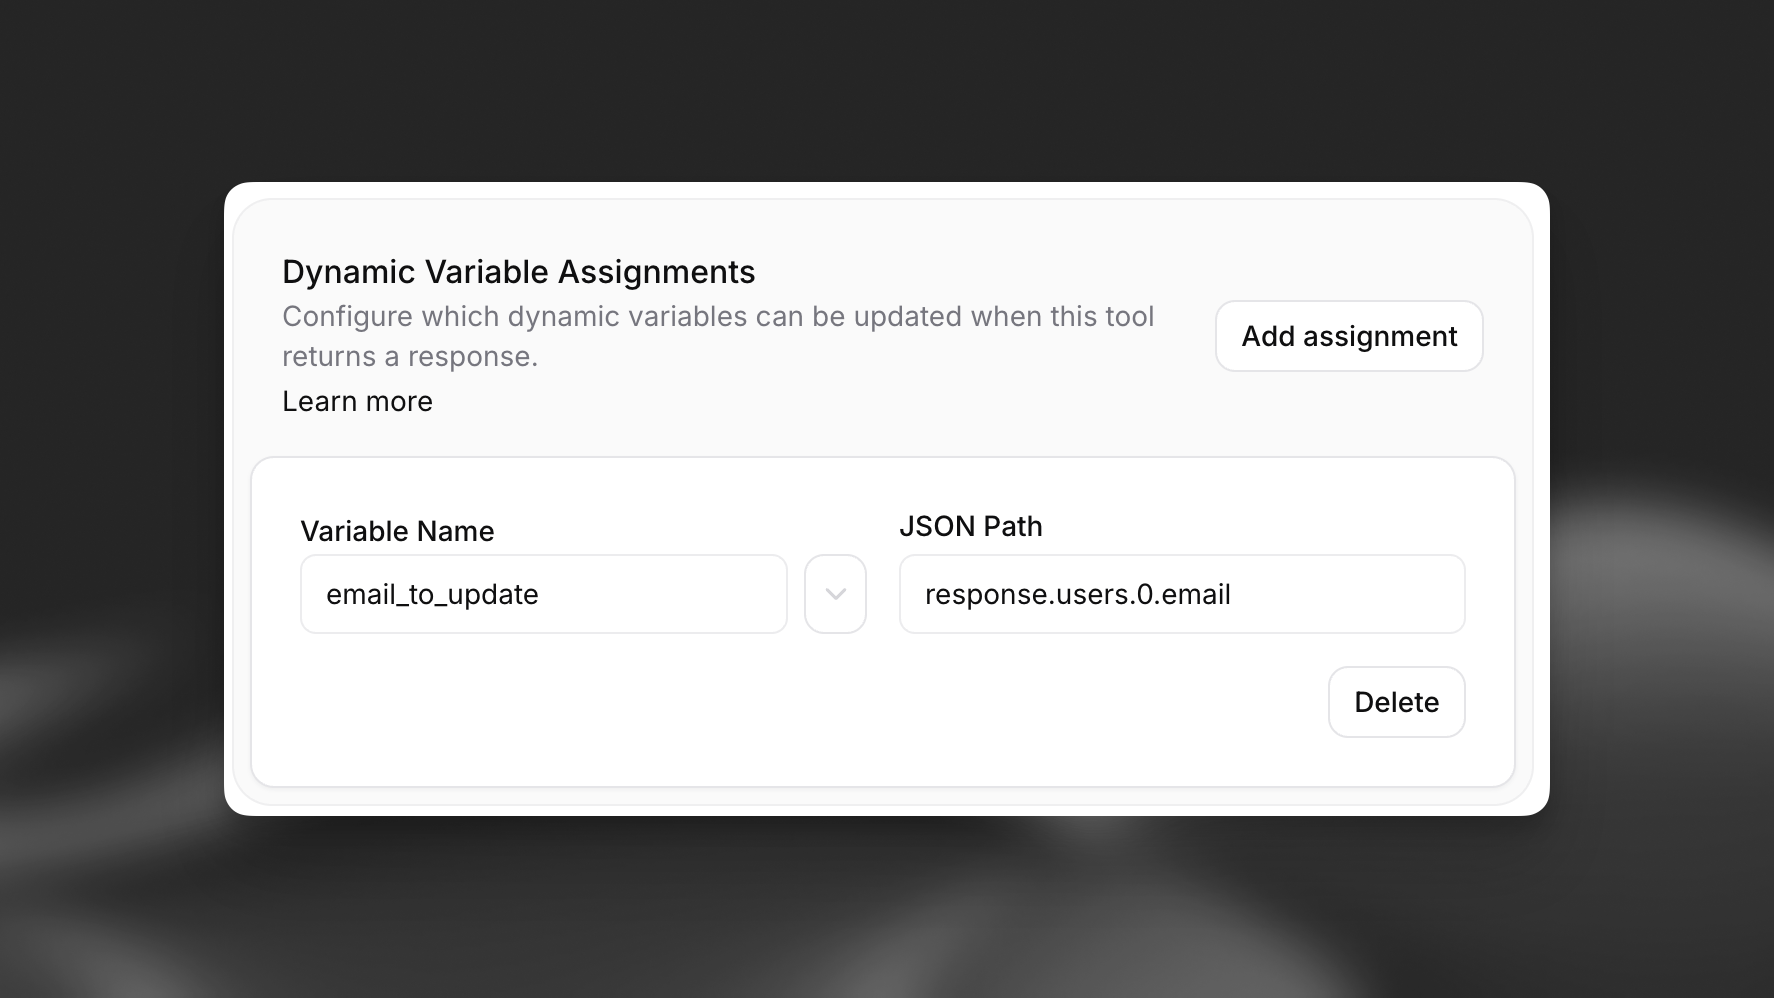
Dynamic variable assignment
Section titled “Dynamic variable assignment”Specify dynamic variables to update from the tool response for later use in the conversation.
In this guide, we'll create a weather assistant that can provide real-time weather information for any location. The assistant will use its geographic knowledge to convert location names into coordinates and fetch accurate weather data.
Configure the weather tool
Section titled “Configure the weather tool”The weather tool sends GET requests to https://api.open-meteo.com/v1/forecast with latitude and longitude as path parameters supplied by the LLM.
Add via the dashboard
Section titled “Add via the dashboard”On the Agent section of your agent settings page, choose Add Tool. Select Webhook as the Tool Type, then configure the weather API integration with these values:
| Field | Value |
|---|---|
| Name | get_weather |
| Description | Gets the current weather forecast for a location |
| Method | GET |
| URL | https://api.open-meteo.com/v1/forecast?latitude={latitude}&longitude={longitude}¤t=temperature_2m,wind_speed_10m&hourly=temperature_2m,relative_humidity_2m,wind_speed_10m |
Add two path parameters with LLM Prompt value type:
| Data Type | Identifier | Description |
|---|---|---|
| string | latitude | The latitude coordinate for the requested location |
| string | longitude | The longitude coordinate for the requested location |
Add via the CLI
Section titled “Add via the CLI”Create a tool config file
Section titled “Create a tool config file”Save the following as tool_configs/get_weather.json:
{
  "type": "webhook",
  "name": "get_weather",
  "description": "Gets the current weather forecast for a location",
  "api_schema": {
    "url": "https://api.open-meteo.com/v1/forecast?current=temperature_2m,wind_speed_10m",
    "method": "GET",
    "path_params_schema": {
      "latitude": {
        "type": "string",
        "description": "The latitude coordinate for the requested location"
      },
      "longitude": {
        "type": "string",
        "description": "The longitude coordinate for the requested location"
      }
    }
  }
}
Add the tool
Section titled “Add the tool”elevenlabs tools add "get_weather" --type "webhook" --config-path ./tool_configs/get_weather.jsonReference the tool from your agent
Section titled “Reference the tool from your agent”Edit agent_configs/<agent-name>.json and add the tool's ID to conversation_config.agent.prompt.tool_ids, then push:
elevenlabs agents push --agent "<agent-name>"Add via the API
Section titled “Add via the API”from elevenlabs import ElevenLabs, ToolRequestModel
elevenlabs = ElevenLabs()
tool = elevenlabs.conversational_ai.tools.create(
request=ToolRequestModel(
tool_config={
"type": "webhook",
"name": "get_weather",
"description": "Gets the current weather forecast for a location",
"api_schema": {
"url": "https://api.open-meteo.com/v1/forecast?current=temperature_2m,wind_speed_10m",
"method": "GET",
"path_params_schema": {
"latitude": {
"type": "string",
"description": "The latitude coordinate for the requested location",
},
"longitude": {
"type": "string",
"description": "The longitude coordinate for the requested location",
},
},
},
}
)
)
elevenlabs.conversational_ai.agents.update(
agent_id="agent_7101k5zvyjhmfg983brhmhkd98n6",
conversation_config={
"agent": {"prompt": {"tool_ids": [tool.id]}},
},
)import { ElevenLabsClient } from "@elevenlabs/elevenlabs-js";
const elevenlabs = new ElevenLabsClient();
const tool = await elevenlabs.conversationalAi.tools.create({
toolConfig: {
type: "webhook",
name: "get_weather",
description: "Gets the current weather forecast for a location",
apiSchema: {
url: "https://api.open-meteo.com/v1/forecast?current=temperature_2m,wind_speed_10m",
method: "GET",
pathParamsSchema: {
latitude: {
type: "string",
description: "The latitude coordinate for the requested location",
},
longitude: {
type: "string",
description: "The longitude coordinate for the requested location",
},
},
},
},
});
await elevenlabs.conversationalAi.agents.update("agent_7101k5zvyjhmfg983brhmhkd98n6", {
conversationConfig: {
agent: { prompt: { toolIds: [tool.id] } },
},
});Orchestration
Section titled “Orchestration”Configure your assistant to handle weather queries intelligently with this system prompt:
System prompt
You are a helpful conversational agent with access to a weather tool. When users ask about
weather conditions, use the get_weather tool to fetch accurate, real-time data. The tool requires
a latitude and longitude - use your geographic knowledge to convert location names to coordinates
accurately.

Never ask users for coordinates - you must determine these yourself. Always report weather
information conversationally, referring to locations by name only. For weather requests:

1. Extract the location from the user's message
2. Convert the location to coordinates and call get_weather
3. Present the information naturally and helpfully

For non-weather queries, provide friendly assistance within your knowledge boundaries. Always be
concise, accurate, and helpful.

First message: "Hey, how can I help you today?"Supported Authentication Methods
Section titled “Supported Authentication Methods”ElevenLabs Agents supports multiple authentication methods to securely connect your tools with external APIs. Authentication methods are configured in your agent settings and then connected to individual tools as needed.
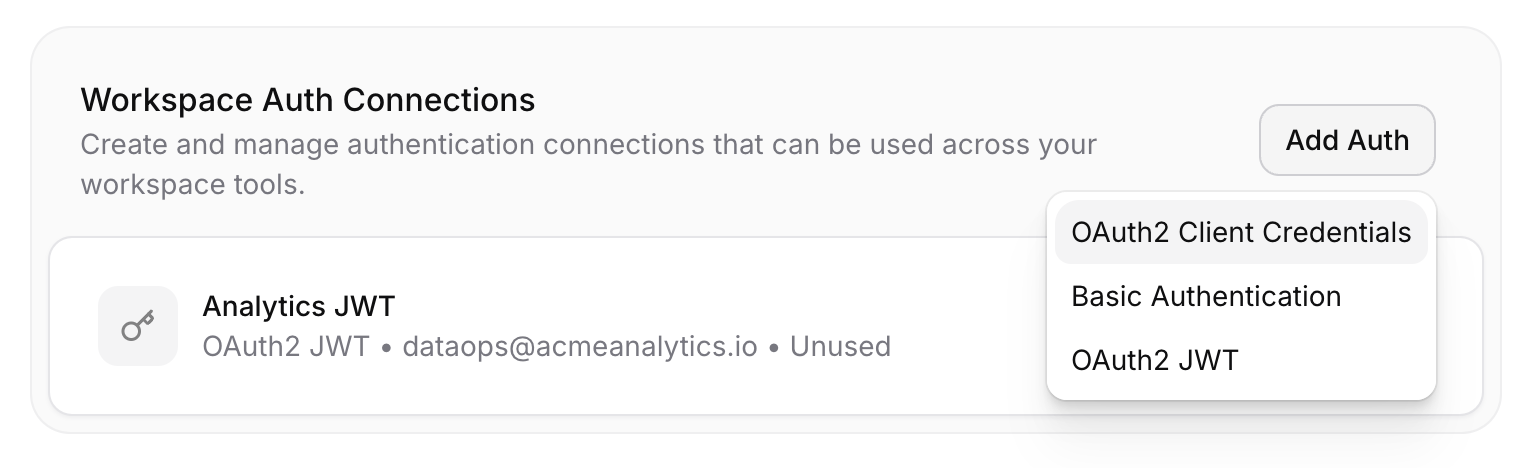
Once configured, you can connect these authentication methods to your tools and manage custom headers in the tool configuration:
OAuth2 Client Credentials
Section titled “OAuth2 Client Credentials”Automatically handles the OAuth2 client credentials flow. Configure with your client ID, client secret, and token URL (e.g., https://api.example.com/oauth/token). Optionally specify scopes as comma-separated values and additional JSON parameters. Set up by clicking Add Auth on Workspace Auth Connections on the Agent section of your agent settings page.
OAuth2 JWT
Section titled “OAuth2 JWT”Uses JSON Web Token authentication for OAuth 2.0 JWT Bearer flow. Requires your JWT signing secret, token URL, and algorithm (default: HS256). Configure JWT claims including issuer, audience, and subject. Optionally set key ID, expiration (default: 3600 seconds), scopes, and extra parameters. Set up by clicking Add Auth on Workspace Auth Connections on the Agent section of your agent settings page.
Basic Authentication
Section titled “Basic Authentication”Simple username and password authentication for APIs that support HTTP Basic Auth. Set up by clicking Add Auth on Workspace Auth Connections in the Agent section of your agent settings page.
Bearer Tokens
Section titled “Bearer Tokens”Token-based authentication that adds your bearer token value to the request header. Configure by adding a header to the tool configuration, selecting Secret as the header type, and clicking Create New Secret.
Custom Headers
Section titled “Custom Headers”Add custom authentication headers with any name and value for proprietary authentication methods. Configure by adding a header to the tool configuration and specifying its name and value.
Best practices
Section titled “Best practices”Name tools intuitively, with detailed descriptions
Section titled “Name tools intuitively, with detailed descriptions”If you find the assistant does not make calls to the correct tools, you may need to update your tool names and descriptions so the assistant more clearly understands when it should select each tool. Avoid using abbreviations or acronyms to shorten tool and argument names.
You can also include detailed descriptions for when a tool should be called. For complex tools, you should include descriptions for each of the arguments to help the assistant know what it needs to ask the user to collect that argument.
Name tool parameters intuitively, with detailed descriptions
Section titled “Name tool parameters intuitively, with detailed descriptions”Use clear and descriptive names for tool parameters. If applicable, specify the expected format for a parameter in the description (e.g., YYYY-mm-dd or dd/mm/yy for a date).
Consider providing additional information about how and when to call tools in your assistant's system prompt
Section titled “Consider providing additional information about how and when to call tools in your assistant's system prompt”Providing clear instructions in your system prompt can significantly improve the assistant's tool calling accuracy. For example, guide the assistant with instructions like the following:
Use `check_order_status` when the user inquires about the status of their order, such as 'Where is my order?' or 'Has my order shipped yet?'.Provide context for complex scenarios. For example:
Before scheduling a meeting with `schedule_meeting`, check the user's calendar for availability using check_availability to avoid conflicts.LLM selection
Section titled “LLM selection”It's important to note that the choice of LLM matters to the success of function calls. Some LLMs can struggle with extracting the relevant parameters from the conversation.
Tool Call Sounds
Section titled “Tool Call Sounds”You can configure ambient audio to play during tool execution to enhance the user experience. Learn more about Tool Call Sounds.