Widget customization
Widgets enable instant integration of ElevenAgents into any website. You can either customize your widget through the UI or through our type-safe ElevenAgents SDKs for complete control over styling and behavior. The SDK overrides take priority over UI customization. Our widget is multimodal and able to process both text and audio.
Modality configuration
Section titled “Modality configuration”The widget supports flexible input modes to match your use case. Configure these options in the dashboard under Channels → Widget → Interface.
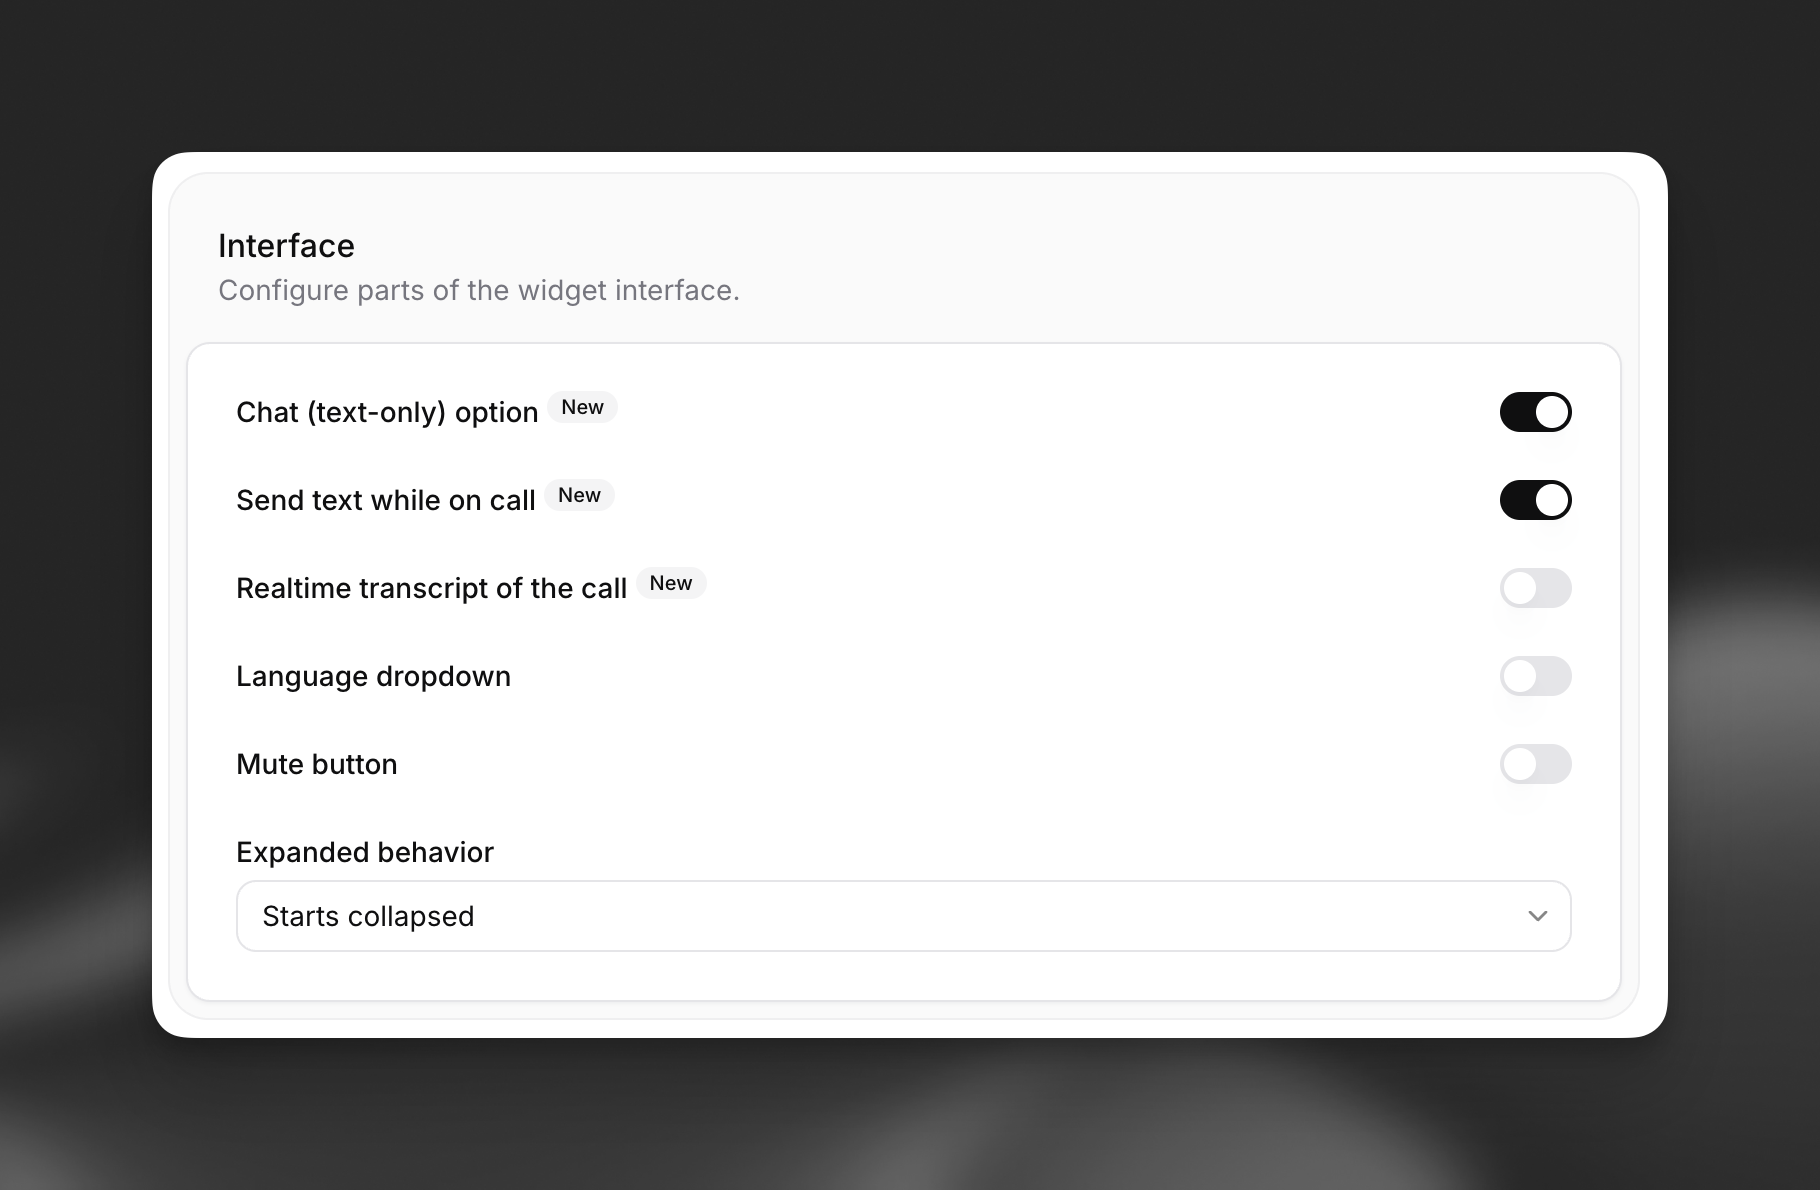
Available modes:
- Voice only (default): Users interact through speech only.
- Voice + text: Users can switch between voice and text input during conversations.
- Chat Mode: Conversations start in chat (text-only) mode without voice capabilities when initiated with a text message.
For more information on using chat (text-only) mode via our SDKs, see our chat mode guide.
Embedding the widget
Section titled “Embedding the widget”Add this code snippet to your website's <body> section. Place it in your main index.html file for site-wide availability:
Widget embed code
<elevenlabs-convai agent-id="<replace-with-agent_7101k5zvyjhmfg983brhmhkd98n6>"></elevenlabs-convai>
<script
  src="https://unpkg.com/@elevenlabs/convai-widget-embed"
  async
  type="text/javascript"
></script>Widget attributes
Section titled “Widget attributes”This basic embed code will display the widget with the default configuration defined in the agent's dashboard. The widget supports various HTML attributes for further customization:
Core configuration
Section titled “Core configuration”<elevenlabs-convai
agent-id="agent_id" // Required: Your agent ID
signed-url="signed_url" // Alternative to agent-id
server-location="us" // Optional: "us" or default
variant="expanded" // Optional: Widget display mode
dismissible="true" // Optional: Allow the user to minimize the widget
></elevenlabs-convai>Visual customization
Section titled “Visual customization”<elevenlabs-convai
avatar-image-url="https://..." // Optional: Custom avatar image
avatar-orb-color-1="#6DB035" // Optional: Orb gradient color 1
avatar-orb-color-2="#F5CABB" // Optional: Orb gradient color 2
></elevenlabs-convai>Text customization
Section titled “Text customization”<elevenlabs-convai
action-text="Need assistance?" // Optional: CTA button text
start-call-text="Begin conversation" // Optional: Start call button
end-call-text="End call" // Optional: End call button
expand-text="Open chat" // Optional: Expand widget text
listening-text="Listening..." // Optional: Listening state
speaking-text="Assistant speaking" // Optional: Speaking state
></elevenlabs-convai>Markdown rendering
Section titled “Markdown rendering”The widget renders markdown in agent responses. Links display as plain text by default to prevent phishing.
<elevenlabs-convai
  markdown-link-allowed-hosts="example.com"  // Domains where links are clickable (use "*" for all)
  markdown-link-include-www="true"           // Also allow www variants (default: true)
  markdown-link-allow-http="true"            // Allow http:// links (default: true)
  syntax-highlight-theme="dark"              // Code block theme: "dark", "light", or "auto"
></elevenlabs-convai>
Runtime configuration
Section titled “Runtime configuration”Two more html attributes can be used to customize the agent's behavior at runtime. These two features can be used together, separately, or not at all
Dynamic variables
Section titled “Dynamic variables”Dynamic variables allow you to inject runtime values into your agent's messages, system prompts, and tools.
<elevenlabs-convai
  agent-id="agent_7101k5zvyjhmfg983brhmhkd98n6"
  dynamic-variables='{"user_name": "John", "account_type": "premium"}'
></elevenlabs-convai>
All dynamic variables that the agent requires must be passed in the widget.
Overrides
Section titled “Overrides”Overrides enable complete customization of your agent's behavior at runtime:
<elevenlabs-convai
  agent-id="agent_7101k5zvyjhmfg983brhmhkd98n6"
  override-language="es"
  override-prompt="Custom system prompt for this user"
  override-first-message="Hi! How can I help you today?"
  override-voice-id="axXgspJ2msm3clMCkdW3"
></elevenlabs-convai>
Overrides can be enabled for specific fields, and are entirely optional.
Visual customization
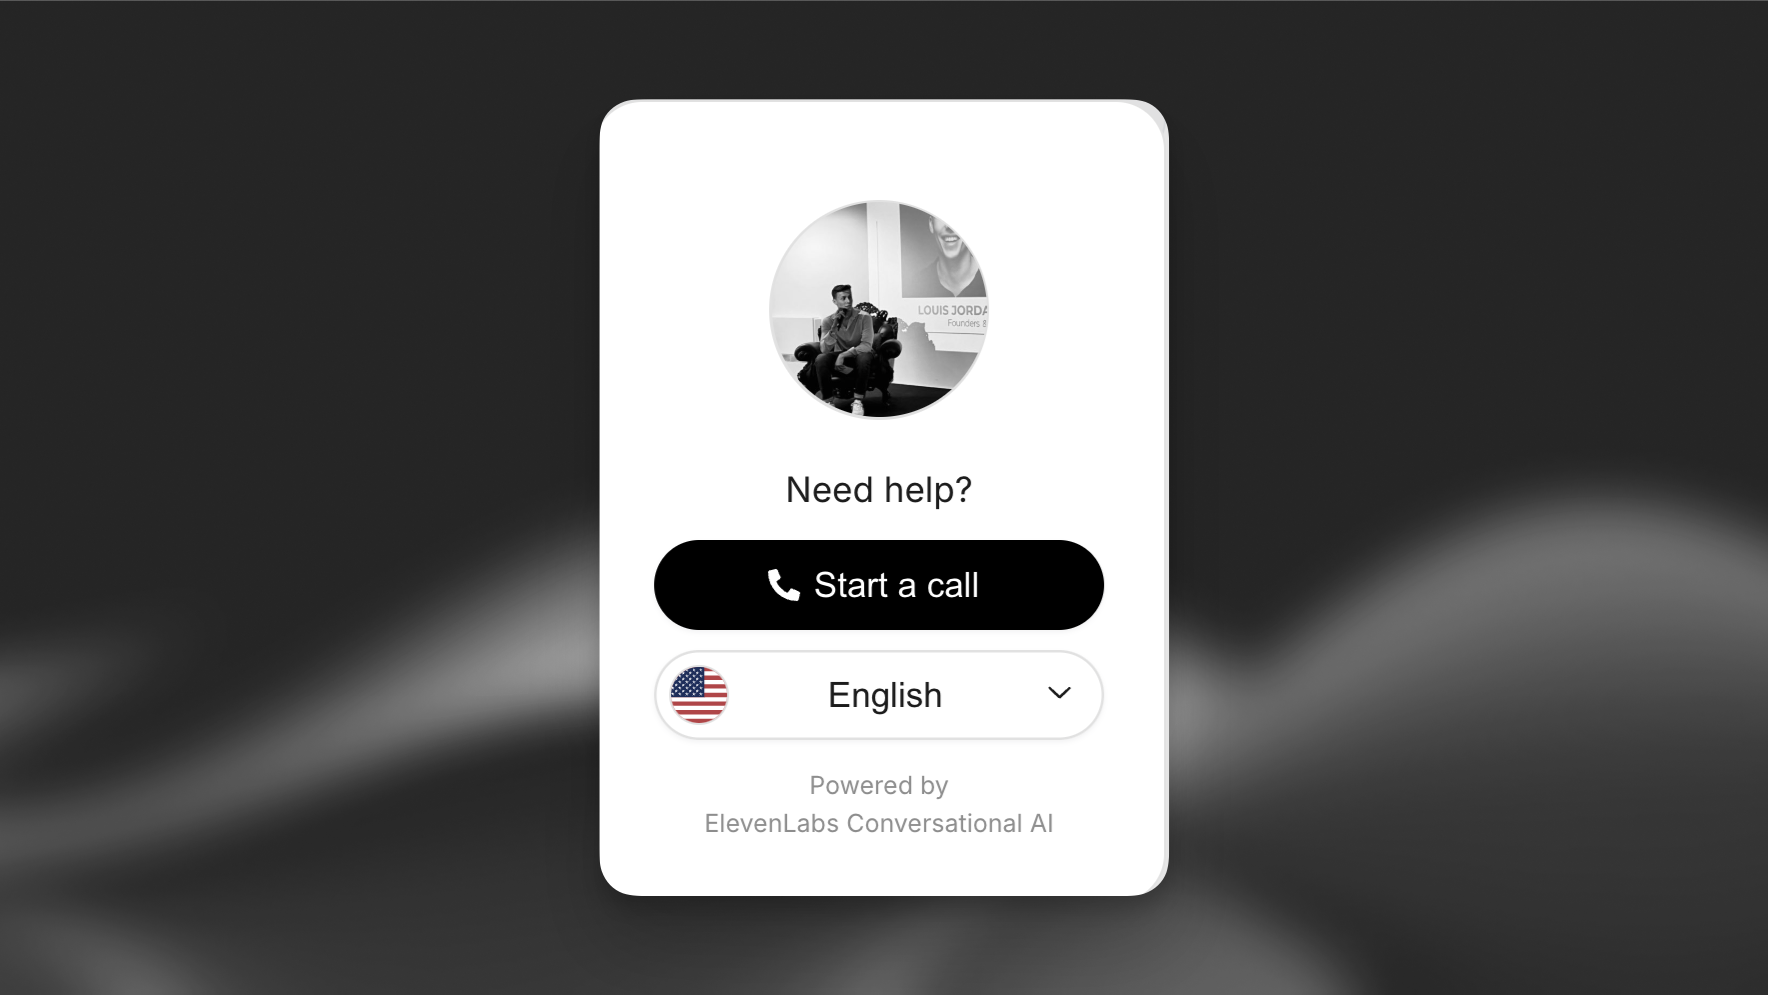
Section titled “Visual customization”Customize the widget's appearance, text content, language selection, and more.
Update via the dashboard
Section titled “Update via the dashboard”Open your agent in the dashboard and navigate to the Widget tab to customize appearance, avatar, text, terms, language support, and more.
Update via the CLI
Section titled “Update via the CLI”Pull the agent configuration
Section titled “Pull the agent configuration”elevenlabs agents pull --agent "<agent-name>"Edit `agent_configs/<agent-name>.json`
Section titled “Edit `agent_configs/<agent-name>.json`”Set fields under platform_settings.widget. For example, to change the orb colors and feedback mode:
{
  "platform_settings": {
    "widget": {
      "variant": "full",
      "placement": "bottom-right",
      "avatar": {
        "type": "orb",
        "color_1": "#6DB035",
        "color_2": "#F5CABB"
      },
      "feedback_mode": "during",
      "bg_color": "#ffffff",
      "text_color": "#000000",
      "btn_color": "#000000",
      "btn_text_color": "#ffffff"
    }
  }
}
Push your changes
Section titled “Push your changes”elevenlabs agents push --agent "<agent-name>"Update via the API
Section titled “Update via the API”from elevenlabs import ElevenLabs
elevenlabs = ElevenLabs()
elevenlabs.conversational_ai.agents.update(
agent_id="agent_7101k5zvyjhmfg983brhmhkd98n6",
platform_settings={
"widget": {
"variant": "full",
"placement": "bottom-right",
"avatar": {
"type": "orb",
"color_1": "#6DB035",
"color_2": "#F5CABB",
},
"feedback_mode": "during",
},
},
)import { ElevenLabsClient } from "@elevenlabs/elevenlabs-js";
const elevenlabs = new ElevenLabsClient();
await elevenlabs.conversationalAi.agents.update("agent_7101k5zvyjhmfg983brhmhkd98n6", {
platformSettings: {
widget: {
variant: "full",
placement: "bottom-right",
avatar: {
type: "orb",
color1: "#6DB035",
color2: "#F5CABB",
},
feedbackMode: "during",
},
},
});Appearance
Section titled “Appearance”Customize the widget colors and shapes to match your brand identity.

Feedback
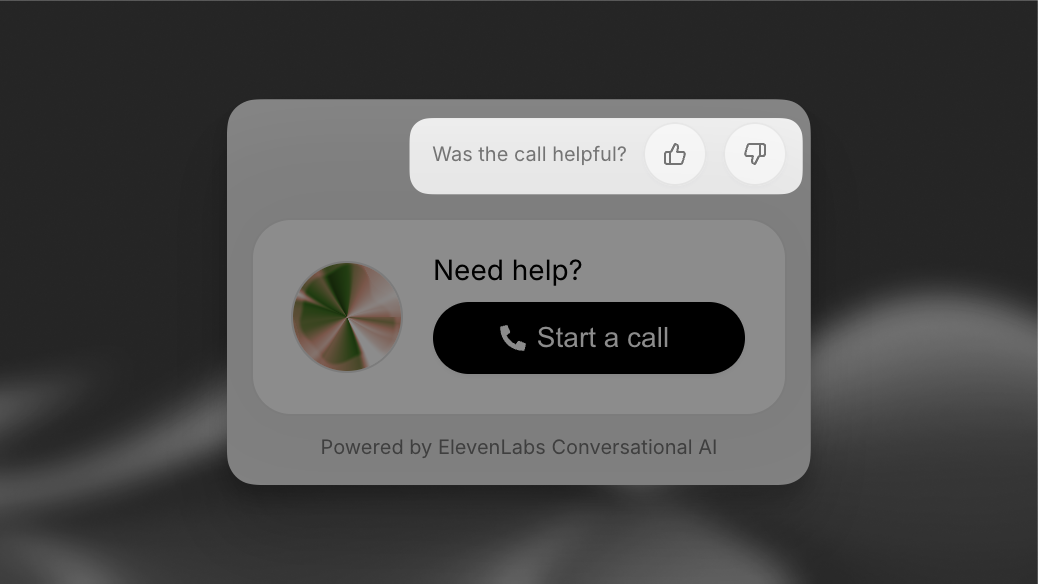
Section titled “Feedback”Gather user insights to improve agent performance. This can be used to fine-tune your agent's knowledge-base & system prompt.
Collection modes
- None: Disable feedback collection entirely.
- During conversation: Support real-time feedback during conversations. Additionnal metadata such as the agent response that prompted the feedback will be collected to help further identify gaps.
- After conversation: Display a single feedback prompt after the conversation.
Avatar
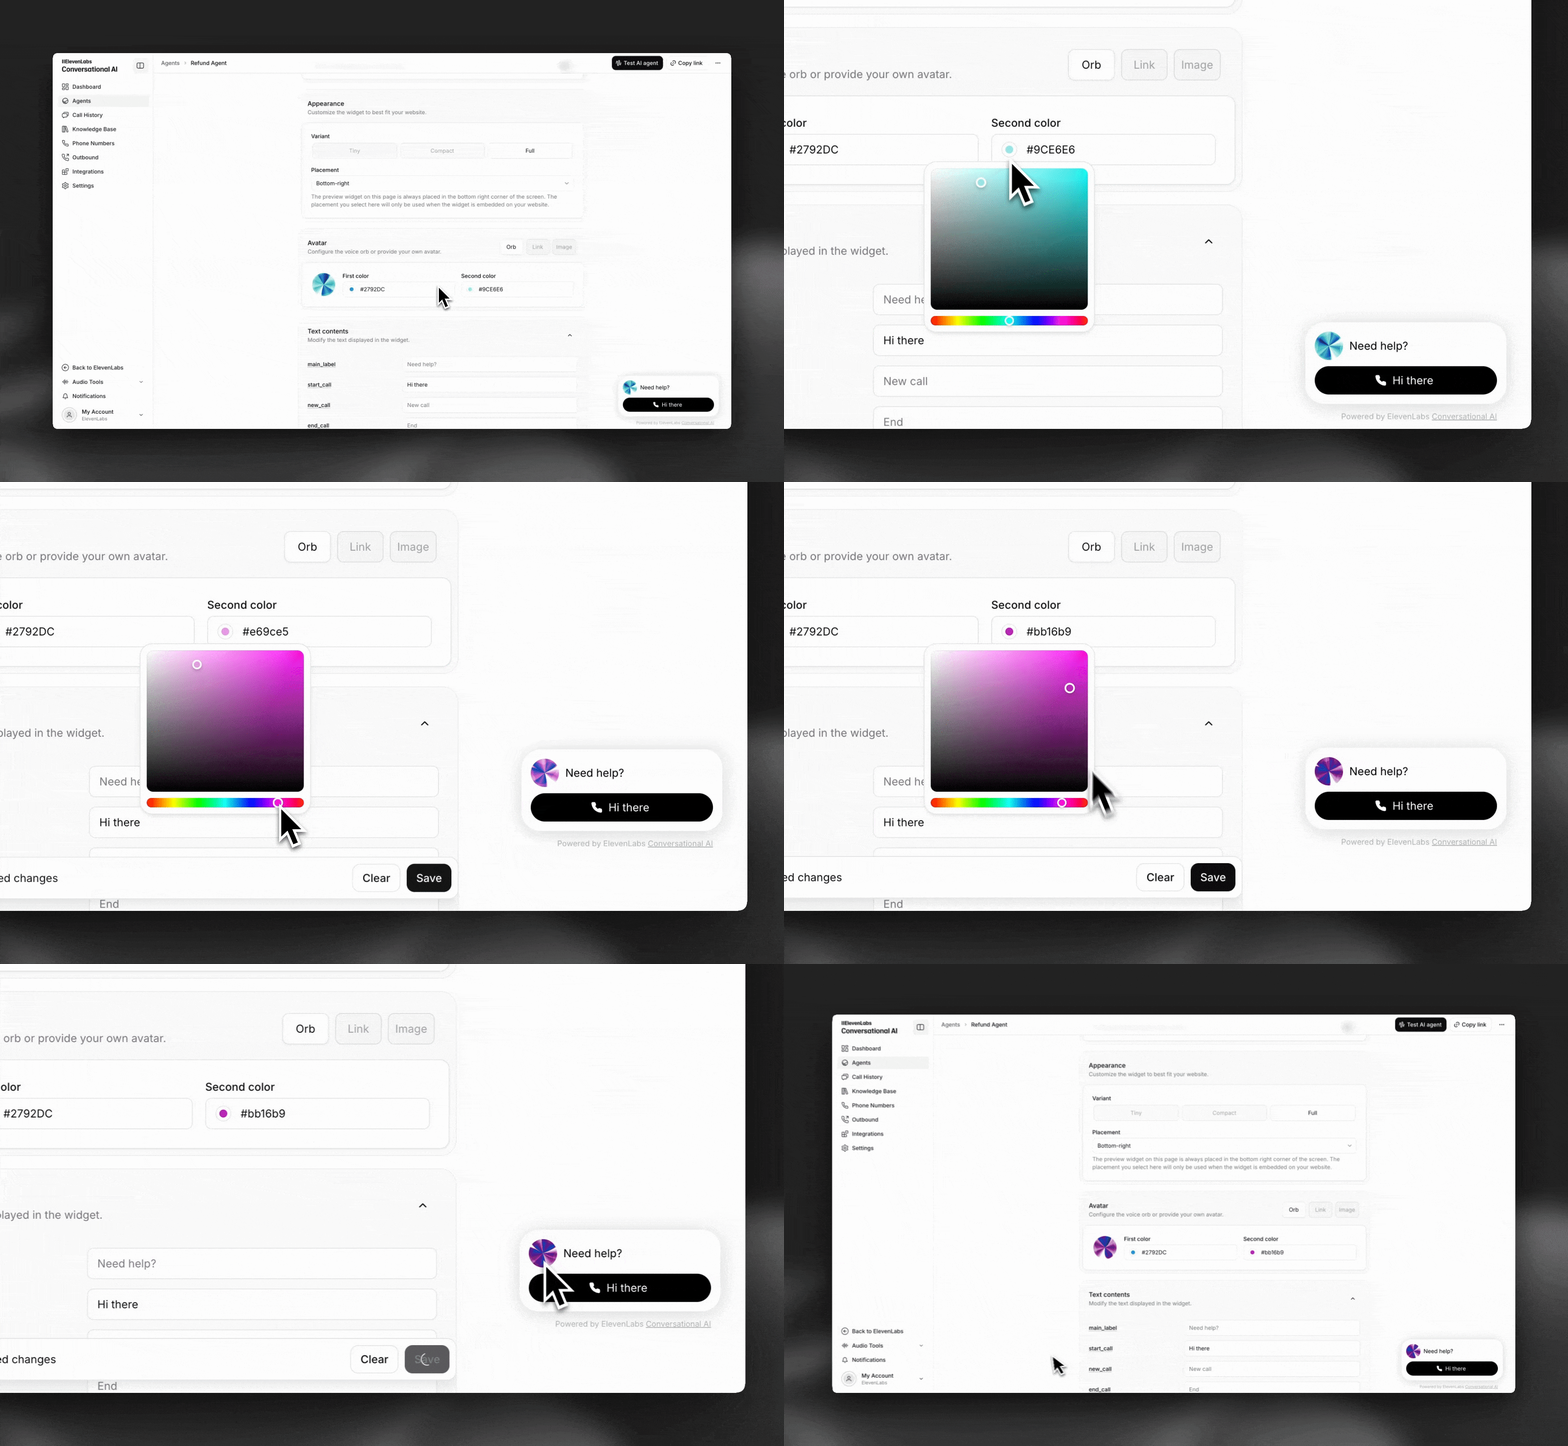
Section titled “Avatar”Configure the voice orb or provide your own avatar.
Available options
- Orb: Choose two gradient colors (e.g., #6DB035 & #F5CABB).
- Link/image: Use a custom avatar image.
Display text
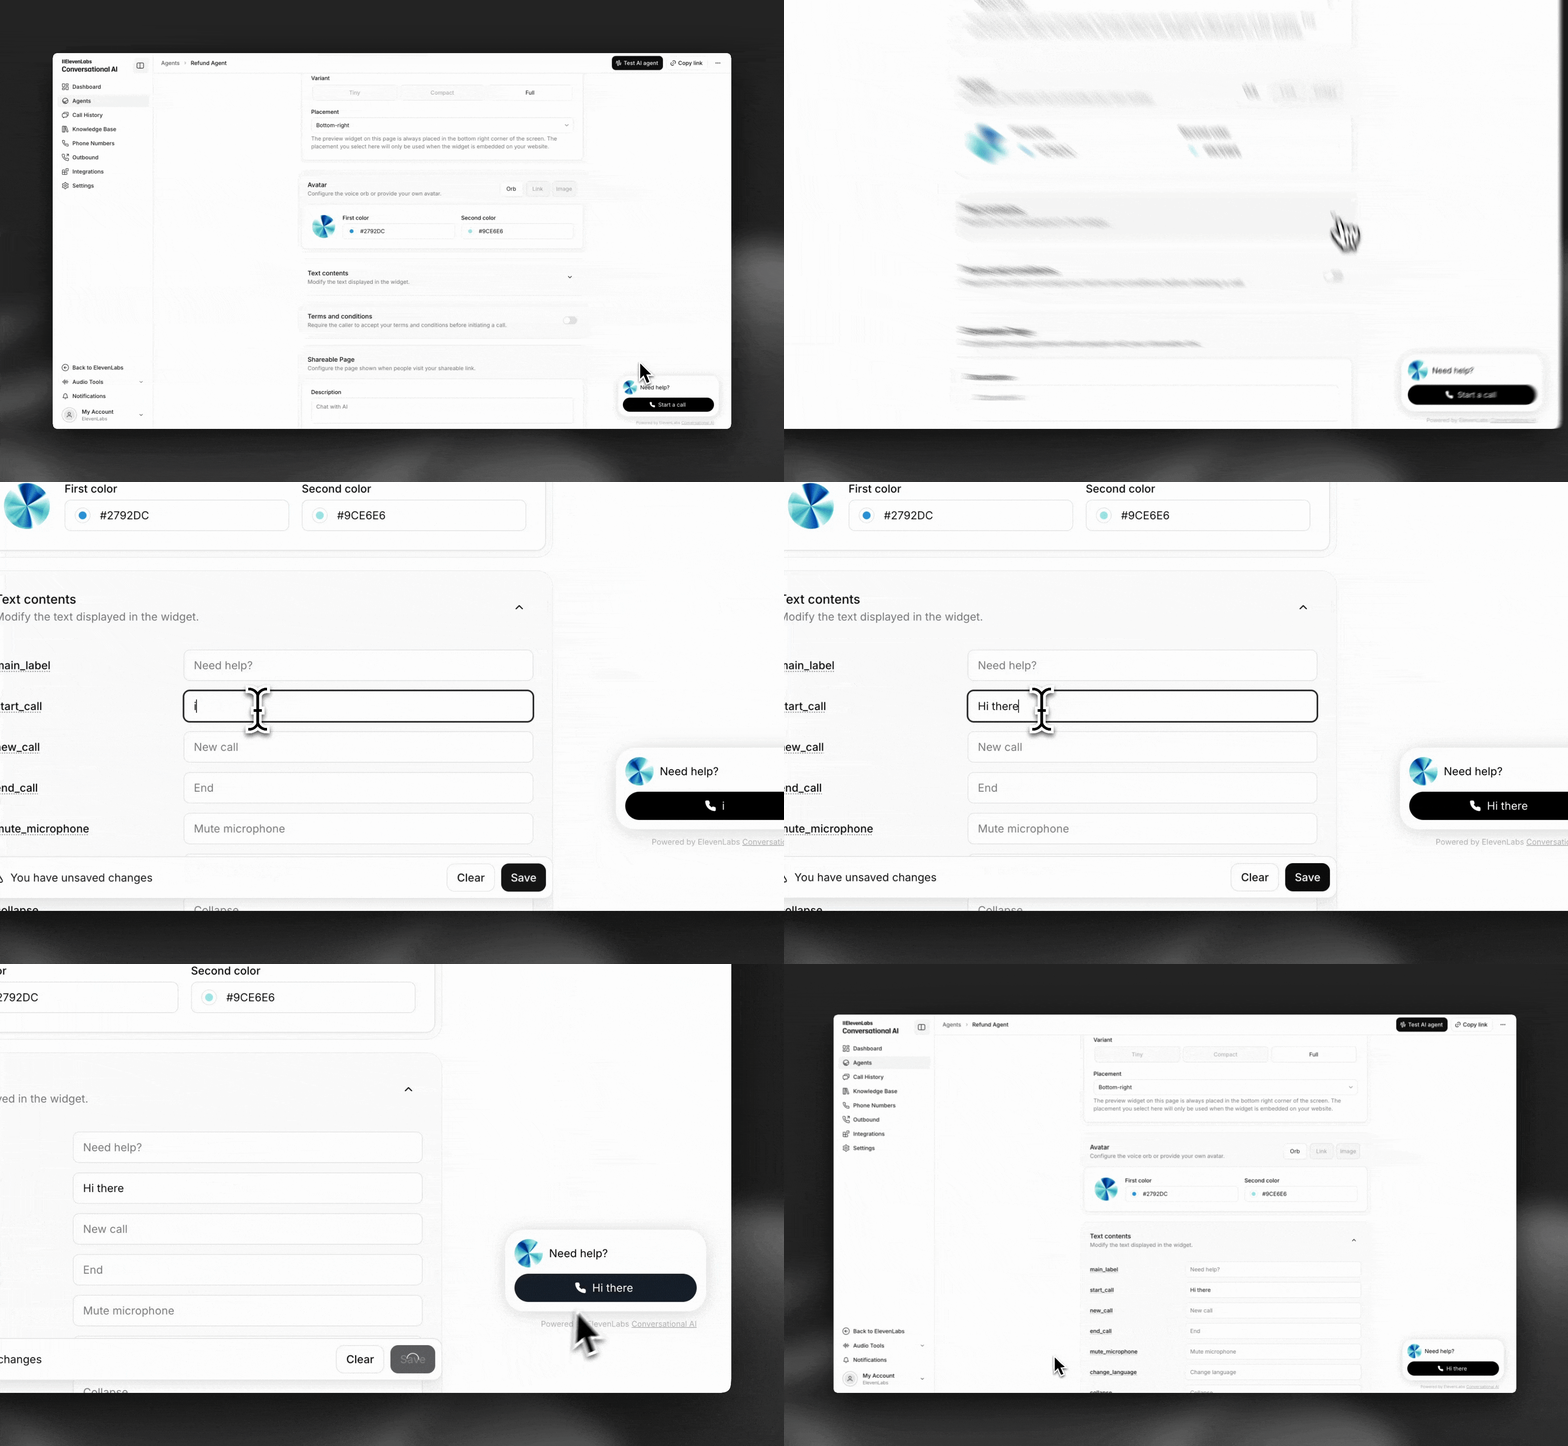
Section titled “Display text”Customize all displayed widget text elements, for example to modify button labels.
Display custom terms and conditions before the conversation.
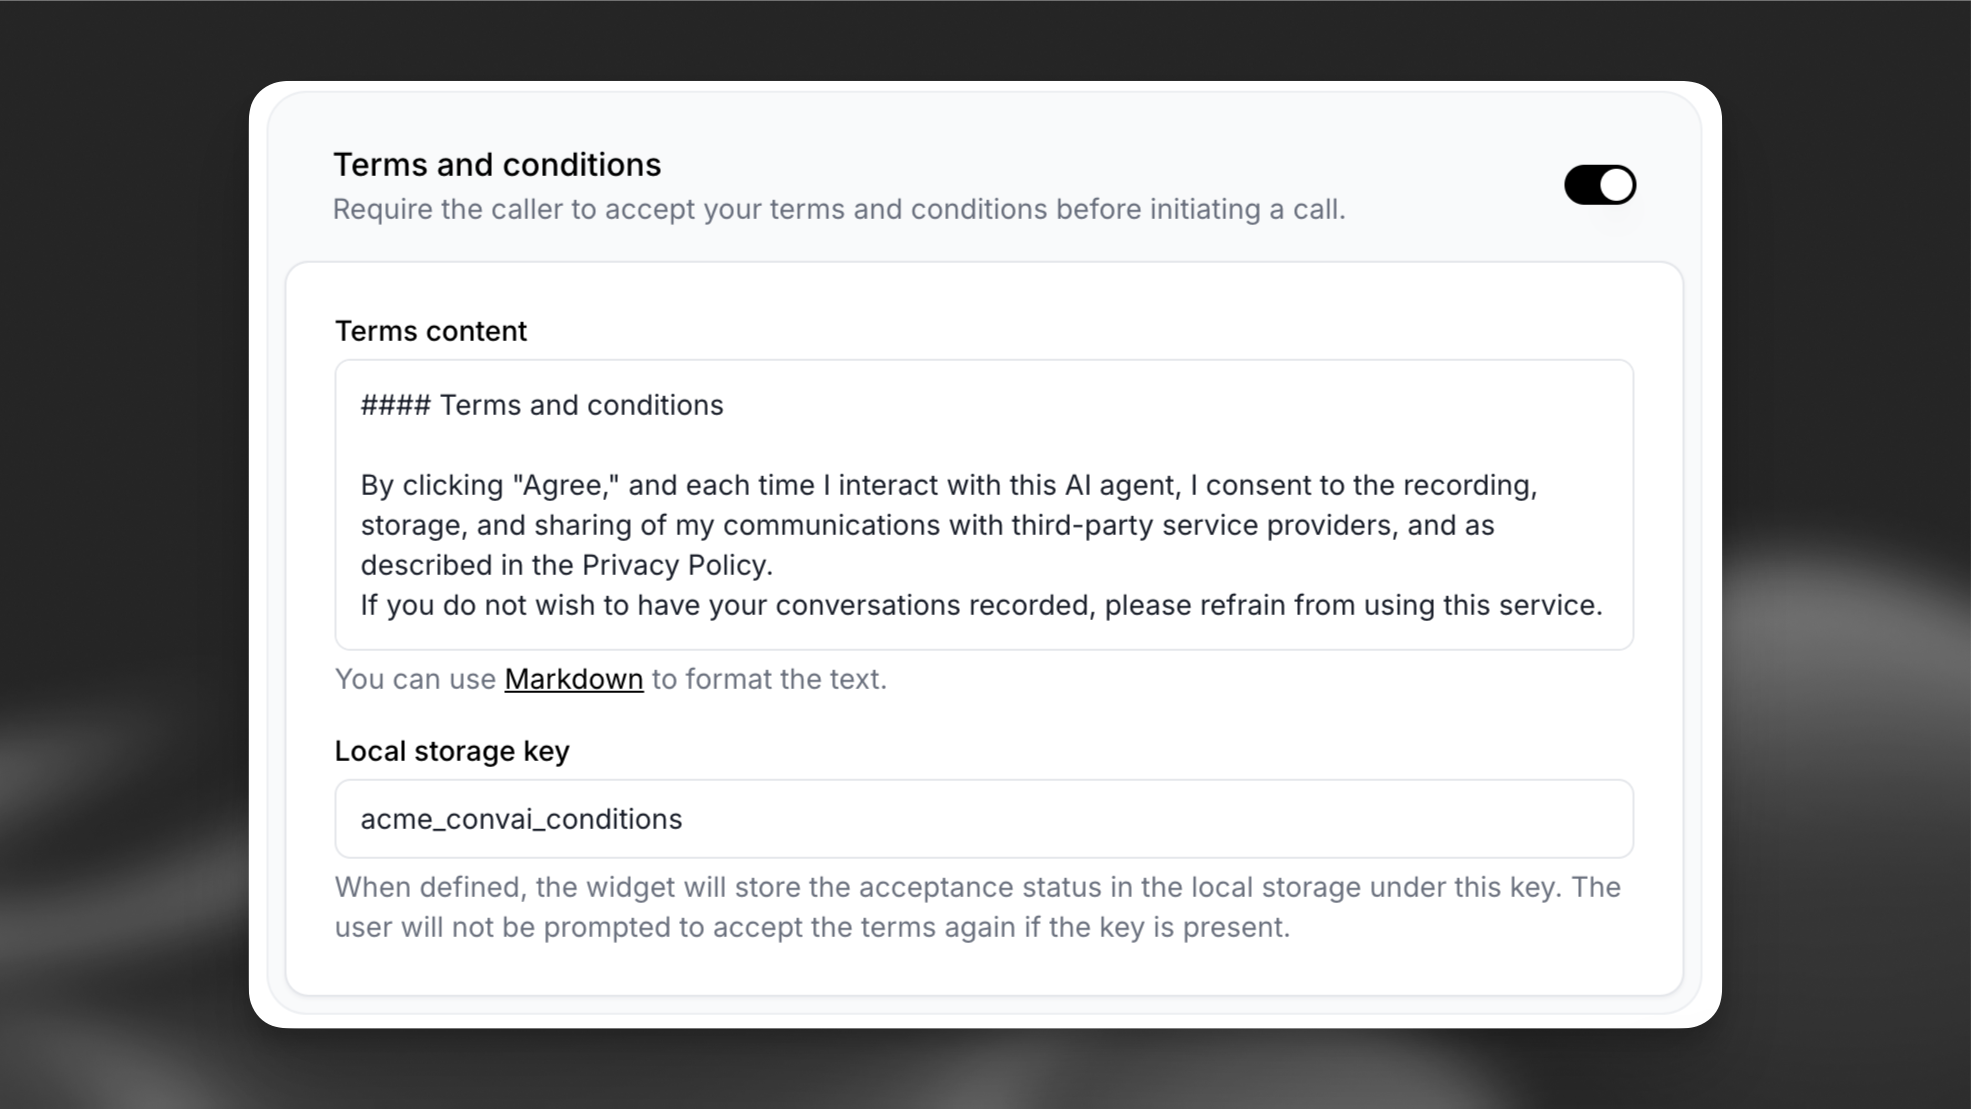
Available options
- Terms content: Use Markdown to format your policy text.
- Local storage key: A key (e.g., "terms_accepted") to avoid prompting returning users.
Usage
The terms are displayed to users in a modal before starting the call:
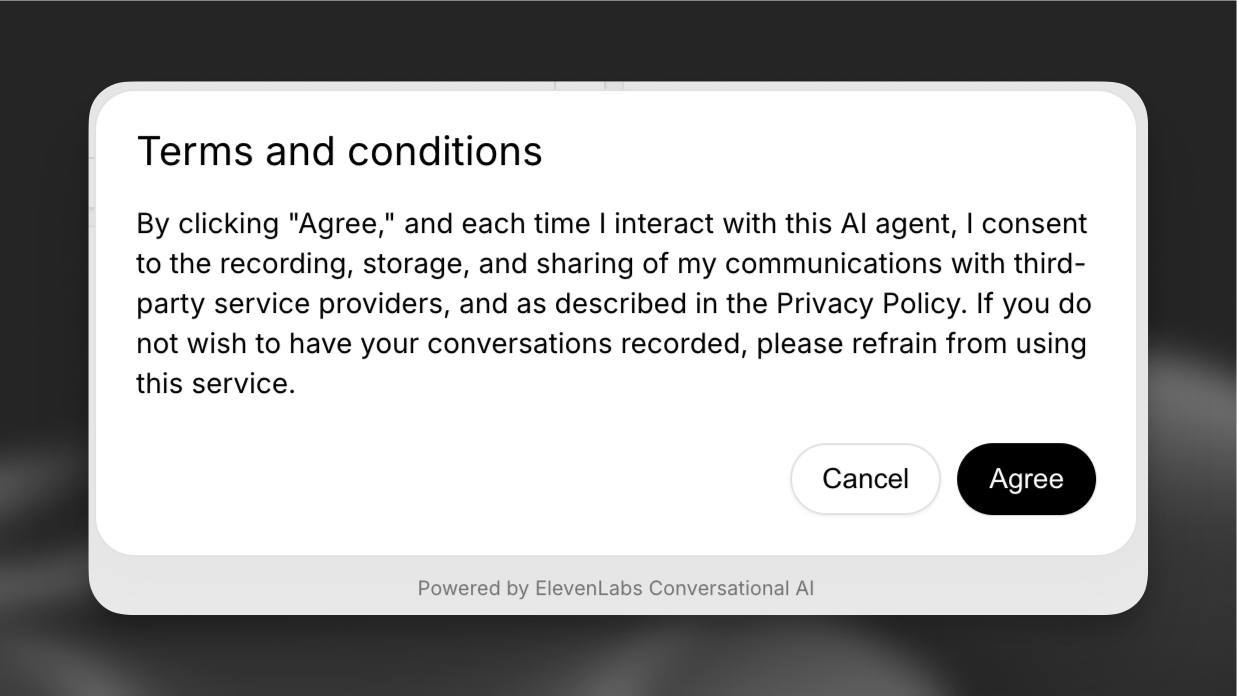
The terms can be written in Markdown, allowing you to:
- Add links to external policies
- Format text with headers and lists
- Include emphasis and styling
For more help with Markdown, see the CommonMark help guide.
Language
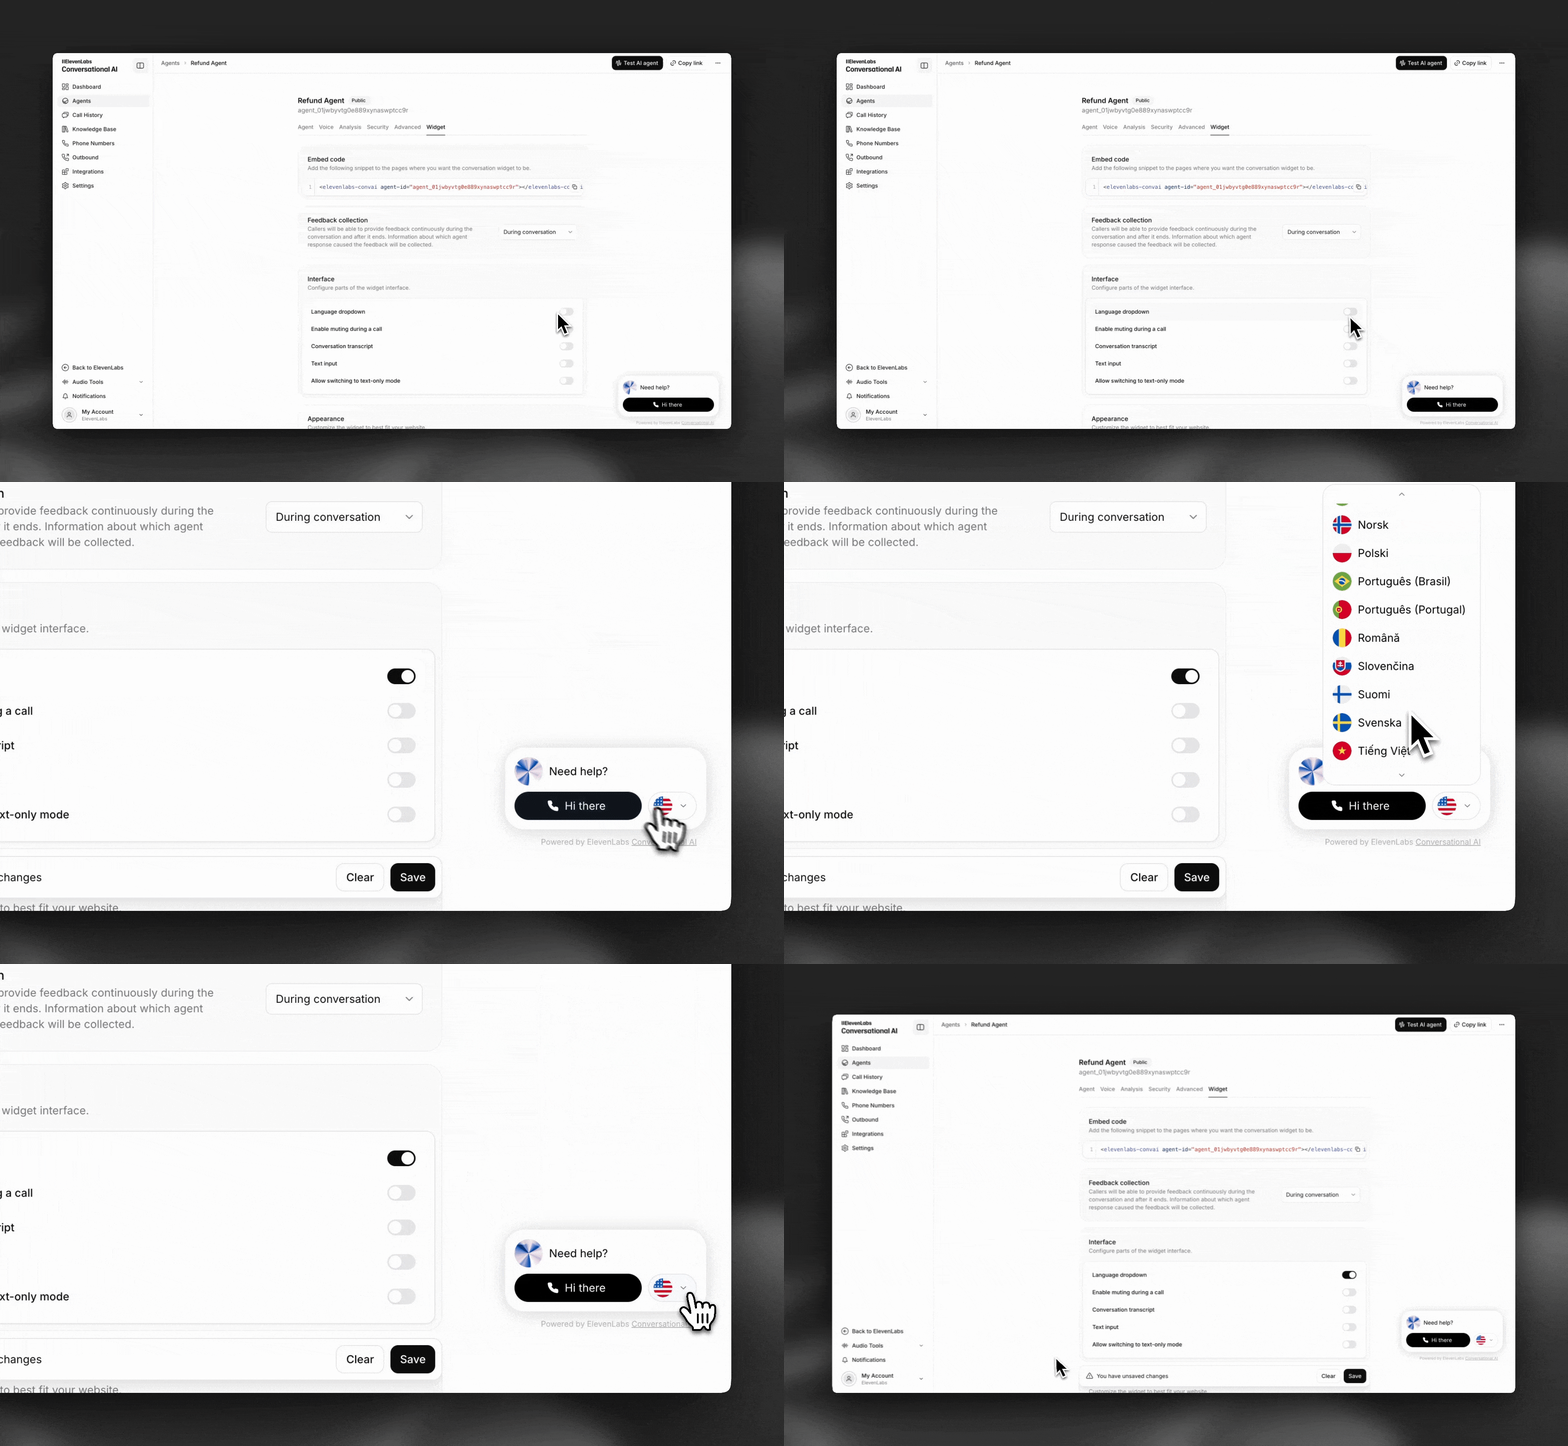
Section titled “Language”Enable multi-language support in the widget.
Muting
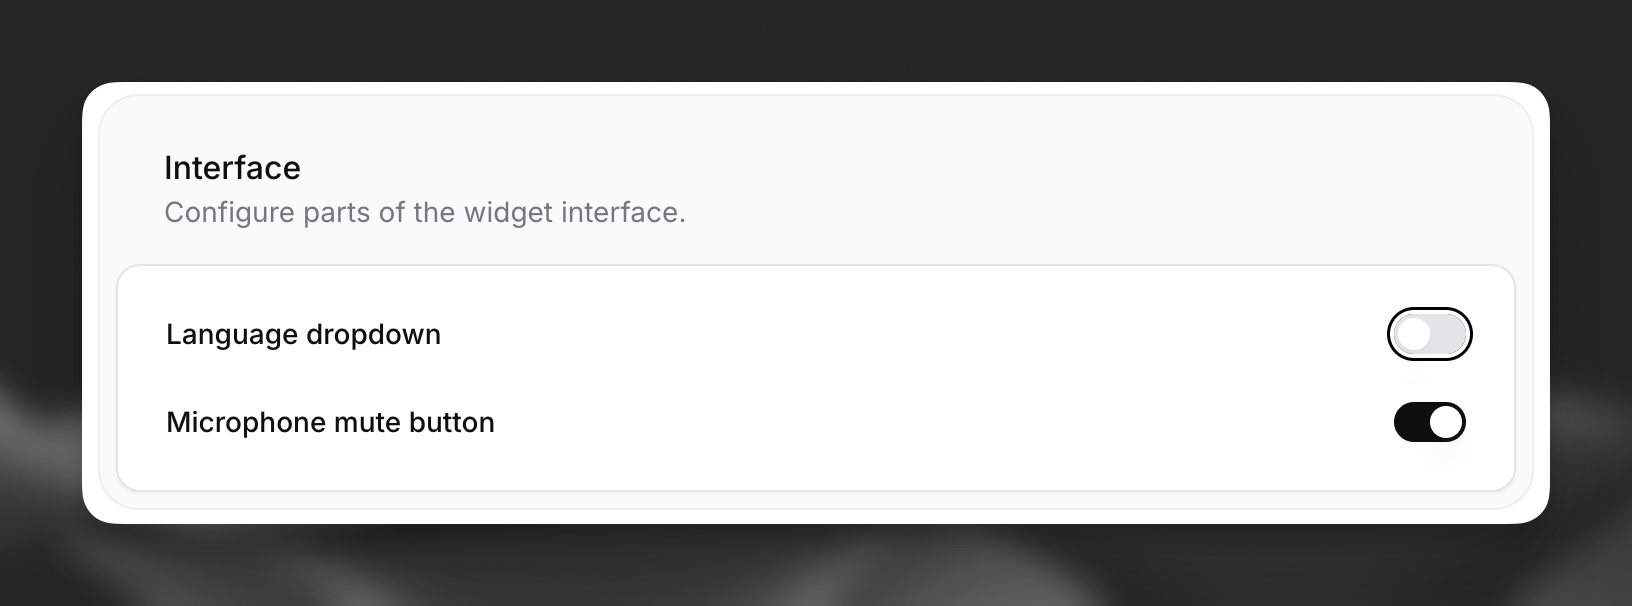
Section titled “Muting”Allow users to mute their audio in the widget.
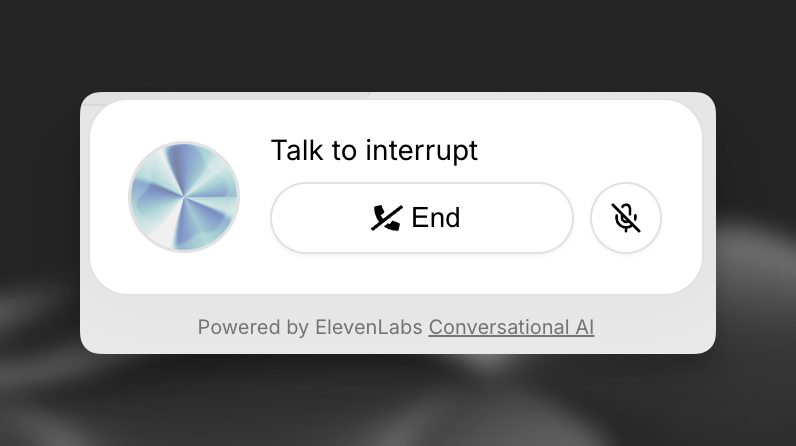
To add the mute button please enable this in the interface card of the agent's widget
settings.
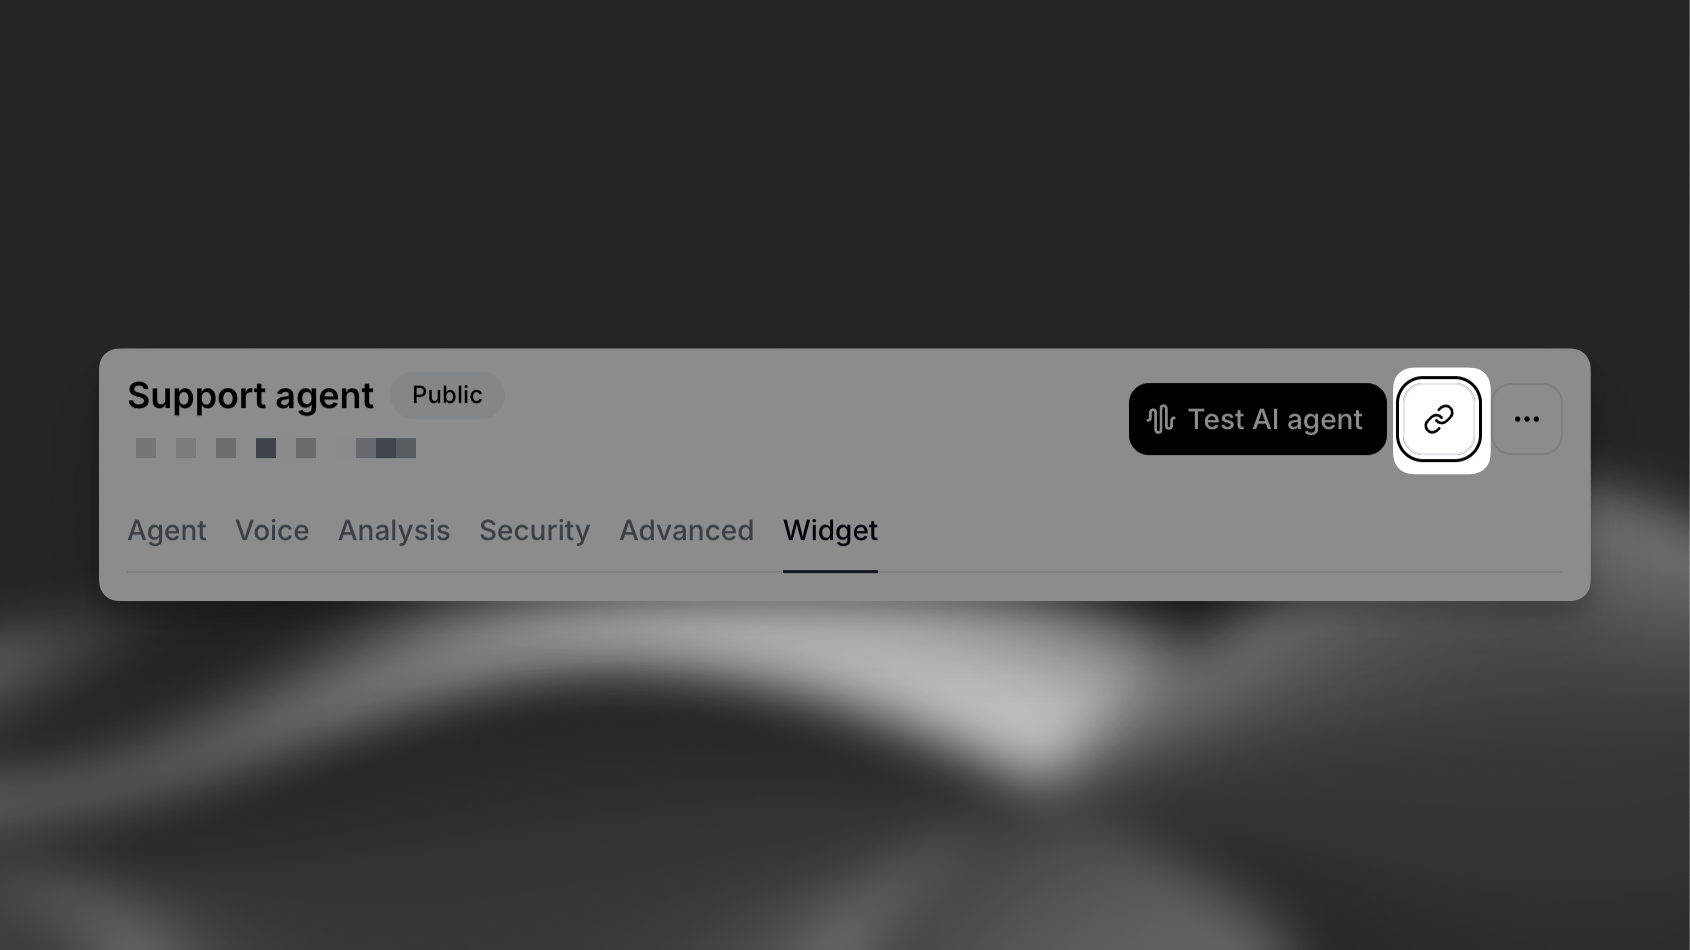
Shareable page
Section titled “Shareable page”Customize your public widget landing page (shareable link).
Available options
- Description: Provide a short paragraph explaining the purpose of the call.
Advanced implementation
Section titled “Advanced implementation”Client Tools
Section titled “Client Tools”Client tools allow you to extend the functionality of the widget by adding event listeners. This enables the widget to perform actions such as:
- Redirecting the user to a specific page
- Sending an email to your support team
- Redirecting the user to an external URL
To see examples of these tools in action, start a call with the agent in the bottom right corner of this page. The source code is available on GitHub for reference.
Creating a Client Tool
Section titled “Creating a Client Tool”To create your first client tool, follow the client tools guide.
Example: Creating the `redirectToExternalURL` Tool
Section titled “Example: Creating the `redirectToExternalURL` Tool”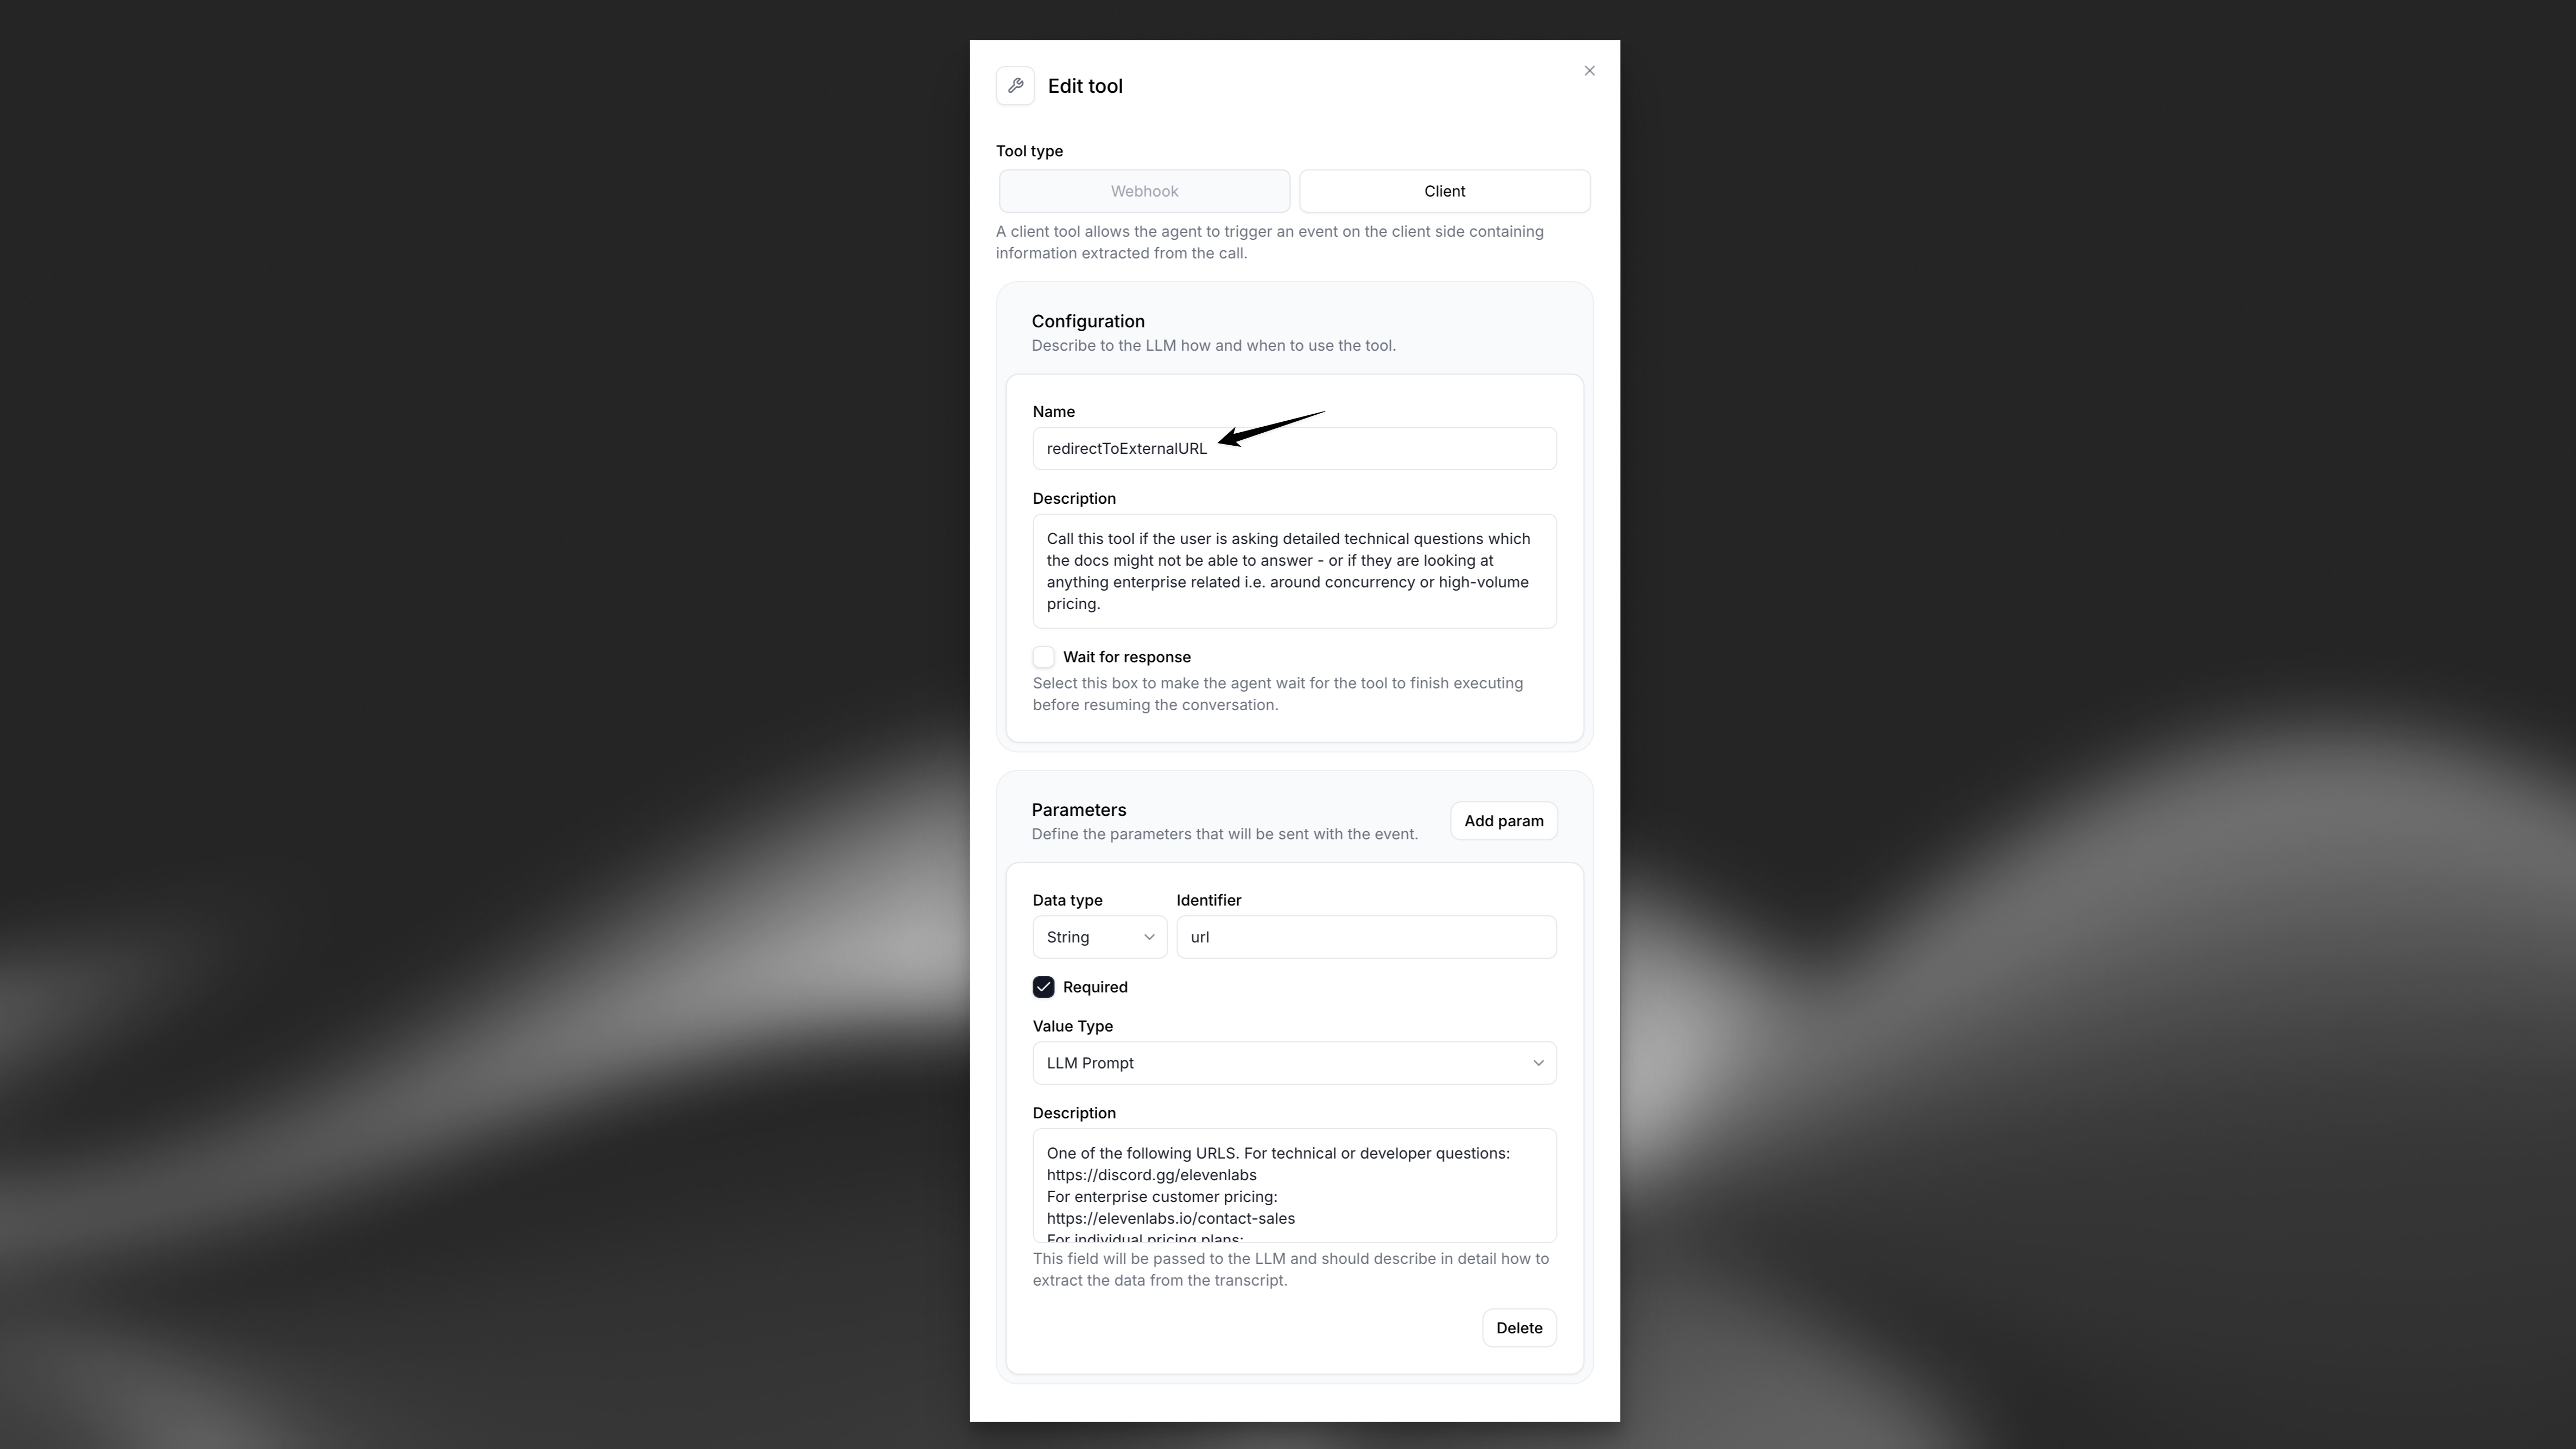
Example Implementation
Section titled “Example Implementation”Below is an example of how to handle the redirectToExternalURL tool triggered by the widget in your JavaScript code:
index.js
document.addEventListener("DOMContentLoaded", () => {
  const widget = document.querySelector("elevenlabs-convai");

  if (widget) {
    // Listen for the widget's "call" event to trigger client-side tools
    widget.addEventListener("elevenlabs-convai:call", (event) => {
      event.detail.config.clientTools = {
        // Note: To use this example, the client tool called "redirectToExternalURL" (case-sensitive) must have been created with the configuration defined above.
        redirectToExternalURL: ({ url }) => {
          window.open(url, "_blank", "noopener,noreferrer");
        },
      };
    });
  }
});