Next.JS
Learn how to create a web application that enables voice conversations with ElevenLabs AI agents
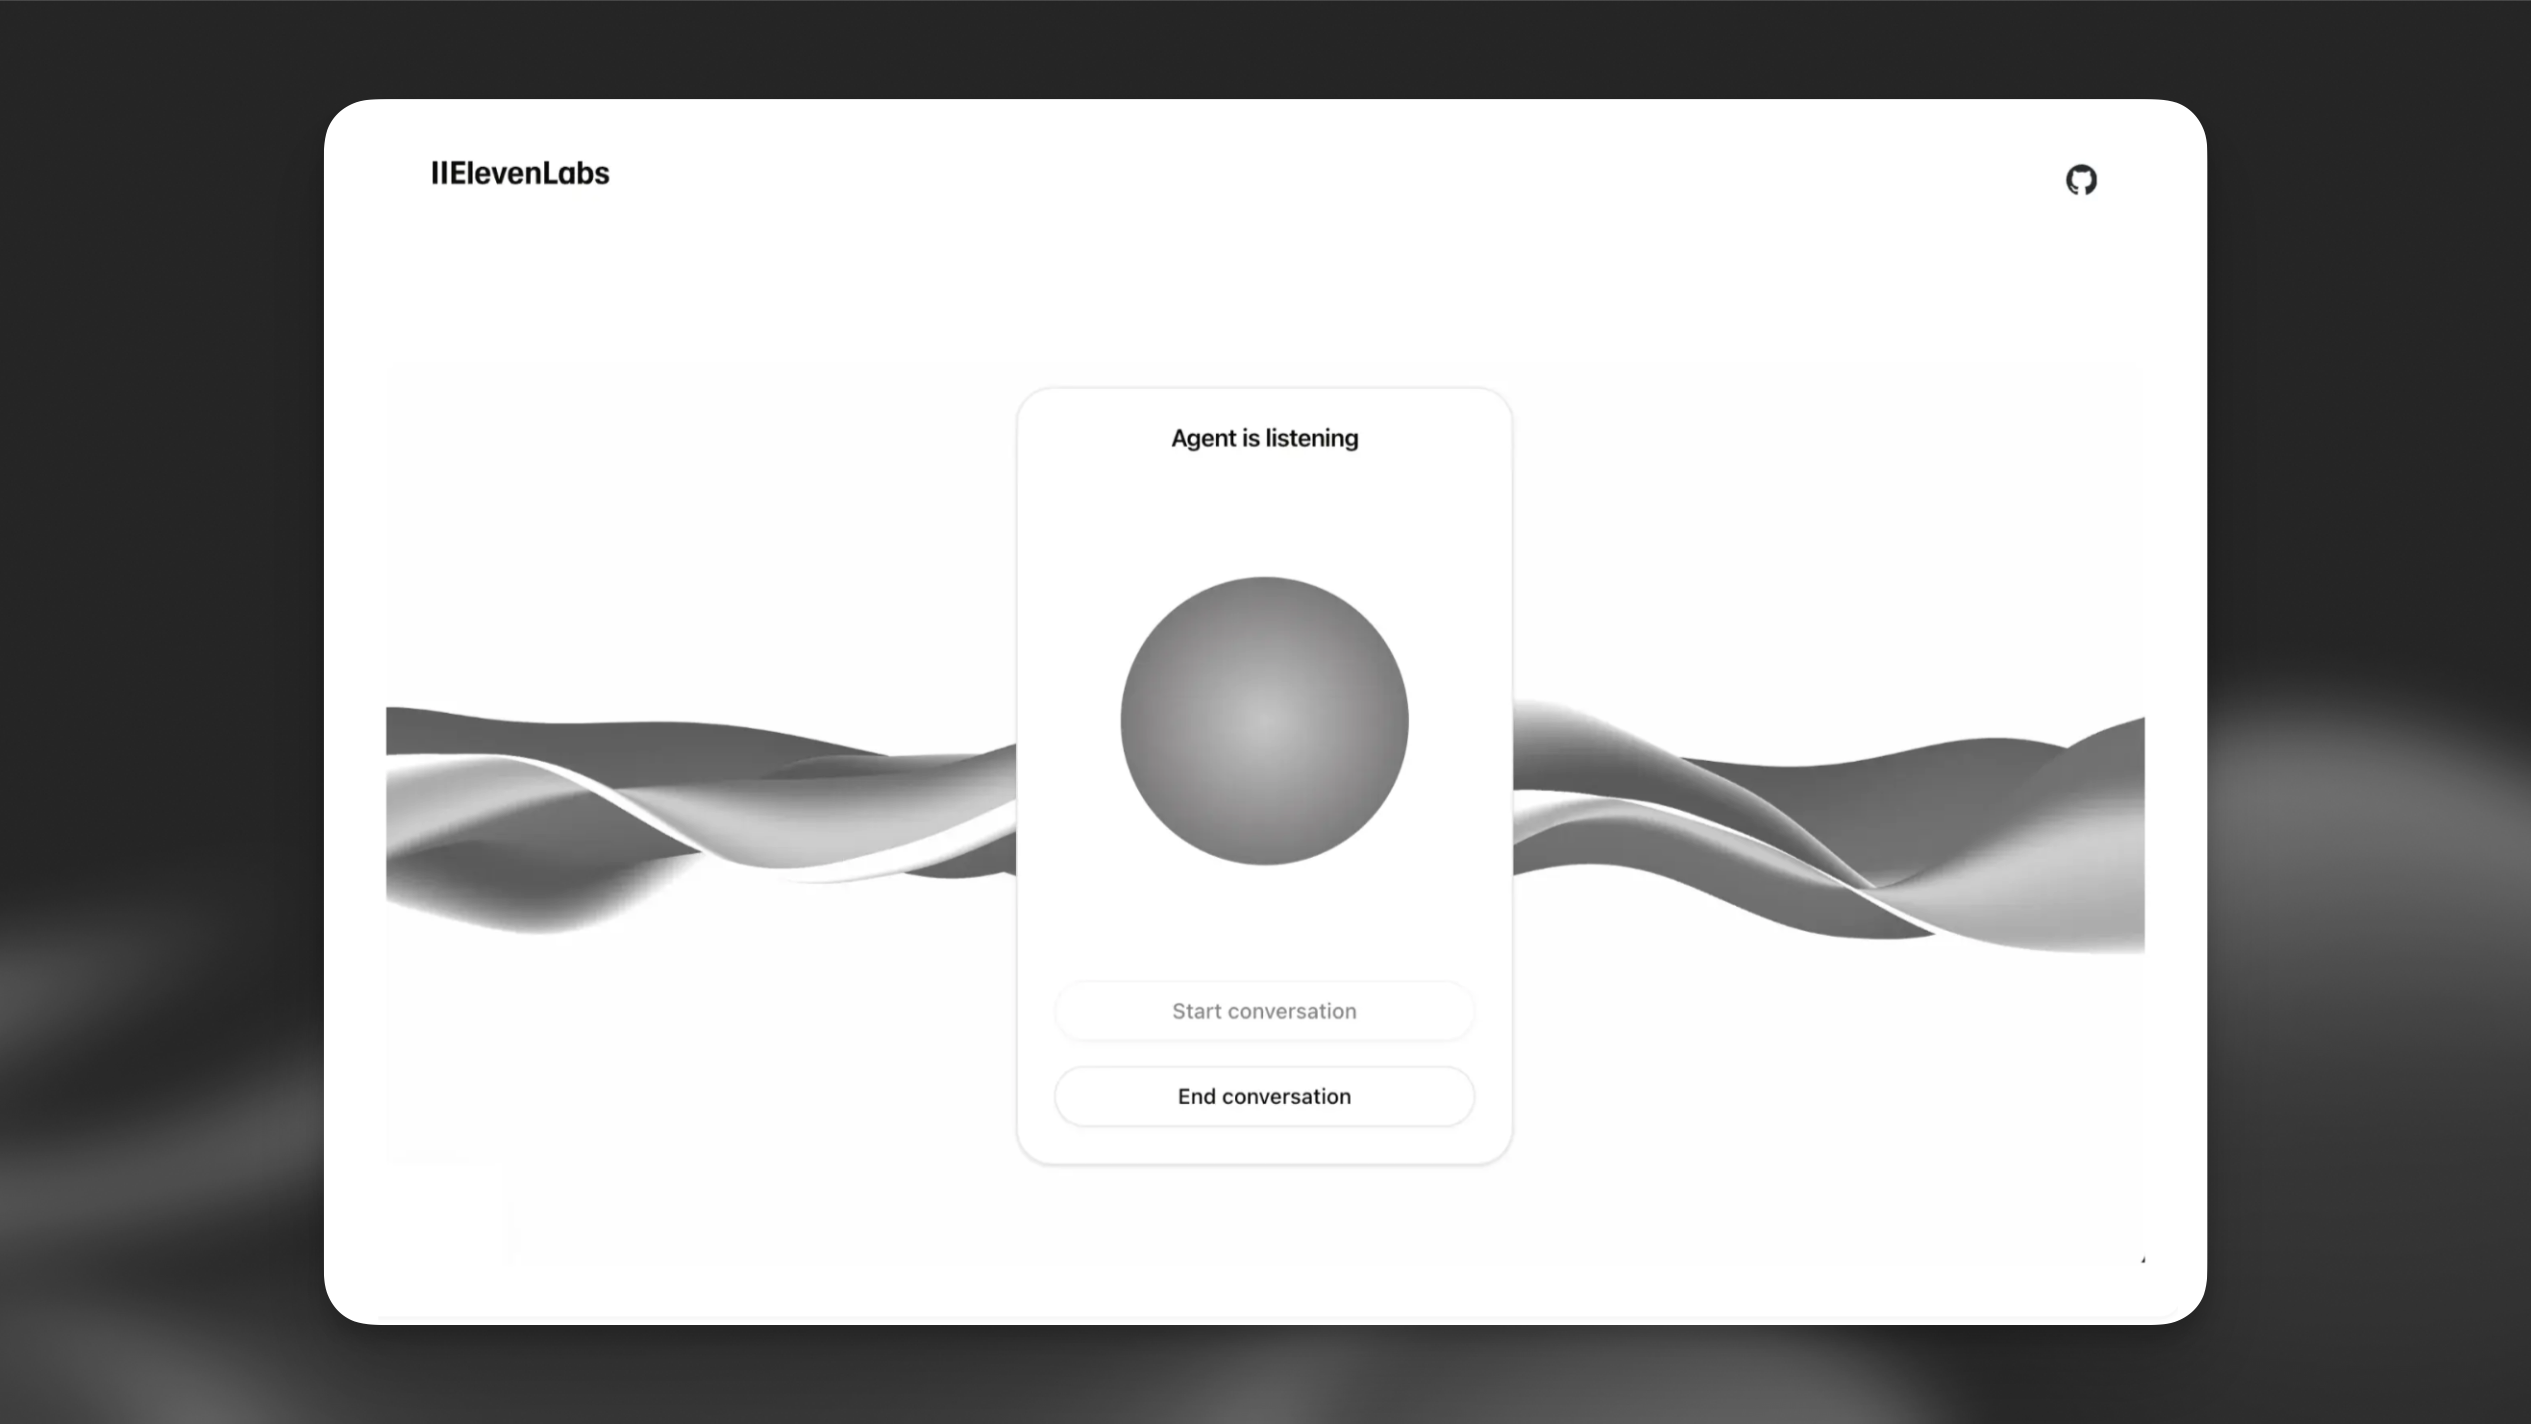
This tutorial will guide you through creating a web client that can interact with a ElevenLabs agent. You’ll learn how to implement real-time voice conversations, allowing users to speak with an AI agent that can listen, understand, and respond naturally using voice synthesis.
What You’ll Need
Section titled “What You’ll Need”- An ElevenLabs agent created following this guide
npminstalled on your local system.- We’ll use Typescript for this tutorial, but you can use Javascript if you prefer.
Create a new Next.js project
Open a terminal window and run the following command:
Bash npm create next-app my-conversational-agentIt will ask you some questions about how to build your project. We’ll follow the default suggestions for this tutorial.
Install the ElevenLabs dependency
Bash npm install @elevenlabs/reactTest the setup
Run the following command to start the development server and open the provided URL in your browser:
Bash npm run dev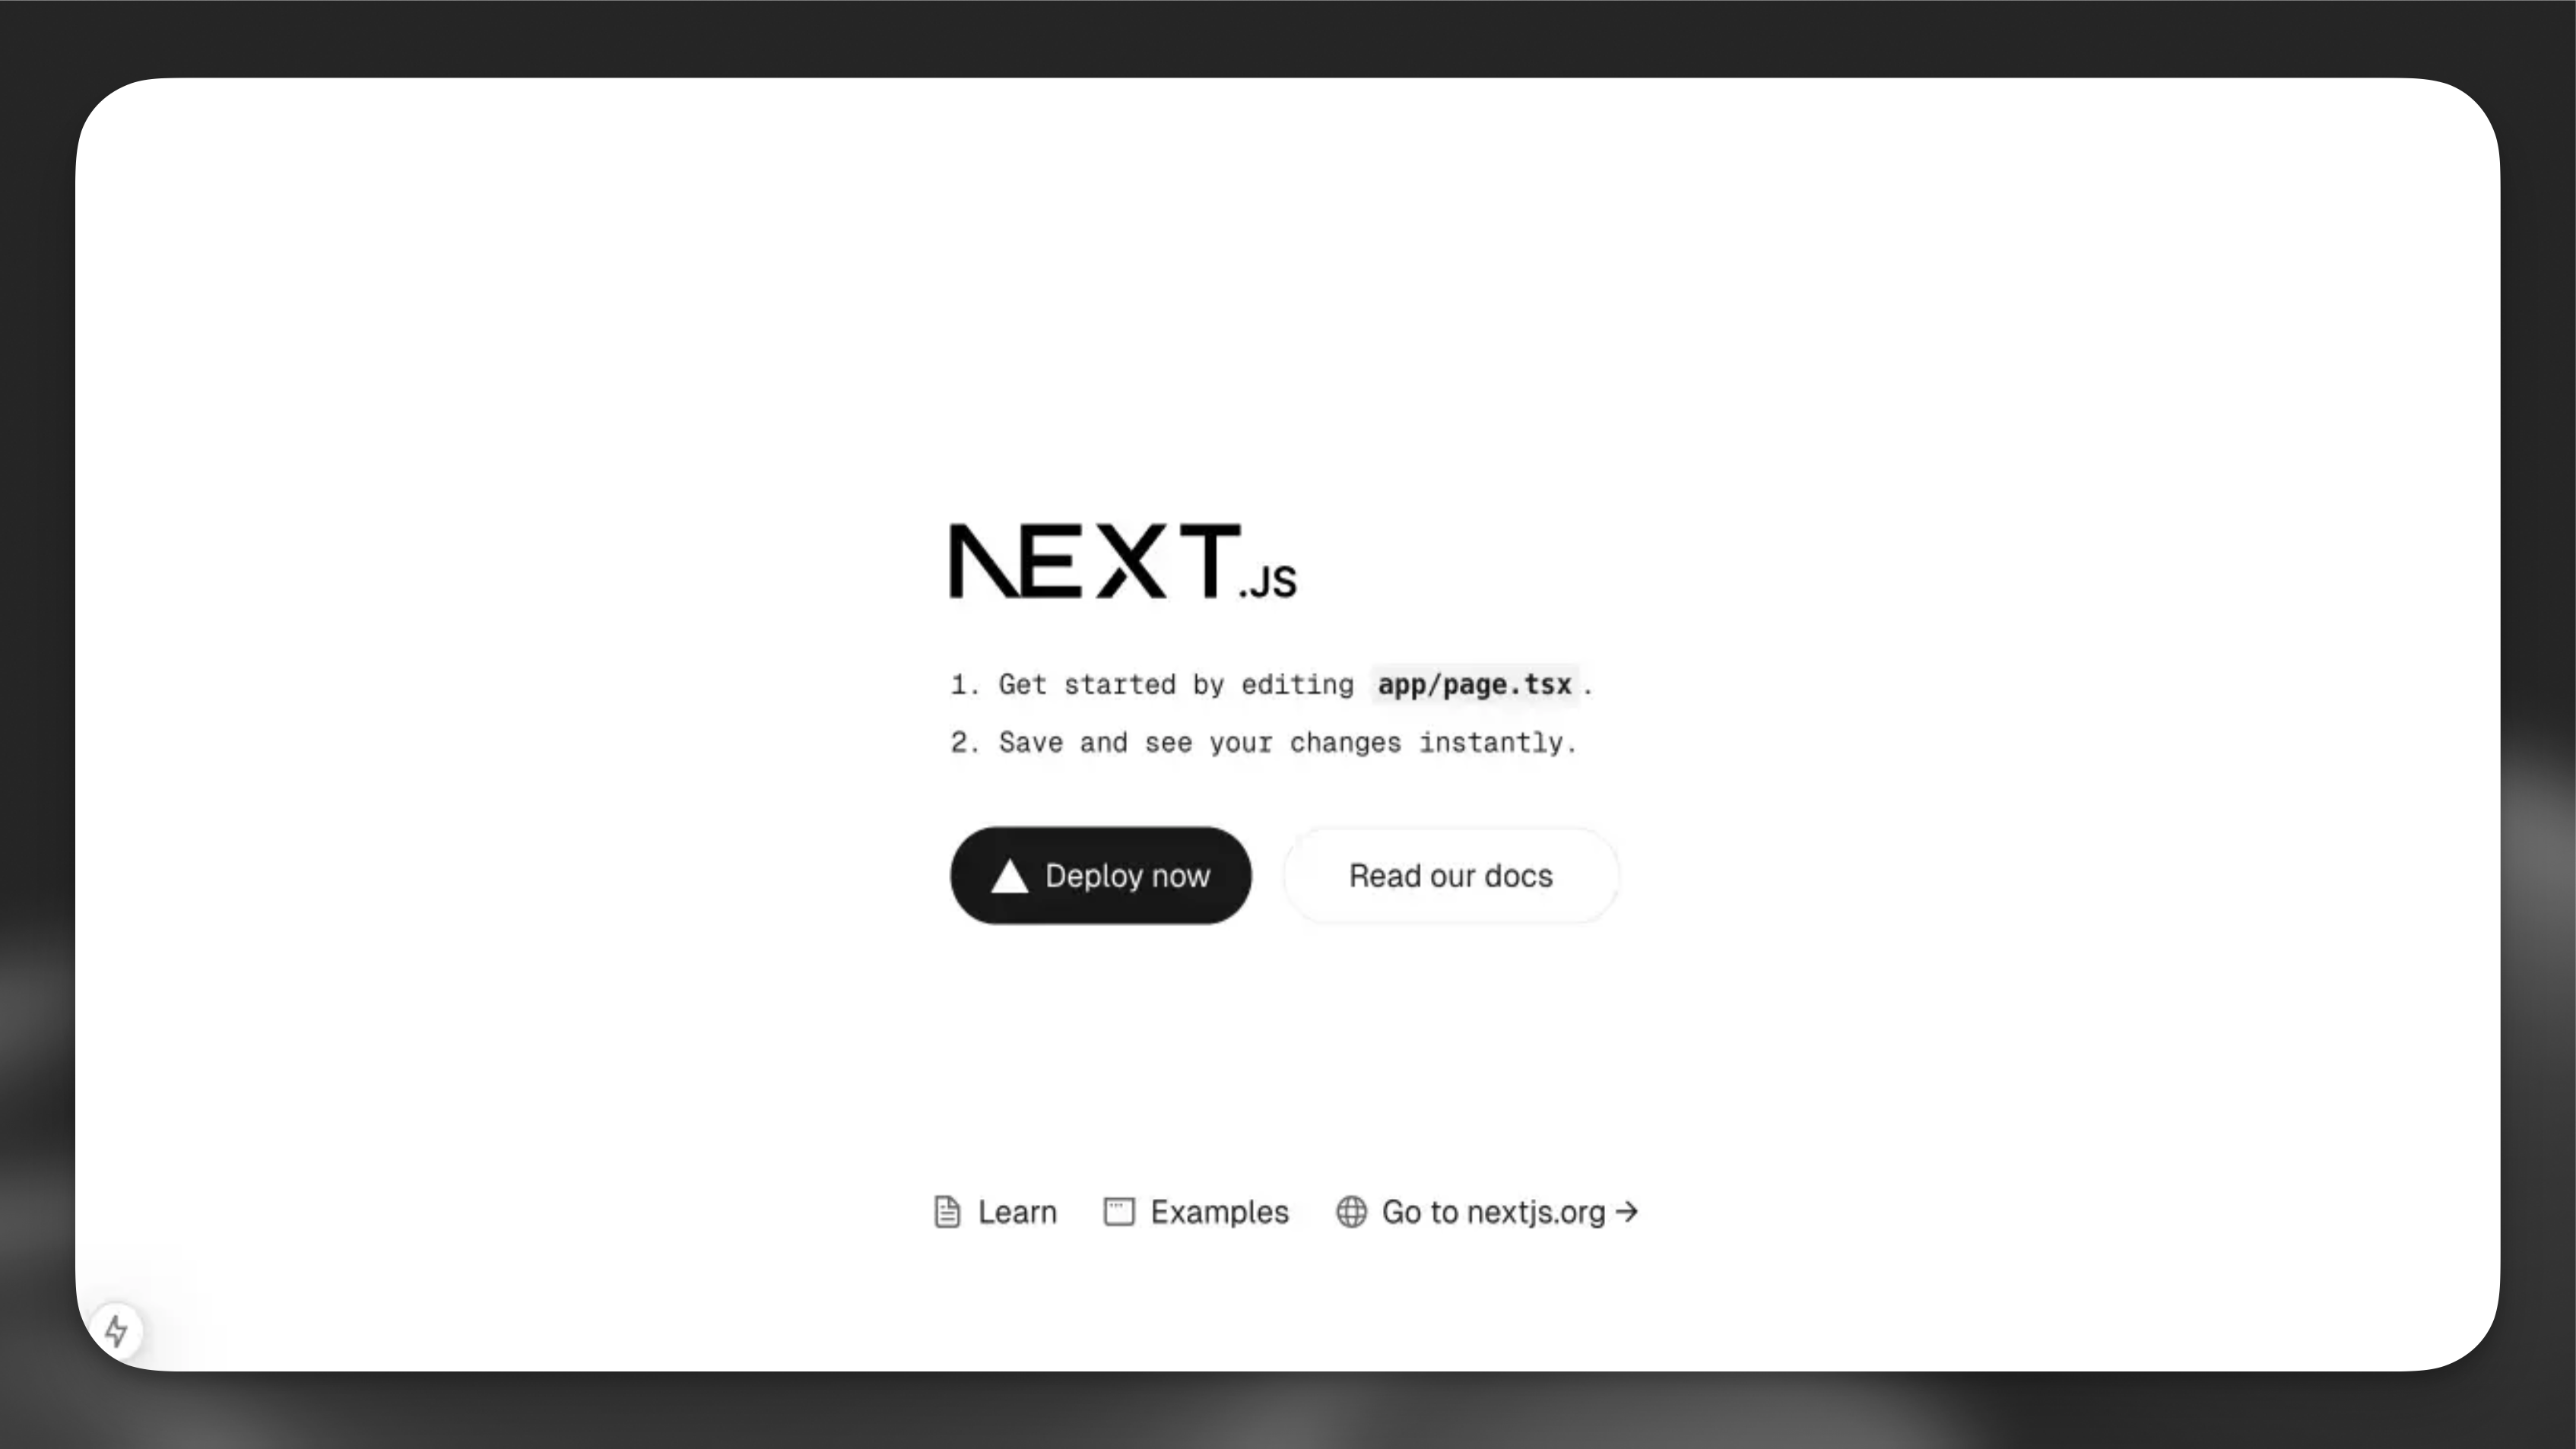
Implement ElevenLabs Agents
Section titled “Implement ElevenLabs Agents”Create the conversation component
Create a new file
app/components/conversation.tsx:app/components/conversation.tsx 'use client'; import { useConversation } from '@elevenlabs/react'; import { useCallback } from 'react'; export function Conversation() { const conversation = useConversation({ onConnect: () => console.log('Connected'), onDisconnect: () => console.log('Disconnected'), onMessage: (message) => console.log('Message:', message), onError: (error) => console.error('Error:', error), }); const startConversation = useCallback(async () => { try { // Request microphone permission await navigator.mediaDevices.getUserMedia({ audio: true }); // Start the conversation with your agent await conversation.startSession({ agentId: 'YOUR_AGENT_ID', // Replace with your agent ID userId: 'YOUR_CUSTOMER_USER_ID', // Optional field for tracking your end user IDs }); } catch (error) { console.error('Failed to start conversation:', error); } }, [conversation]); const stopConversation = useCallback(async () => { await conversation.endSession(); }, [conversation]); return ( <div className="flex flex-col items-center gap-4"> <div className="flex gap-2"> <button onClick={startConversation} disabled={conversation.status === 'connected'} className="px-4 py-2 bg-blue-500 text-white rounded disabled:bg-gray-300" > Start Conversation </button> <button onClick={stopConversation} disabled={conversation.status !== 'connected'} className="px-4 py-2 bg-red-500 text-white rounded disabled:bg-gray-300" > Stop Conversation </button> </div> <div className="flex flex-col items-center"> <p>Status: {conversation.status}</p> <p>Agent is {conversation.isSpeaking ? 'speaking' : 'listening'}</p> </div> </div> ); }Update the main page
Replace the contents of
app/page.tsxwith:app/page.tsx 'use client'; import { ConversationProvider } from '@elevenlabs/react'; import { Conversation } from './components/conversation'; export default function Home() { return ( <ConversationProvider> <main className="flex min-h-screen flex-col items-center justify-between p-24"> <div className="z-10 max-w-5xl w-full items-center justify-between font-mono text-sm"> <h1 className="text-4xl font-bold mb-8 text-center"> ElevenLabs Agents </h1> <Conversation /> </div> </main> </ConversationProvider> ); }
(Optional) Authenticate the agents with a signed URL
If you’re using a private agent that requires authentication, you’ll need to generate a signed URL from your server. This section explains how to set this up.
What You’ll Need
- An ElevenLabs account and API key. Sign up here.
Create environment variables
Create a
.env.localfile in your project root:.env.local ELEVENLABS_API_KEY=your-api-key-here NEXT_PUBLIC_AGENT_ID=your-agent-id-hereCreate an API route
Create a new file
app/api/get-signed-url/route.ts:app/api/get-signed-url/route.ts import { NextResponse } from 'next/server'; export async function GET() { try { const response = await fetch( `https://api.elevenlabs.io/v1/convai/conversation/get-signed-url?agent_id=${process.env.NEXT_PUBLIC_AGENT_ID}`, { headers: { 'xi-api-key': process.env.ELEVENLABS_API_KEY!, }, } ); if (!response.ok) { throw new Error('Failed to get signed URL'); } const data = await response.json(); return NextResponse.json({ signedUrl: data.signed_url }); } catch (error) { return NextResponse.json( { error: 'Failed to generate signed URL' }, { status: 500 } ); } }Update the Conversation component
Modify your
conversation.tsxto fetch and use the signed URL:app/components/conversation.tsx // ... existing imports ... export function Conversation() { // ... existing conversation setup ... const getSignedUrl = async (): Promise<string> => { const response = await fetch("/api/get-signed-url"); if (!response.ok) { throw new Error(`Failed to get signed url: ${response.statusText}`); } const { signedUrl } = await response.json(); return signedUrl; }; const startConversation = useCallback(async () => { try { // Request microphone permission await navigator.mediaDevices.getUserMedia({ audio: true }); const signedUrl = await getSignedUrl(); // Start the conversation with your signed url await conversation.startSession({ signedUrl, }); } catch (error) { console.error('Failed to start conversation:', error); } }, [conversation]); // ... rest of the component ... }
Next Steps
Section titled “Next Steps”Now that you have a basic implementation, you can:
- Add visual feedback for voice activity
- Implement error handling and retry logic
- Add a chat history display
- Customize the UI to match your brand